Hi
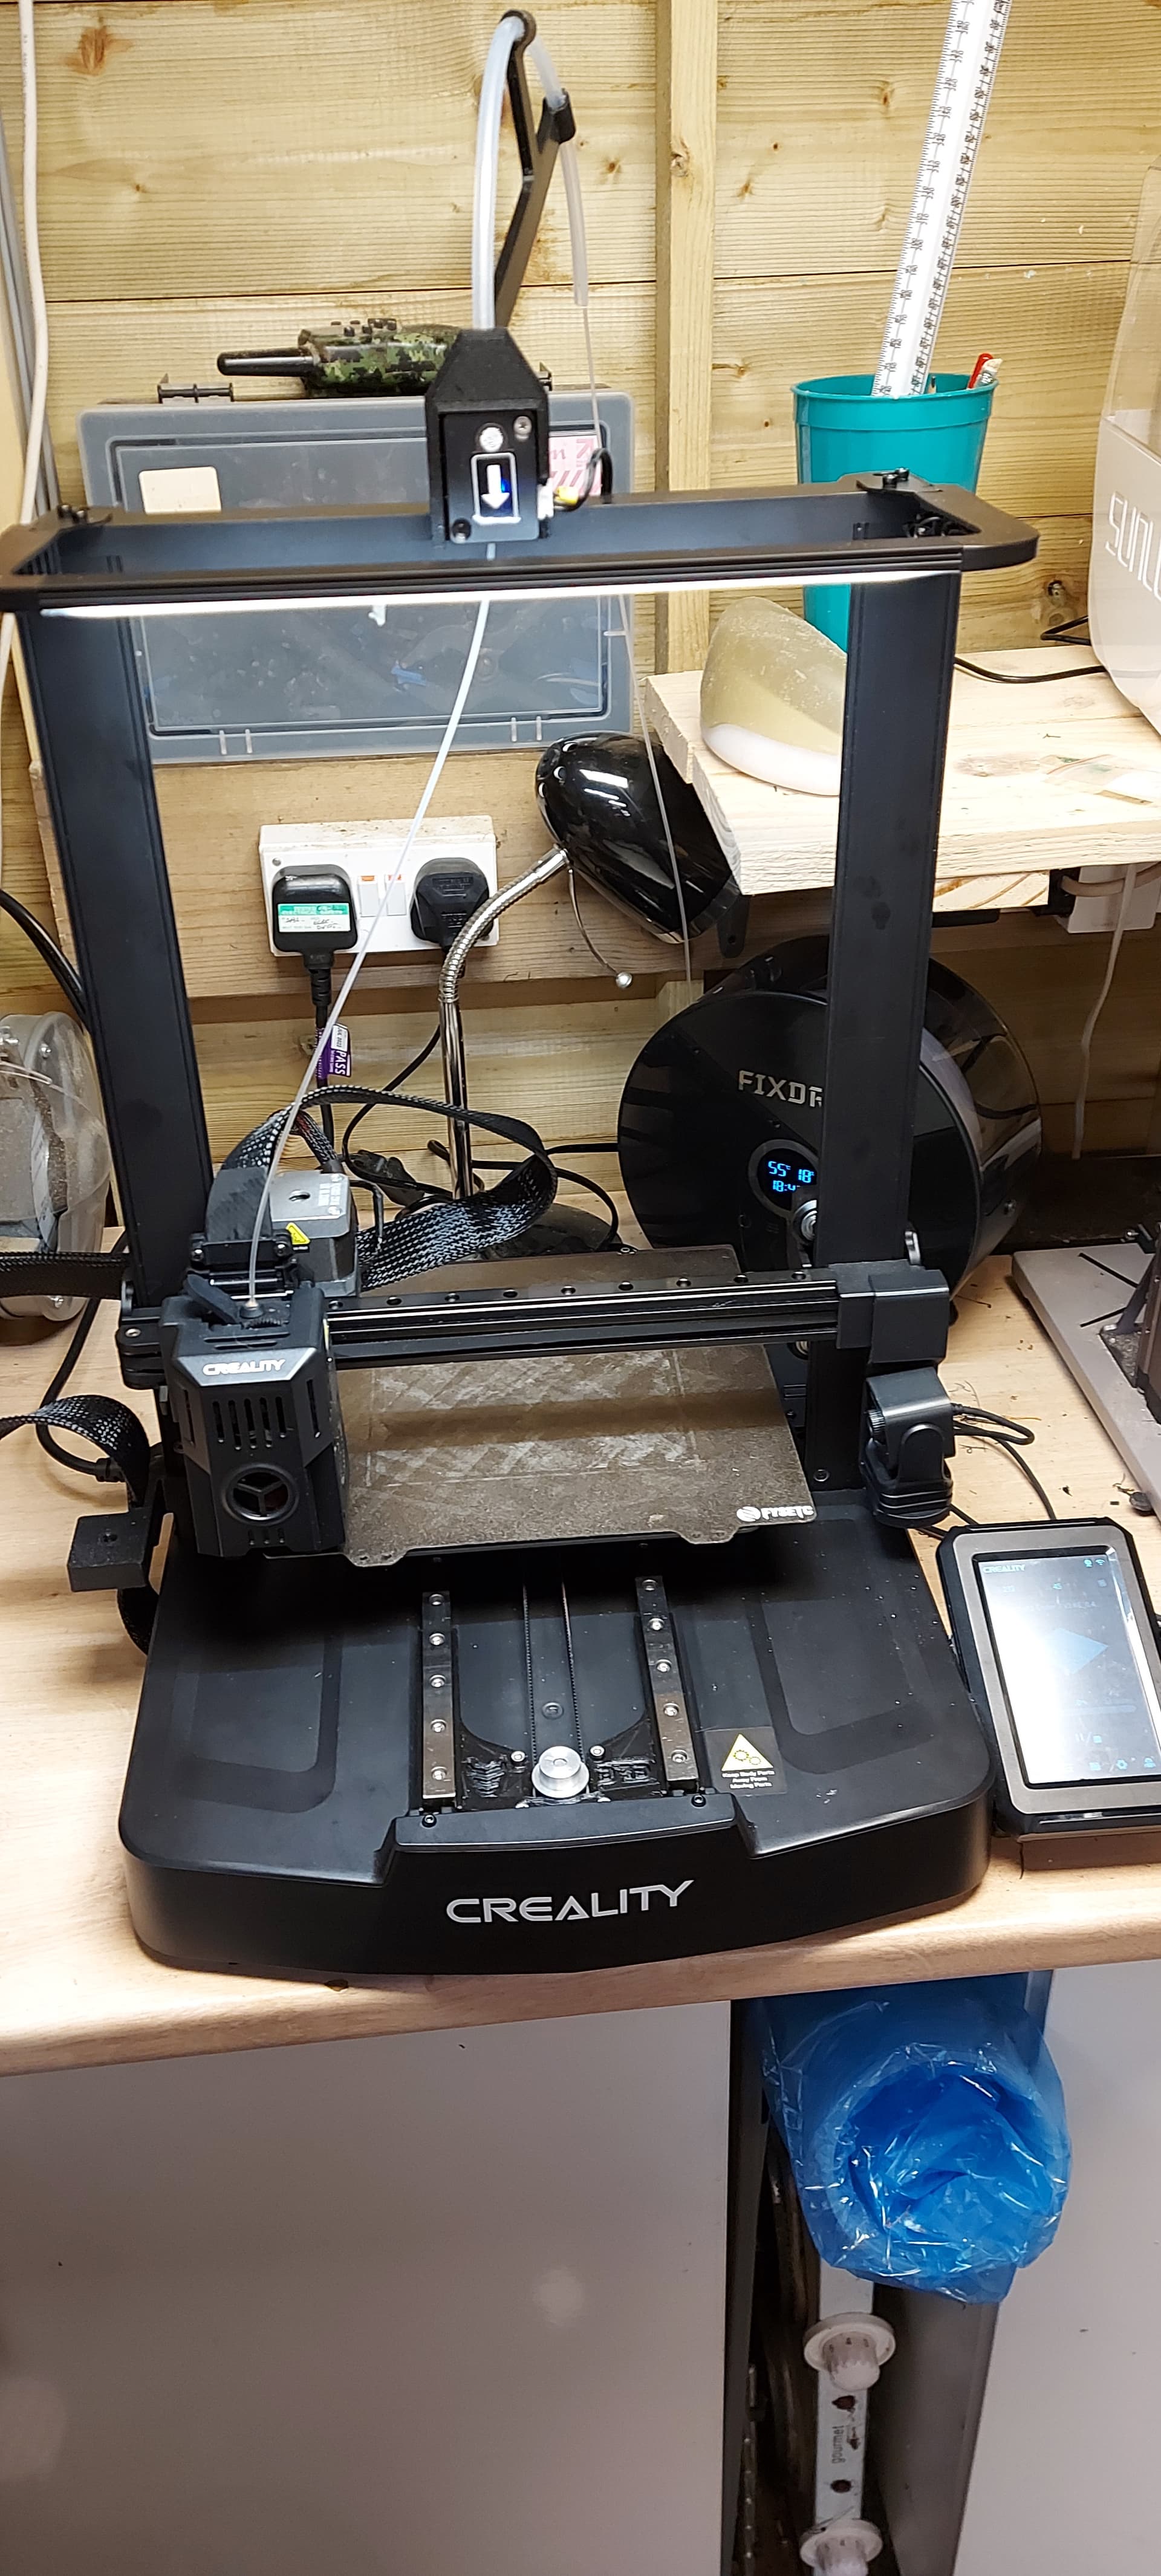
I had an issue from new with my V3 se, in that the Y axis was very noisy with a grinding sound as the bed moved. I ruled out the stepper motor as the sound was still there when I manually moved the bed with the printer off.
On close inspection of the linear rods I could feel a “gouge” on the right rod and no amount of grease would solve the problem.
I disassembled the bed, only a few screws, and could feel the right bearing felt “grainy” as it slid up and down. I then rotated the rod 90deg. in the bearing, this made a big difference. On reassembly and a fresh bed level the Y axis is now much quieter.
I will be sourcing new bearings, if I can find any particularly if they are better quality.
Hope this helps anyone with a loud printer.
3 Likes
Hello @Kevin_Eames and Welcome to the Creality Forum…![]()
Thank you so much for sharing that fix. I’m pretty sure someone else is having that same issue with those bearings…
Interesting that it was that way when it was new…
I’ve heard of resellers selling returned machines. ![]()
Cheers Kev might give that a bash on my SE. :thumbs:
Hi All
Just a quick update, ordered new bearings which have arrived but found something really interesting.
With both Y axis rods removed it is clear the right rod and bearing is very “gritty” and noisy. The left rod and bearing is really smooth and quiet. Now the interesting part, when I took the right bearing and tried it on the left rod it was perfect, silky smooth and quiet. That means the right rod is defective, I can see or feel nothing amiss and both measure the same when checked with calipers, 7.99mm.
I have just emailed Creality with my findings and asked for a pair of replacement rails, I will report back when I hear from them.
1 Like
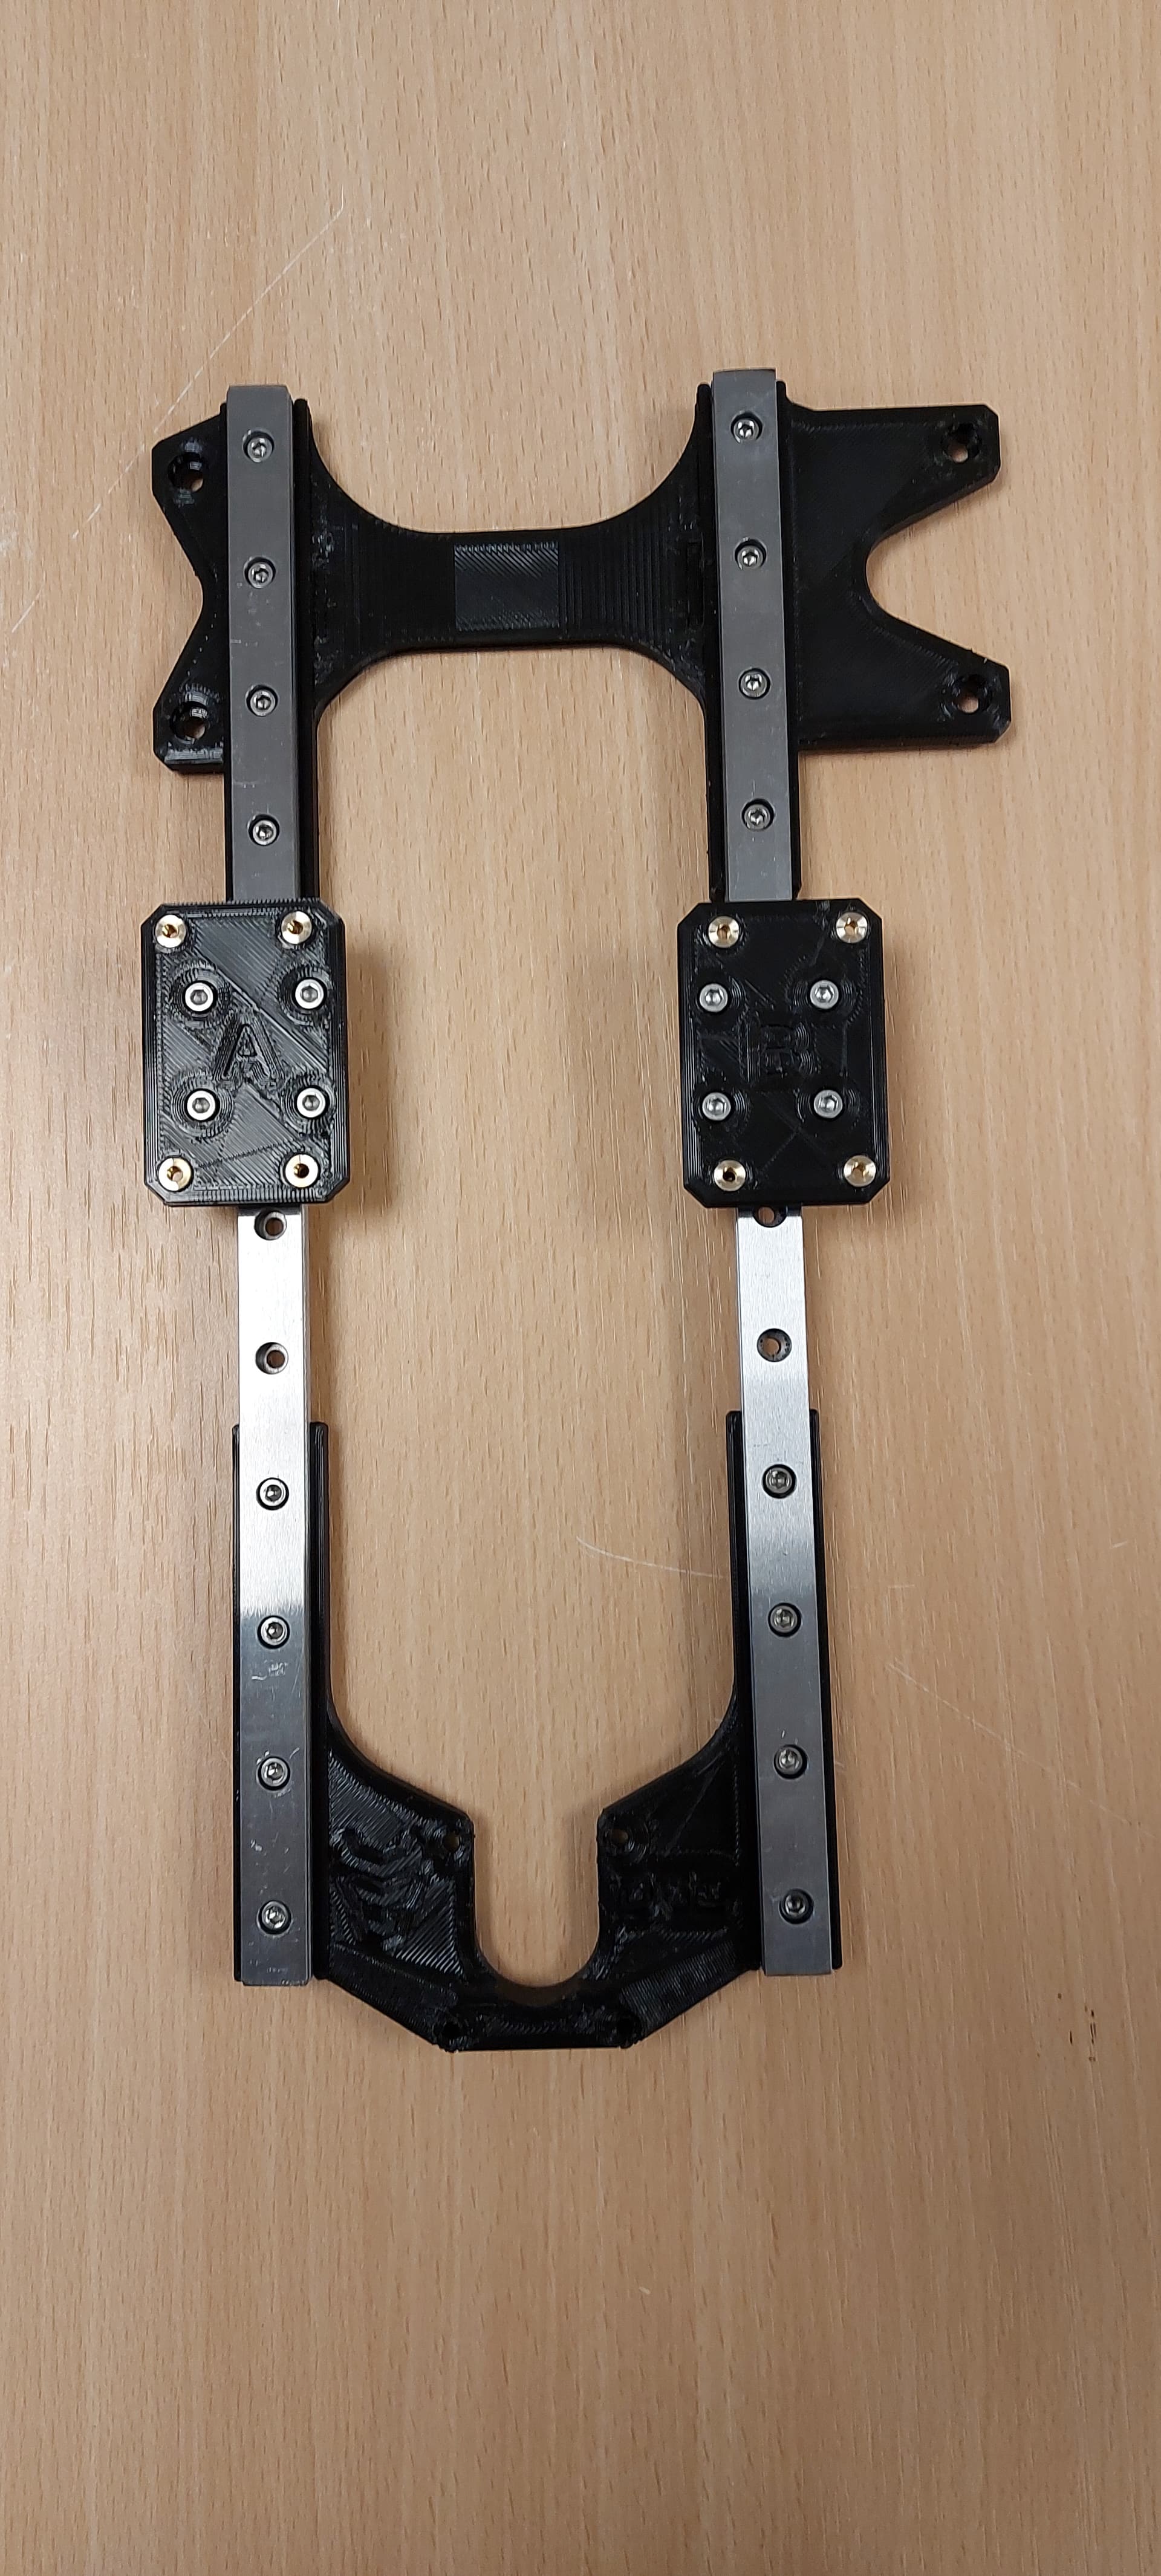
I suspect you have the new rails by now Kevin, as an alternative to those rails I am looking at building linear rails using this Printables rails upgrade, going to start with one machine then if successful the other, probably the KE as it has developed a bit of a rattle, probably a screw loose but that could just be me.
I saw an involved tutorial on this and I was interested in implementing it as I think it would be a good mod especially since the bed is a bit wonky to begin with. If you do it let us know how long it took and how involved it is.
Probably have up and running at the weekend (depending on what she has planned). Will print the parts, PETG, tomorrow, heat stake threaded inserts I have hundreds as I use them alot with many of my prints. A bag of screws, plenty of those too. The rails will be here tomorrow from Amazon, should come with the respirator for the resin printer just bought, different story for another day.
Just curious: Are you using a soldering iron to seat the heat stakes? I haven’t built anything that would use them but I’m slowly getting around to it.
Yes they do. I tend to make the wall count at 5 so there is plenty of material to backfill the knurling otherwise it might melt through into infill and go off course. I have mine mounted in a mini drill press to keep it straight but not necessary. I also press into machined plastic so I have the added ultrasonic function, not needed for FDM. Careful on hole sizing for instance:-
)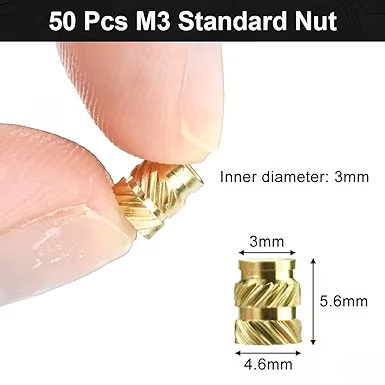
I would make a Ø3.2mm hole (caveat check that end OD with a vernier, it says 3mm which kind of looks like there won’t be any material as that end goes in first (different sizes different threads) Plenty of mixed sized boxes on Amazon:-
Threaded assortment
1 Like
Don’t know if interested but there is a Z belt tensioner project here by the same guy that did the linear rail project that I am half way through.
I have found the same issue with my V3 SE. Both bearings do not move smoothly on the rods. Found a gouge in the left rod and one of the tiny steel bearing balls in the grease on the outside of the bearing. Sent videos to creality showing the damage and requested replacements. I hope they will replace them. I have really liked this printer but it seems to be falling apart since I purchased it in Nov 23. 4010 part cooling fan also went bad by squealing and not turning after 2 months of use. I bought an exact creality replacement for that. I also bought a PEI plate for it and it is fantastic for holding the prints and being able to release them after it cools. I should’ve got the V3 KE. ![]()
The Ke and the SE bed are pretty much the same, same chassis, rods, bed. I intend to roll this mod out to both machines, KE being first as it not in use 24 hours a day unlike the SE…I shall post my results soon.
Yes I am greedy I have both machines.
1 Like
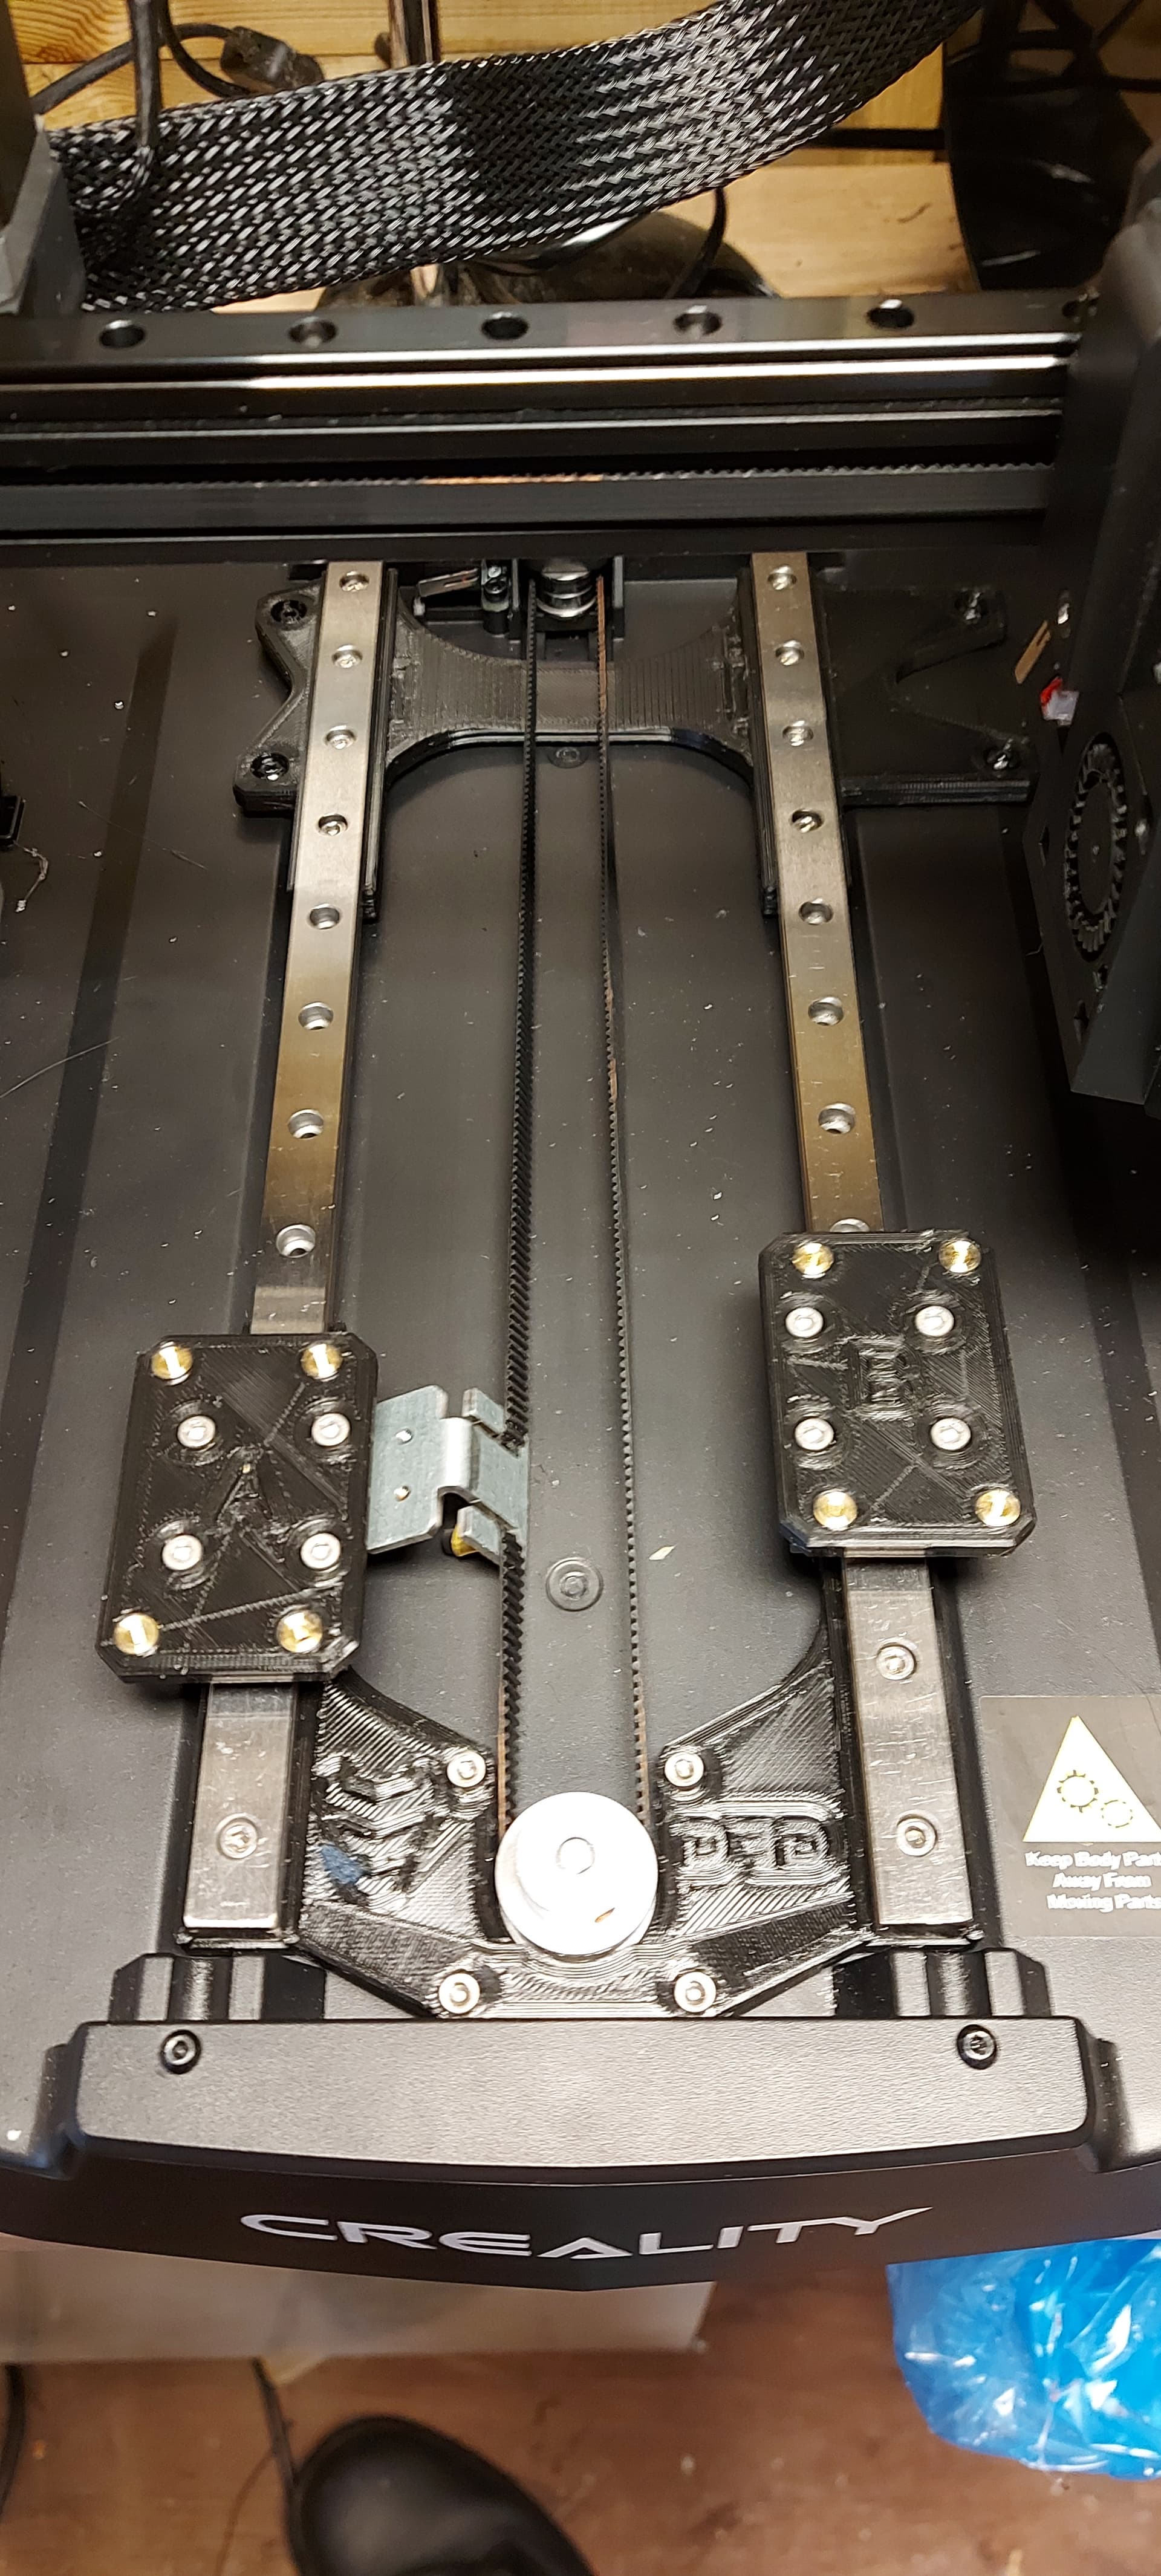
Done and my level has improved to 0.25mm across the bed. All new noises to get used to. Seema to be running nice and true though, currently printing a lithophane that I printed last night but wasn’t over happy.
Both my SE and KE have squealy fan syndrome, but they settle once they warm up. You will not see any difference on the Y axis linear rods as they are exactly the same. The only real difference is an X axis linear rail, better hotend and Klipper. The Y axis mod that I have fitted is a decent upgrade, no rocking.
Did you get the V3 now also?
Ohh
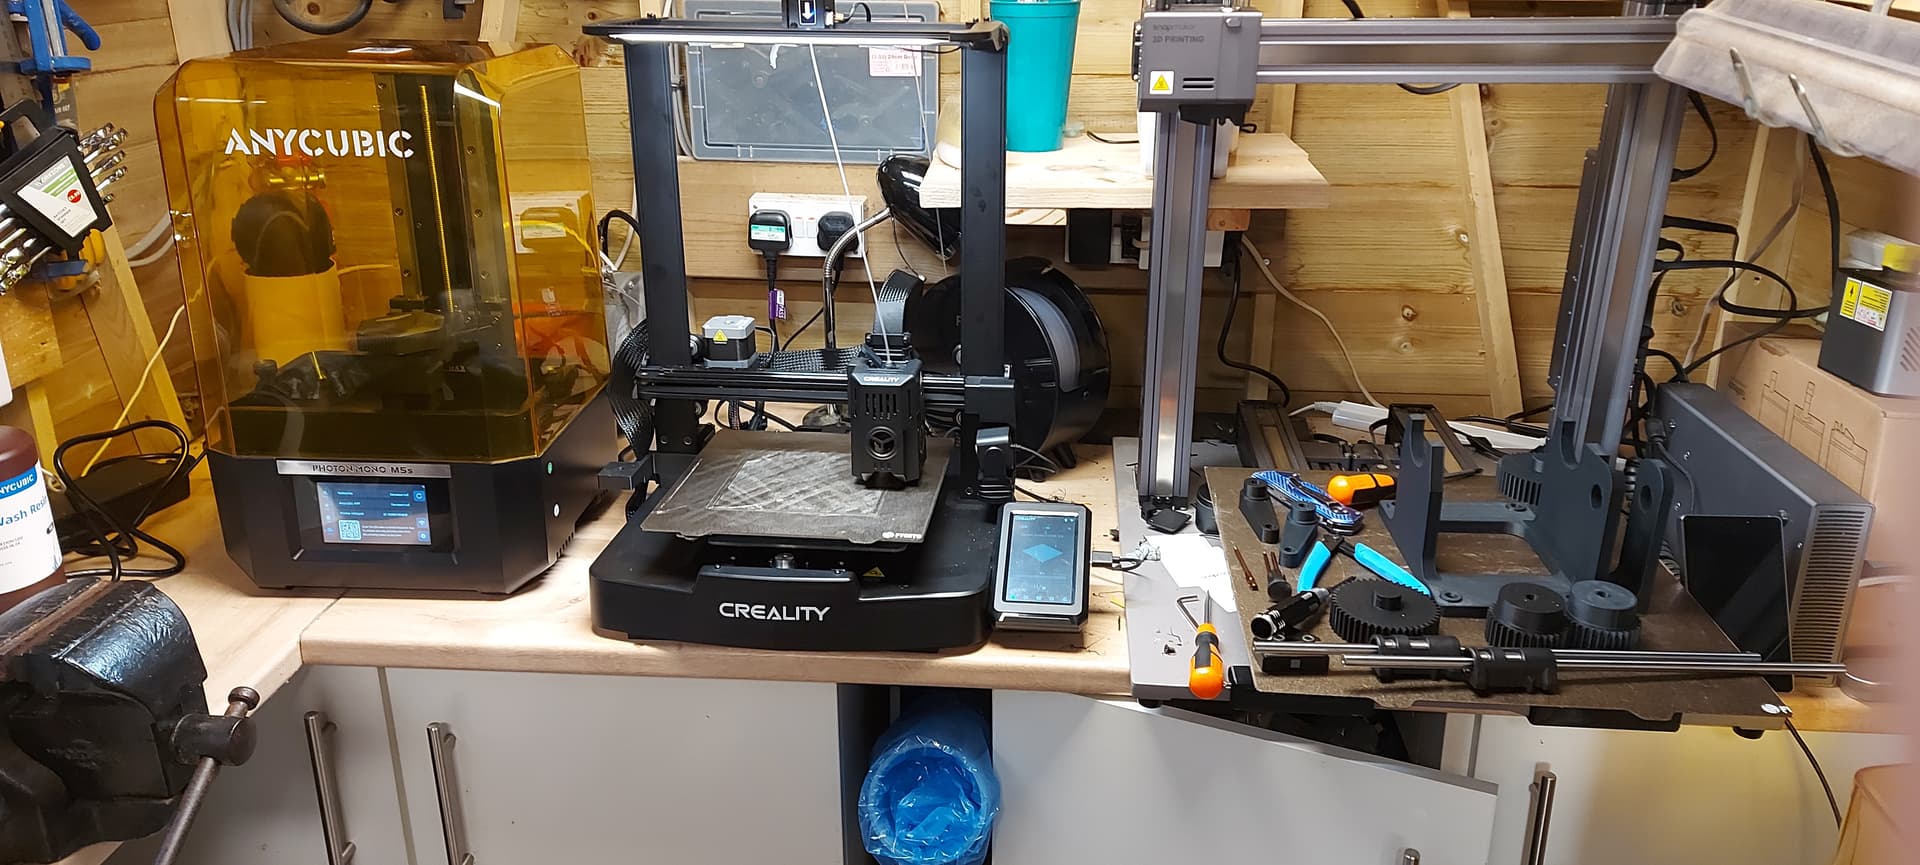
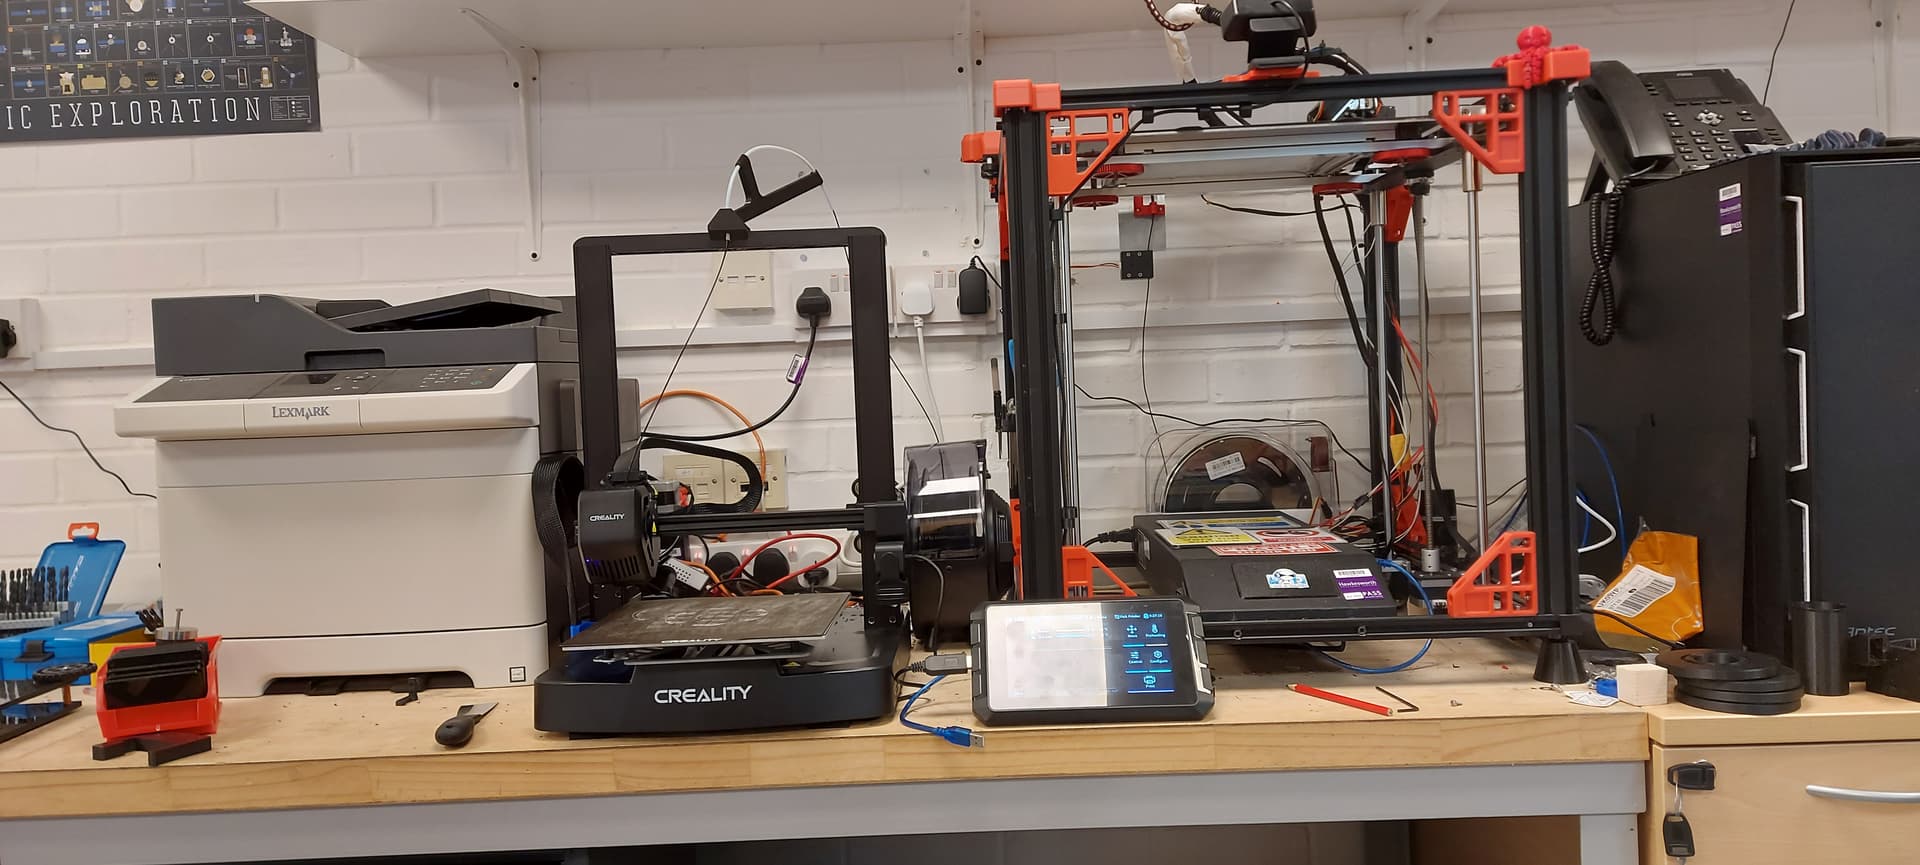
If I had the room. Family picture, Snapmaker on the right is being ignored a little, will be back to laser cutting tomorrow. The Anycubic Mono M5s, possibly a mistake purchase and possibly should have bought the X6K, ahh well i think it will produce the parts that I want at the resolution that I want. Upgraded KE in the middle. I suppose I could add in a shelf and add more printers, I have the room vertically just about. A V3 and a Bambu P1S would fit.
Do any you of you still have the 15 minute Benchy that came on the memory card? I overwrote mine so cannot find it. Really want to try that out with these new rails.
Beautiful!