Guide to Creating Quality Print Settings
Want your print setting to be recognized in the community?
Follow these guidelines to make your print setting more popular and downloaded by more people.
*If you are wondering how to upload .3MF files to Creality Cloud, you can refer to this article: How to Upload .3MF Files to Creality Cloud?
I. Make Your Print Setting More Popular
1. Carefully optimized slicing parameter print setting
- Creality Cloud recommends that creators provide at least one physical photo of the print configuration to demonstrate printability, as photos of real model prints can increase user confidence in printing and the popularity of the print setting.
- Carefully optimized slicing parameter print setting
Machine Setting: Generally no need to adjust.
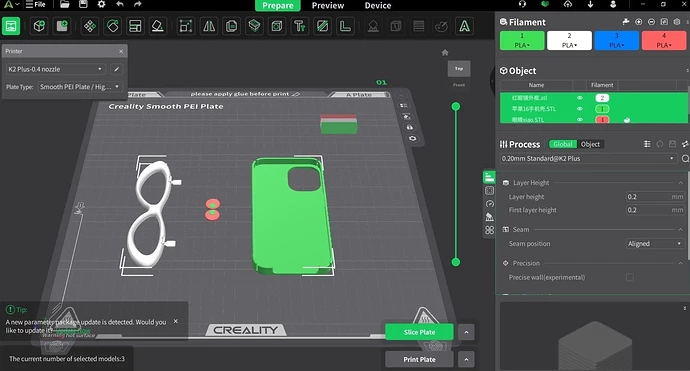
Process Setting: First select a template like 0.2standrad@K2 Plus, then fine-tune parameters on the template, such as support/skirt.
Material Parameters: First select a template like hyper pla, then fine-tune parameters like temperature and cooling.
Layer Height: Choose a layer height suitable for model details and print speed, usually 0.1-0.2mm layer height can provide higher accuracy.
Infill Density: Appropriate infill density can ensure model strength and reduce weight. Common infill patterns include grid, line or honeycomb.
Print Speed: Balance print speed and print quality. Too fast may lead to model quality degradation, too slow affects efficiency.
Support Type: Choose appropriate support type based on different parts of the model, such as contact support or bridge support.
Support Density: Support density should be sufficient to keep the model stable, but not too much to affect model urface quality.
Bed Temperature: Appropriate bed temperature can prevent model warping and improve print success rate.
Material Selection: Choose suitable 3D printing materials based on model purpose, such as PLA, ABS, PETG, nylon or high-performance engineering plastics.
- Significant optimization over existing print settings in terms of print reliability, part orientation, support optimization and model integrity.
- Model Integrity Assurance: By improving the printing strategy, effectively solving the problems of warping, layer cracking, etc. during the printing process, thereby ensuring the overall integrity of the model.
2. Place Different Variants on Separate Trays (Optional)
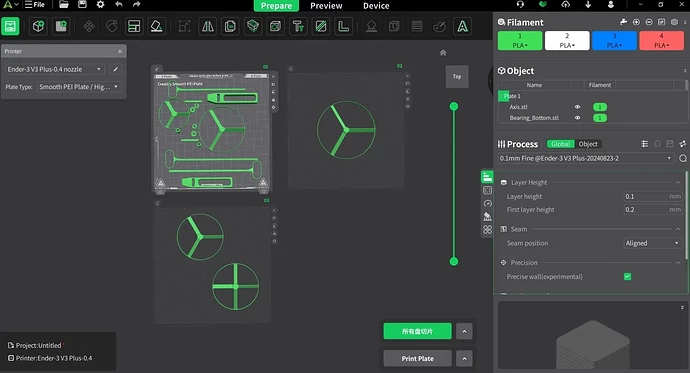
If your model consists of multiple components, please place each component in a separate tray and name them accordingly. This allows users to easily identify and select the desired model components. Additionally, you can group parts of different colors onto the same tray for convenient color-based printing.
3. It Is Recommended to Export/Upload Files with .3MF Print Settings After Slicing
By doing this, the .3MF file will embed the G-code printing instructions, allowing the system to directly extract printing-related information upon upload. This effectively reduces the computational resource consumption of the cloud slicing service.
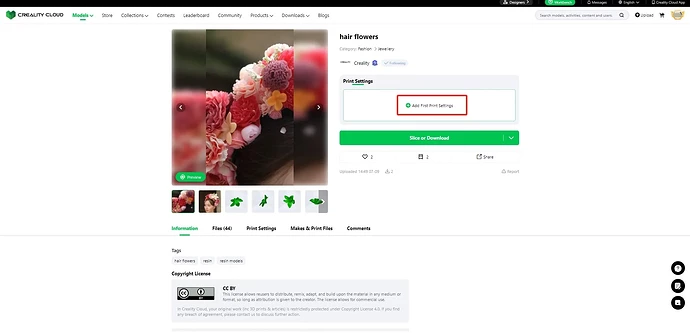
4. Upload the First Print Setting for Your Model
If a model does not have any print settings yet, uploading the first print setting will attract greater attention.
II. Prohibited Practices
- Do Not Upload Print Settings with Obvious Quality Issues
Avoid uploading print settings that have significant defects, such as missing necessary supports, visible printing quality problems in the photos, or missing critical components that lead to print failures or assembly issues. - Mismatched Print Settings and Source Models
Refrain from uploading print settings to the wrong model or submitting .3MF files that do not correspond to the model. - Duplicate Uploads of Print Settings
Do not re-upload your own or others’ print settings. If you have only made minor adjustments to an existing print setting without substantial improvements, such duplicate content will be removed. - Unnecessary Increase in Model Copies
Creality Print already has a duplication feature, so there is no need to create a copy of the model and upload it as a new print setting. - Uploading Monochrome Versions of Multicolor Models
If a multicolor print setting already exists, there is no need to upload a monochrome version. - Do Not Split Models into Multiple Print Settings
If a model consists of several components, it is best to place them in a single print setting while organizing them on different trays. This way, users will not miss any parts during printing, and it will make the model page appear cleaner and more organized. However, there is one exception: if a component of your model has multiple versions, you may upload this variant as a separate print setting. We recommend creating a separate folder for the variant within the existing print setting and naming the folder clearly.


