I have a particular repeating problem…the printer does the “L shape” at front left of the buildplate perfectly… but then when it starts the actual print, material doesn’t transfer to the plate, just rolls up in a little ball.
I’m using Creality PLA at 220/50. What’s annoying is if I swap out that PLA for a Bambu Matte one, it works fine.
No sigh. It just annoys me that it will print fine one moment and then just refuse…but I think I[m homing in on it.
It’s PLA, stated nozzle range 190-240. I get this problem at 220. I thought I’d test what happens at the extremes.
At 190 it’s much worse, but at 240 something odd happens. Whilst the nozzle is over the waste chute, it heats to 240. But then for reasons I can’t understand, drops to 220. Then as it moves off to do the “L” in the corner, it’s rising from 220 to 240 again, By the time it gets to the actual print it is hotter - and gets better as the temp increases.
I’m thinking - part fan? But I still don’t know why it should affect the Creality PLA adhesion SO badly between the L shape and the print, when the Bambu PLA seems “immune”.
Plus…I don’t understand what happens between the perfect transfer of filament to bed as the nozzle does the L shape, to less than a second later the “ball of chewing gum” that results when it tries to transfer it as part of the design…?
So something I’ve learned in my own grueling journey as a newcomer, when you adjust the temperature, other params need to be changed too so that your extrusion/adhesion/flow/etc are as dialed in as possible. Jumping from 190 to 240 with just changing the nozzle temperature is going to put you in what will seem like a hopeless loop of printing/removing the failed print and doing it all over again. The reason it heats to 240 is because of the high end from what I understand that’s set as the filament type’s default. It’ll heat up to get the nozzle cleaned of whatever is in there and “pooped” out in prep for the next step which is the purge line. Matte finish is also quite a bit different when it comes to chemicals and stuff than the standard finish. The properties of the profile may just happen to suit that Bambu roll and if you put another brand in you could have completely different results. It’s frustrating at first, but over time it becomes more and more rewarding at least in my opinion. Dialing in a new roll of filament is like preparing your available arsenal so that when it’s time to get a print done you can just reach in and load up what you need without doubting yourself or delays from failed prints. Have you by chance gone through Ellis’s calibration guide? Have you verified your steps, that your Z is at 0 and doesn’t need offset adjustment? What steps have you taken so far in terms of overall/general calibration? Are you running this print with the top off or keeping it on? I’m still learning myself but I can completely relate to the frustrations and folks here were really fantastic in helping me out so I’m more than happy to be able to help give back at all where I can. Don’t lose faith, you’ll get there and it’ll be awesome once you are.
First, I’m not new to 3D printing. I’ve done all the calibration with my first ANet A8 and with a Creality CR10s Pro. I guess I’m falling for the hype with this machine, believing it will “Just work”…and to be honest when I first had it, it did; with the supplied Hyper PLA everything was hunky dory.
But now I’m in the odd situation that PETG prints better than PLA. Matte prints better than normal (I accept what you say about the difference) but still the particular problem I’m having; the “nose wipe” L shape on the left hand side delivers a perfect “smush” of the PLA onto the textured PEI, so I get a perfect, well-define line of material deposited.
It then moves no more than 8 inches to the middle of the plate, starts to print the model and it’s like someone has greased the plate, and it just delivers a big fat blob of PLA stuck to the side of the nozzle.
What the hell happened in those eight inches that caused it to “forget” how to transfer the material?
I’m thinking the nozzle is further away from the build plate when the print starts - seems to do the same for me, except the distance is so far off here that the “L” rarely prints right either - and forget a calibration strip, always ends up in a ball.
It’s either that or the temperature changes, and that can be hard to assess because of the lag between it actually happening and it being reported on screen.
Either way, something is changing but I’M NOT TELLING IT TO. If it’s wiping it’s nose at height Z and Temperature T. then I want it to print at height Z and temperature T. If there’s a setting somewhere that’s overriding that, I want to know where it is so I can turn it off!
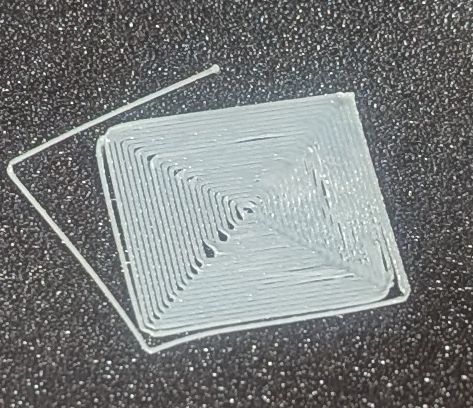
Edit…this is part of the problem perhaps? 3 sides of the first layer of a simple square of support material are well blended. The other has clear line separation. The “loose” line around it is part of this lack of adhesion I’m seeing at startup.. .this was printed very slowly (20mm/s) and is part of testing I am doing on optimising support structure.
Sorry, reply to you sounded snarky and I didn’t mean to. I should have explained that I wasn’t expecting to fix the problem by testing just 190 and 240. Neither are likely to work…but you can learn a lot by watching HOW it fails; e.g. is it applying to the surface, but then “tearing” on the next pass of the nozzle, or is it just “balling up in a gooey blob”.
For instance it can tell you if what your supplier insists is purple PLA is in fact PETG…or even ABS (still not sure!)
I may be totally wrong here…but…the L shape is produced regardless of what object is set up to be printed. Then, when your object is brought in, the errors occur.
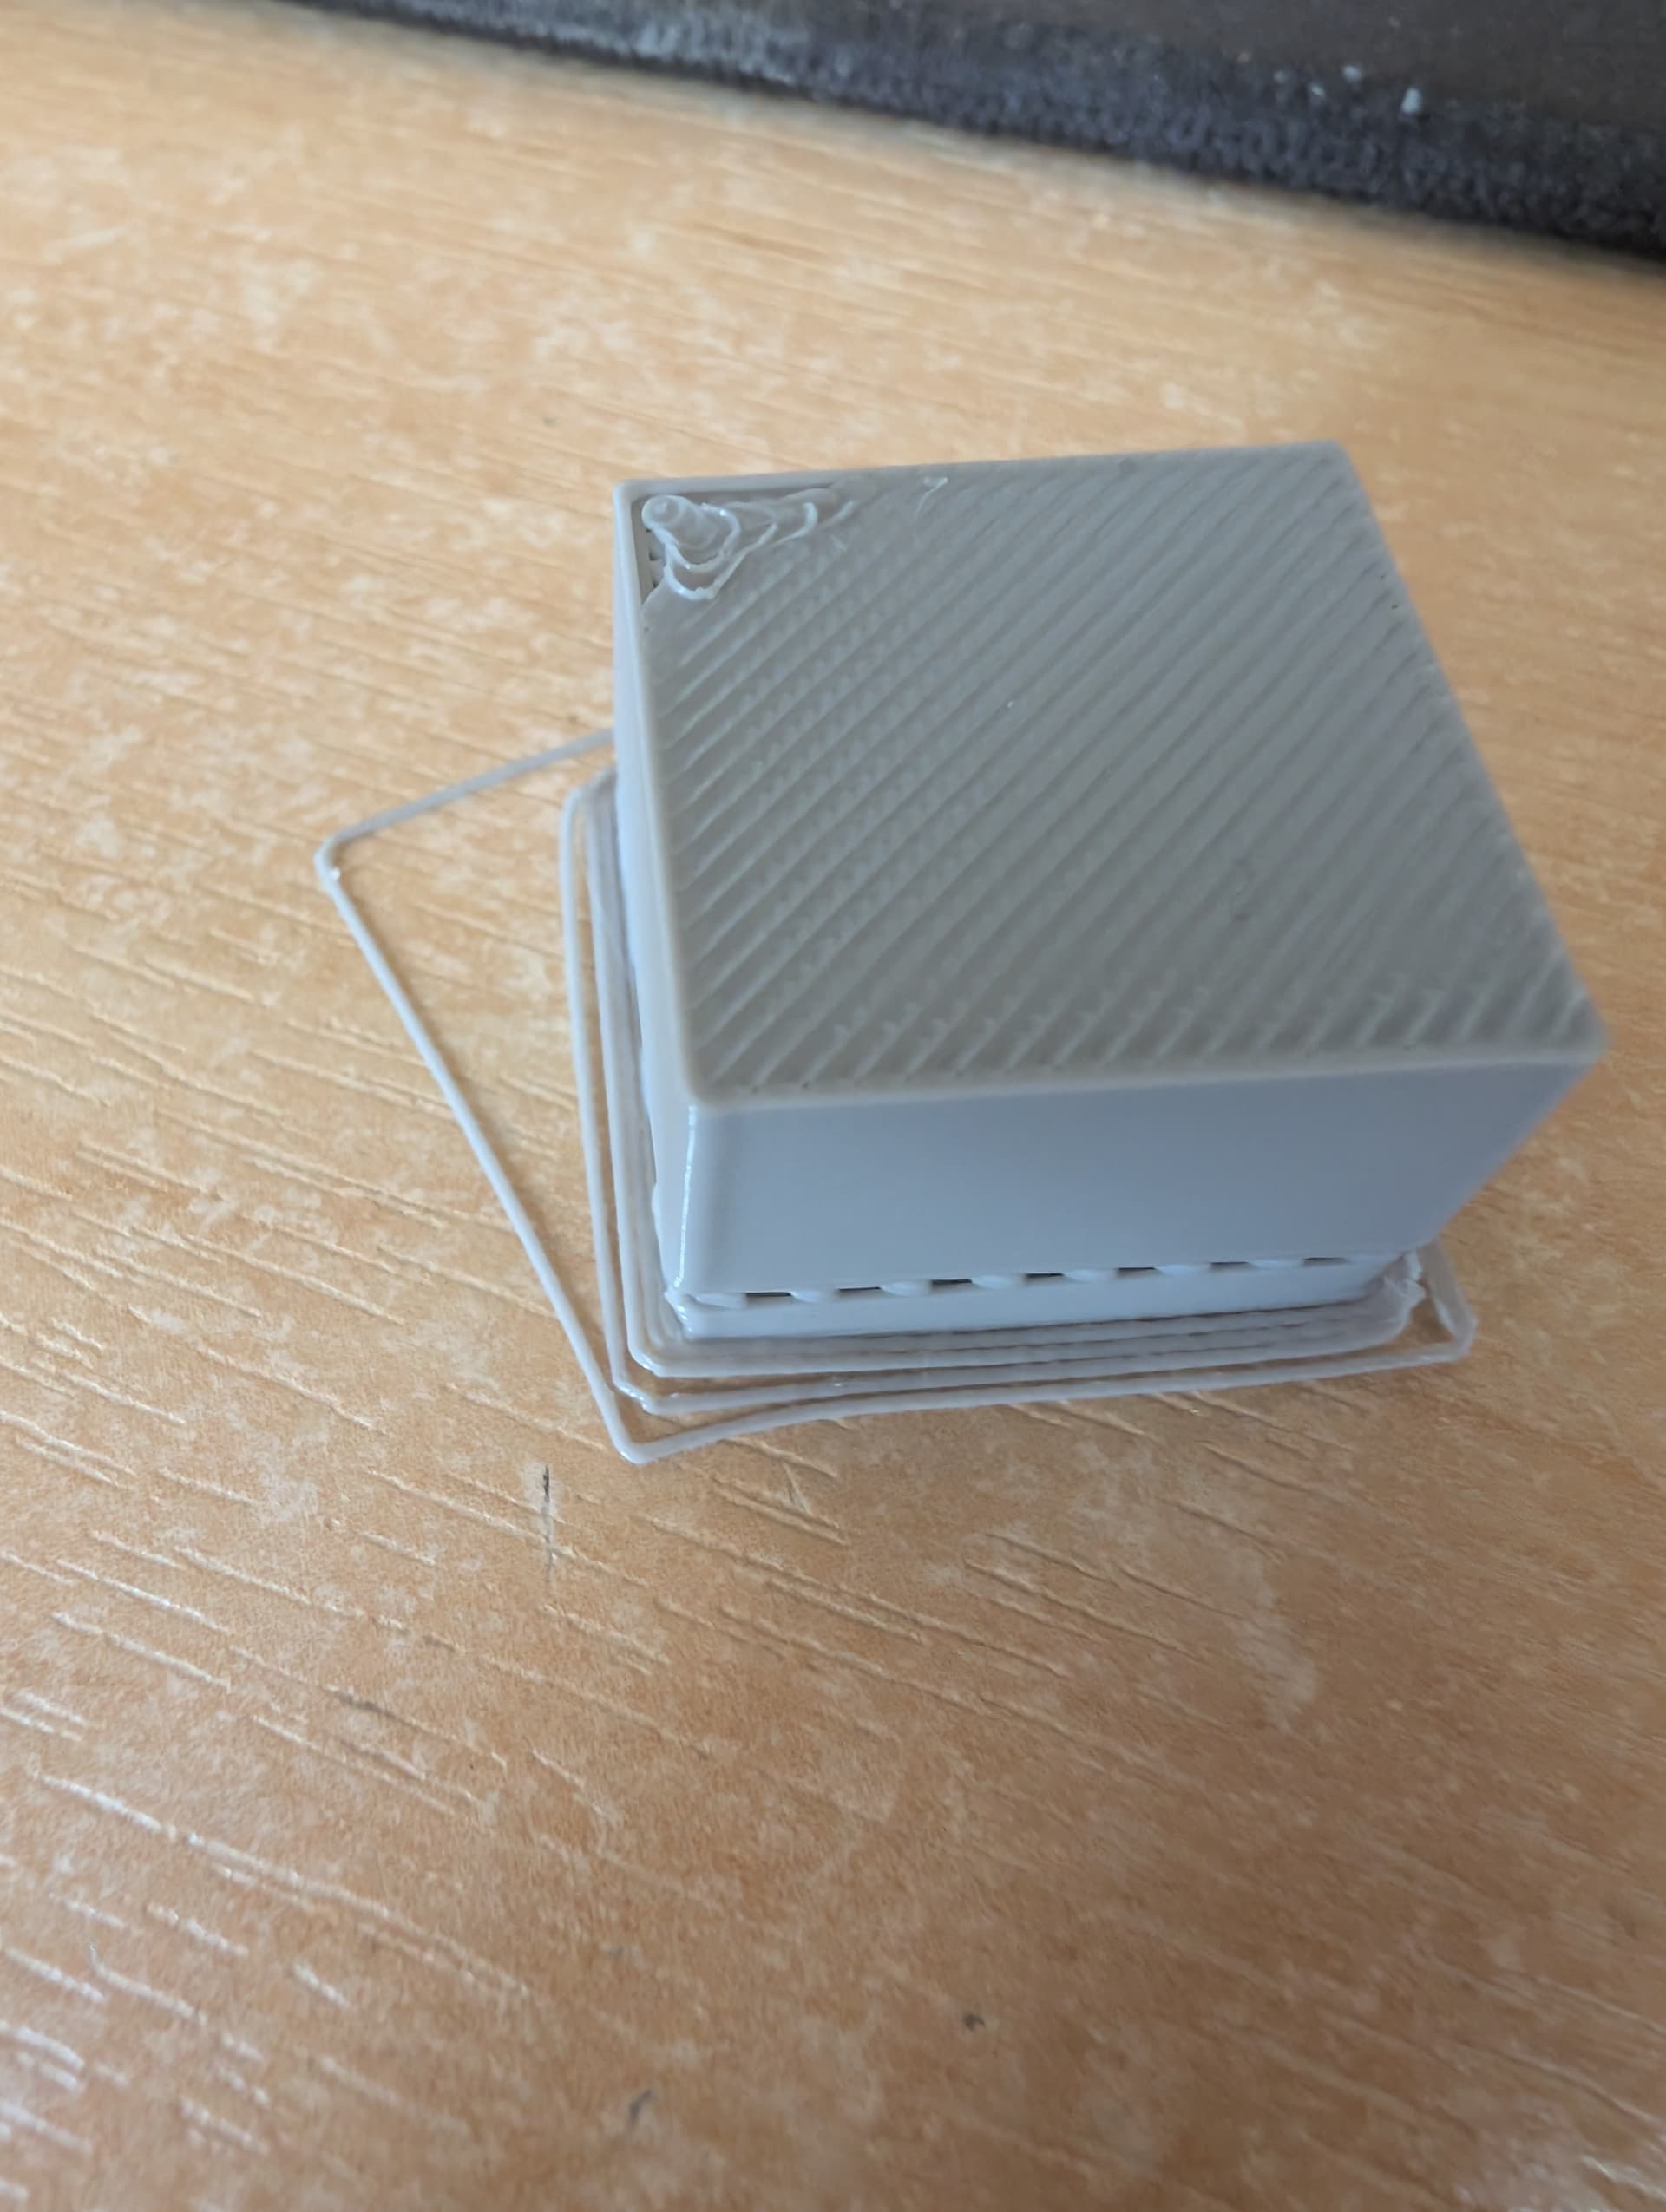
And, the picture that you show, looks, to me, as if the base isn’t level. When you level/tram your printer, do you then STOP using the auto-leveling process, once it is fixed in the machine? That helped my prints measurably.
I was having all kinds of problems with filament feed after I upgraded the software on my KE printer I tried everything and what finally worked was to revert back to the original software that came on the machine Will never upgrade again
Those gaps are an indication that your Z offset may be off, or your bed is not level across its width. Lower the nozzle a tiny amount to get the lines to squish together. That will help with bed adhesion as well, since there will be a solid plastic layer on the first level, rather than an array of lines.
How are you cleaning your build plate? If wiping with IPA, then try switching it over to washing the plate thoroughly with dish soap and warm water. Use a loght duty dish scrubber that won’t scratch the build plate’s surface. It worked for me on my K2 when I had the same problem and tried all the more complex solutions first.
Already using dish soap…problem seems too have been temporary…not had the “balling up” issue for several prints in a row now…not sure what the issue was…
Have you tried moving your z up in expert mode, when it begins to print. For a little bit, I had to do this to get a good first layer. It has since been resolved on its own. But the amount of -Z was very very tiny. .050. For some resaon, you can only adjust the Z in expert mode, while printing.
I’ve heard that NOT changing the build plate from the default smooth plate to the textured plate, has an effect on first layer height. Should probably try that one of these days… but honestly, the printer has just sat here for weeks - nobody is willing to “tinker” with it for hours to get any usable print.
My PETG needs 0.025mm higher Z-offset than PLA.
Since I had to replace the nozzle also PLA needs 0.005mm as default which mean that with the macro PETG will get automatically 0.030 now.