I am about to try PETG on the K2 Plus for the first time. I hear it’s not easy. Looking fir things to do (and not do) to ensure adhesion and good turnout and easy support removal on mid sized parts with average contact area on the base.
I don’t find there to be a lot of difference to using PLA other than temperature …
I have a textured PEI plate and it is enclosed, but apart from that and temperatures it is normal.
Cheers.
Added…
At present I am printing Esun PETG Carbon Fiber at 235 + 75 degrees and it is coming out perfect.
No Z offset , just standard probe before print.
I have lots of trouble. For PETG, the bed is set to 70C. For whatever reason, I have to lower the Z height -0.1mm or so to get it to stick. (Some people have to move theirs away, +0.1mm or so.) Issues seem to be 1st and 2nd layer mostly. Therefore I suggest creating/loading a small model with few layers (or that you can stop.) Start printing it, and be ready in the fluidd interface, to raise/lower the Z height using the buttons there WHILE printing. May have to do this several times to get a good value.
When you find a value which works, can edit the printer settings in the slicer, should have a “Z height” or similar value which is 0.0 - set that to whatever works for you. Unfortunately, there seems to be a Z difference between jobs sent from the slicer, versus jobs run from the printer’s storage. Pick one and stick to it.
I think there are K2+ printers with physical differences in the wild. So yours may work better, or worse, than mine. But most report success with (the very forgiving) PLA. PETG is harder to print well however. Best of luck!
And glue stick, yes or no? I printed PETG on my CR10sPro straight onto a mirror tile, and it stuck perfectly. Too perfectly, in the end, when a fault sent the bed up to 150+ °C and fused the tile and the model. Ended up pulling chunks out of the mirror!
Don’t want to damage my PEI sheet so early on, but there are prints I make where PLA just won’t do…I may take your advice of a small model and add “in one far corner of the bed”…
Hi,
I do find that Esun PETG Carbon Fiber at 235 degC with 75 degC bed does tend to stick quite firmly to my textured PEI plate and have toyed with the idea of using glue stick, but at the moment they will come off with some persuasion …
Something I may try if things get tooo stuck, is put it in the freezer for a few minutes (No, not the whole printer ).
OK bought some fresh clear PETG from Overture (everyone says it’s the best for clear prints,
The test patterns the K2 runs worked perfectly…but the small test square Just balled up. Plate set to 70, extruder set to 240. I solved this on older machines by moving to 80/255, but I’m just wondering about the Z height.
Since most people accept that PETG requires different nozzle heights to PLA. is there a way to make the offset part of the PETG material profile?
If I had to guess, I’d say the test patterns are closer to the bed than the actual print; not saying that’s the way I want to go with solving this, just my observation.
Didn’t use any glue stick for this first test, and I cleaned down the buildplate with soap and water, followed by IPA.
Sorry I must seem a bit dim. I’ve been 3D printing for ten years but until last week very definitely at the “low tech” end…many terms like “input shaping” and others are new to me.
So, in detail please…I’m looking for the part that allows “per filament” changes in Z-offset (or whatever that is called these days)…so that the printer “knows” when I select PETG that it should “Back off” or “move closer” with the nozzle compared to PLA…
If you can draw the picture, I can provide the sand!
Double post, sorry - but at the moment I’m getting a difference in adhesion between the “bases” for tree supports and the actual print itself; the bases seem far lower adhesion, and seem “thicker” somehow than my first layer…
…suiddenly remembers that first layer is often set to half the level of other layers…I’ll check that in a minute…
…but how do I stop the problem with the tree bases?
@GreyArea , is there a way to make the offset part of the PETG material profile?
Actually there is in Orca-slicer but CP6 has a bug and does not include the Filament start G-code section into the print file and therefore this method cannot be used.
There is also another drawback of including it into the filament profile: If you use PETG as support (interface) for PLA (or vice versa) it would not work!
Therefore I created a macro which does it on print start: How to set Z-Offset based on used build plate and filament with simple klipper macro
@GreyArea , there was also another bug in CP6 using tree support with ‘default’ settings: It used adaptive layer height for the support and even when you switched it off in the settings it was still using always max printer layer height for this support!
You could avoid it by switching tree support to ‘Organic’ which worked then with the same layer height than set on the print. There was another bug in this tree support which is not so problematic: it used always two walls for the support tree, but this was in most cases rather helpful.
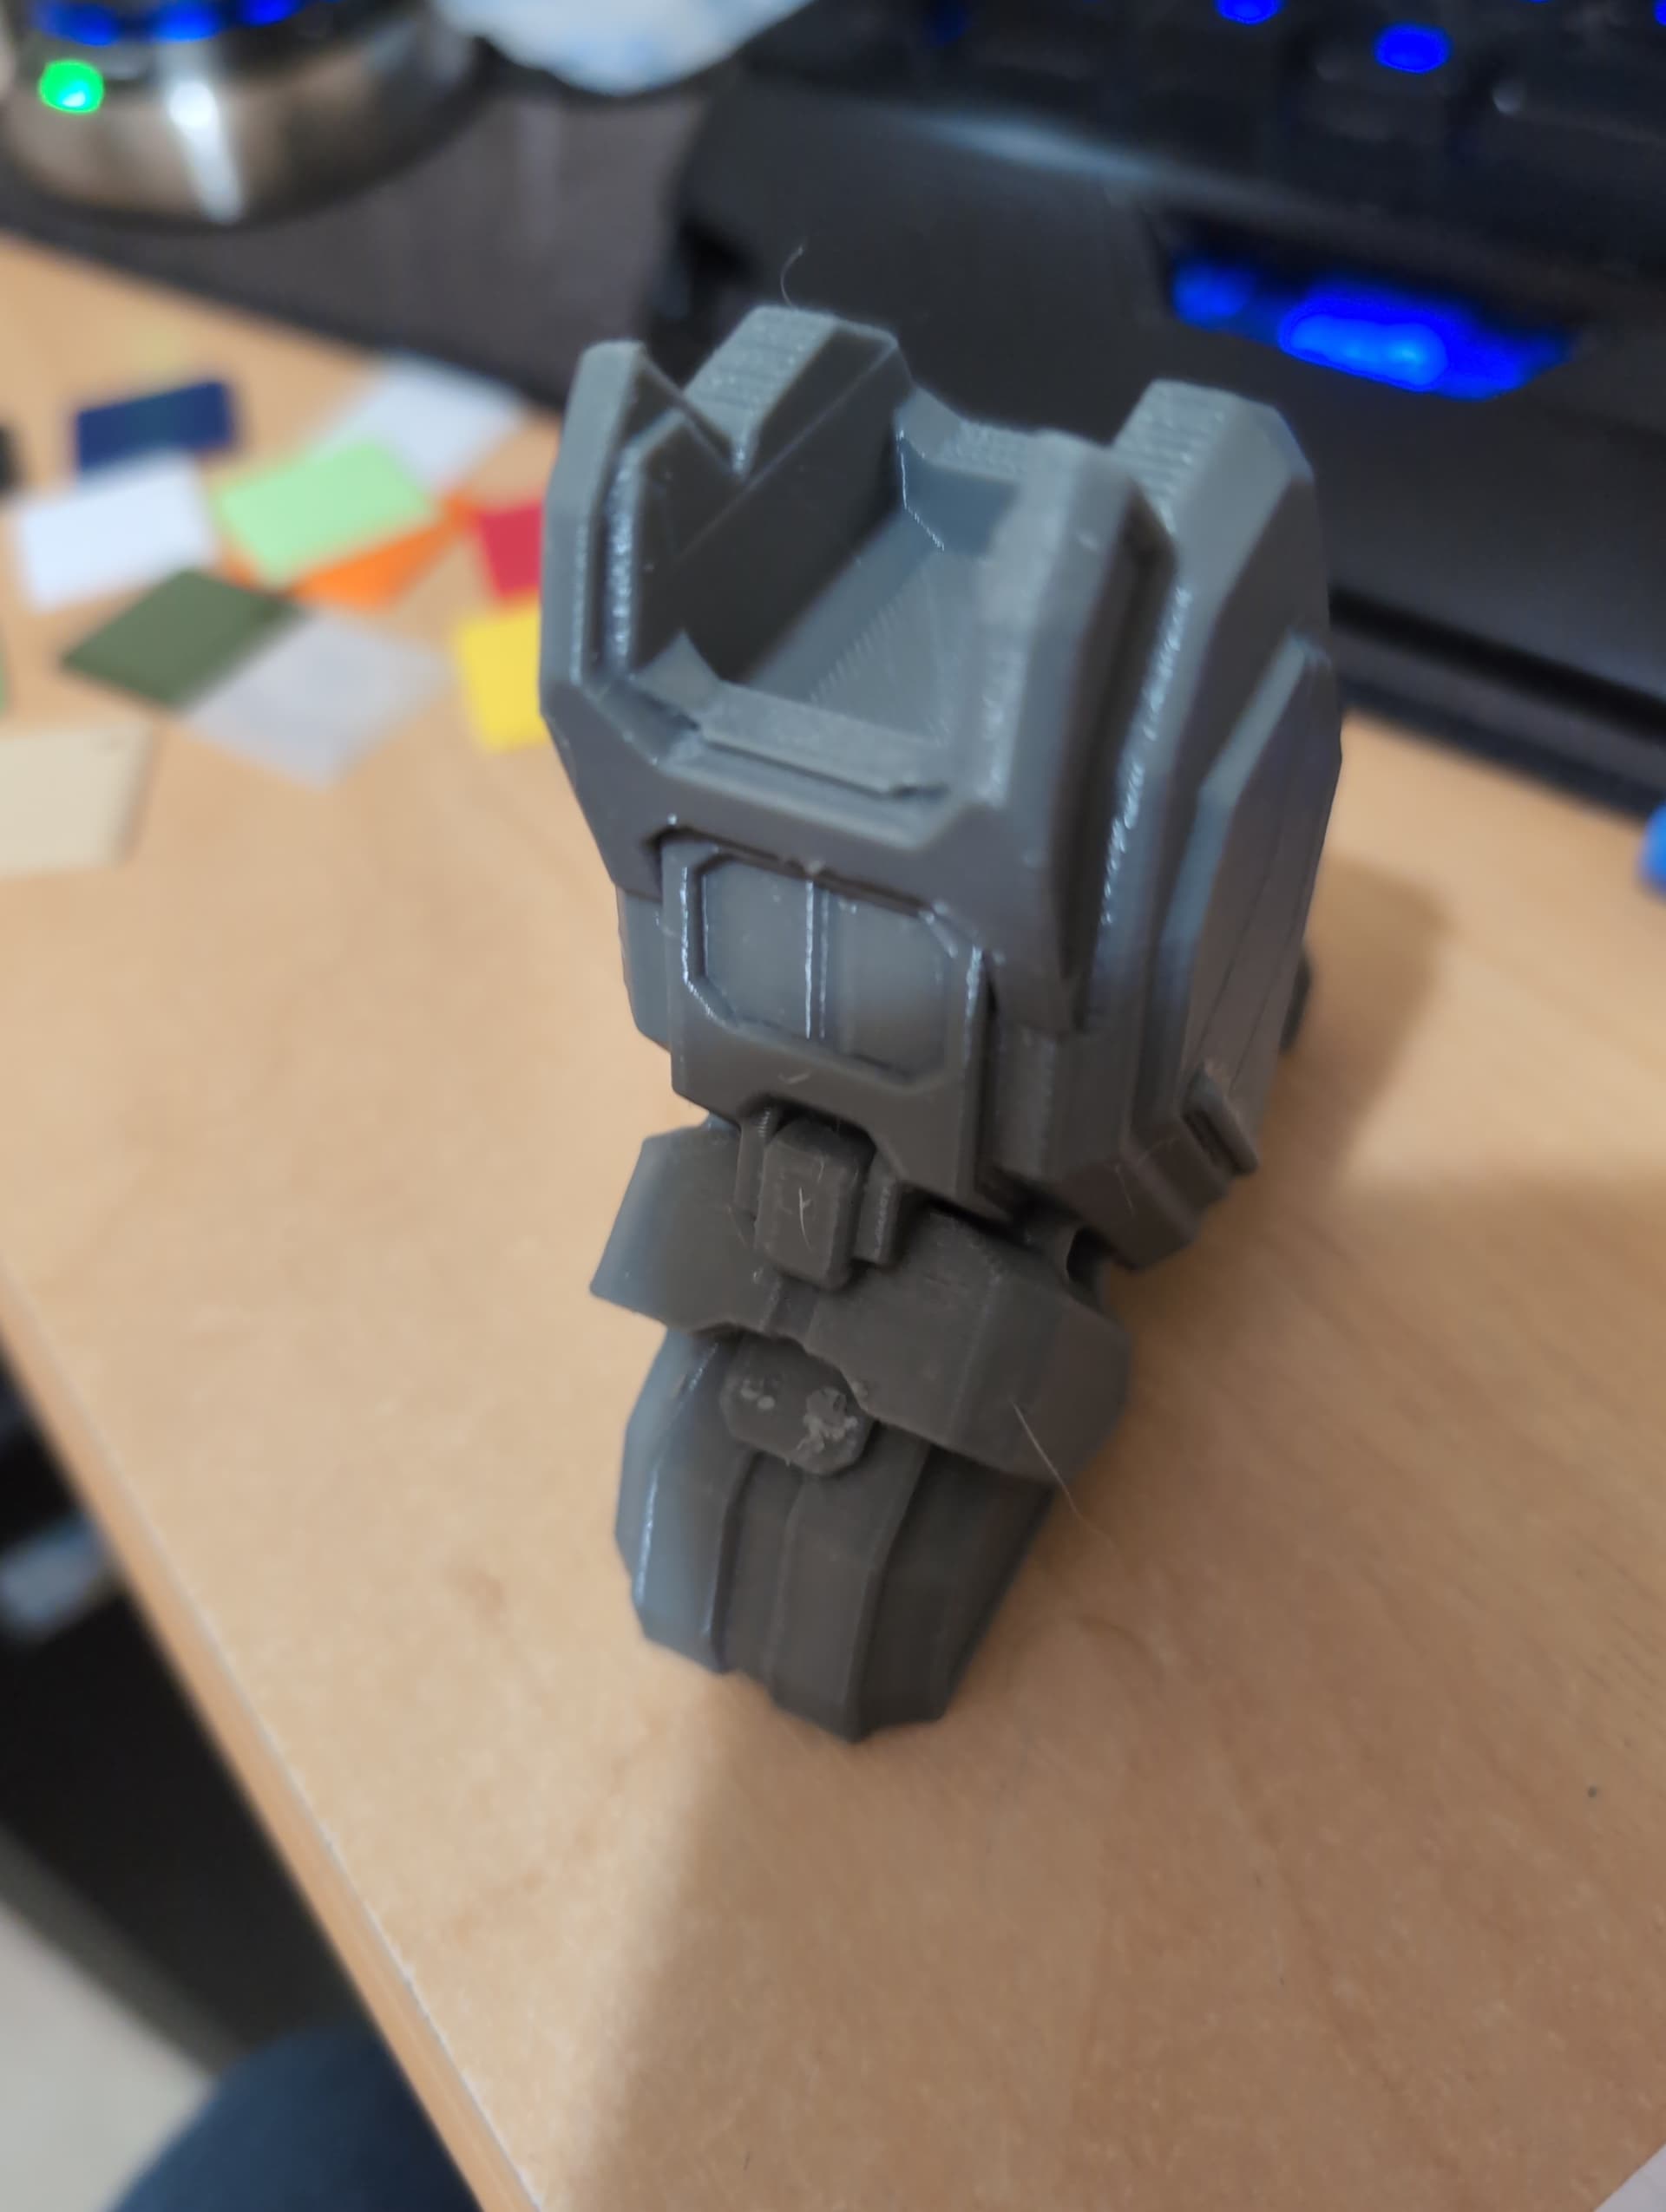
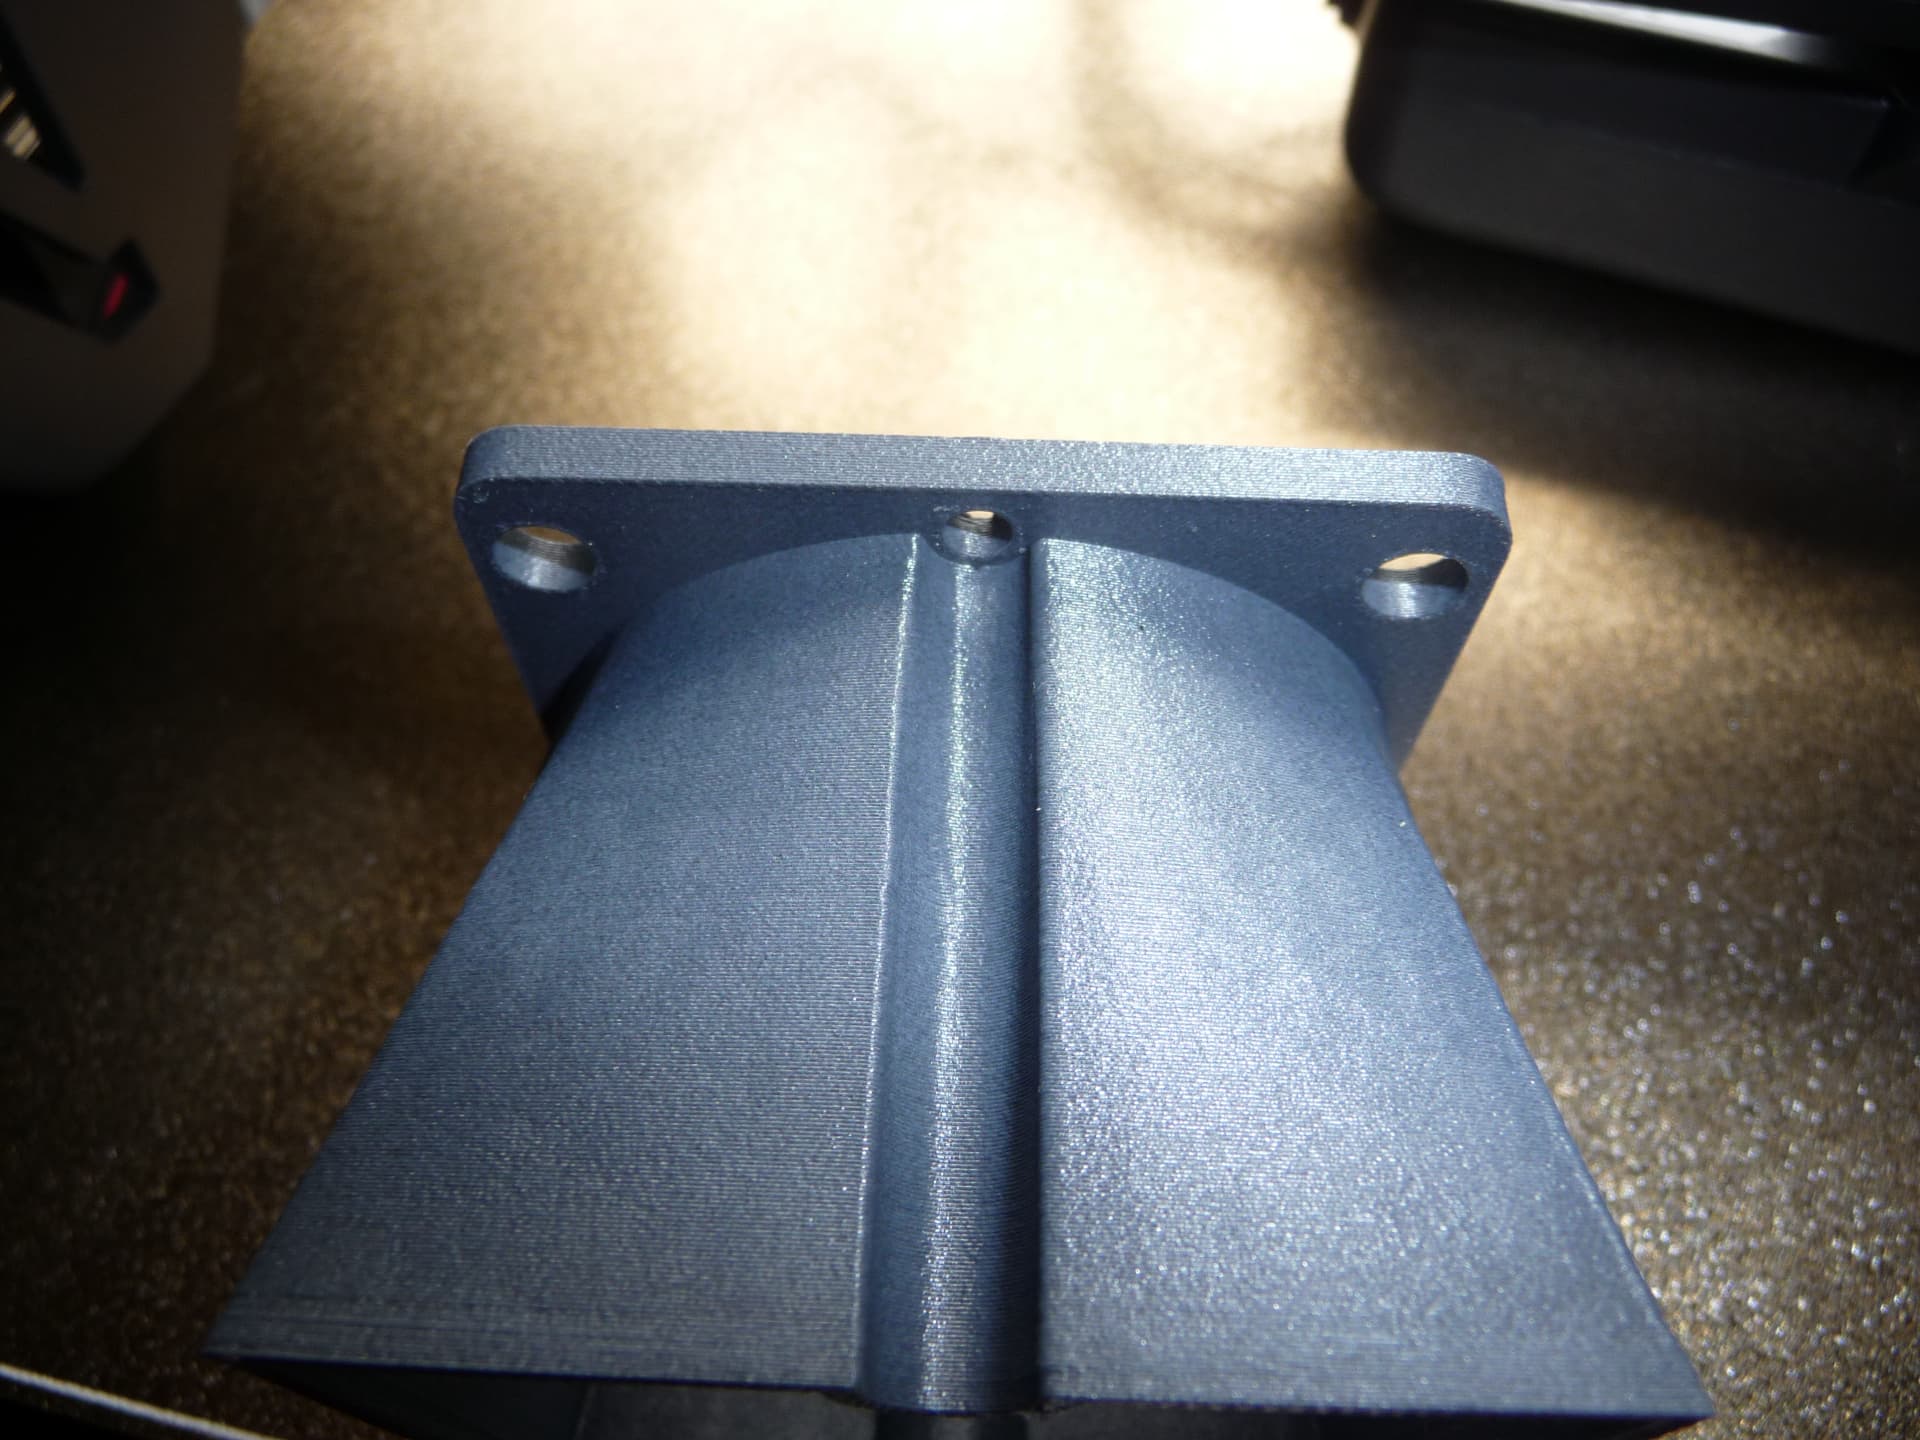
In other news, grey PETG prints like a dream (pictured below). It’s the clear that I’m struggling with. It’s probably my fault for starting with that; it’s the highest resin content because there’s no fillers or pigment in it. As a result it’s very cohesive (sticky) which means it has more affinity for itself than the bed…
What is it with this printer and 1st layer issues??? - I’ve come from 9 years in the Prusa ecosystem, and Bambu have demonstrated that “send and forget” printing is now the norm for the modern era. So why are we still seeing frequent threads like this, with first layer issues with common materials!!?? - this is just not good enough, from apparently the largest 3D printer company in the world!! - I would still be in the que for a Prusa CoreOne if I hadn’t needed the larger bed size (and actually, I do love the CFS autoloader) but I thought this “flagship” printer from Creality was going to be their answer to Bambu!! - so far we seem to be disappointed.
Don’t be intimidated by PETG. You can use the PETG profile in CrealityPrint with no problem. If you have a PEI plate I recommend you spray it with hairspray for 2-3 seconds before printing to help release. Usually you can let cool down after a print and it will release.
I put off buying PETG for ages because of things I had seen. I tried it and its not really any different as long as it is dry and 3D Lack or similar on bed to aid adhesion and release as the Petg sticks to the glue not your bed
I dry my PETG in a container with silica gel near the heater. When I put it in the container, the humidity level shows 30%, and after 24 hours, it’s down to only 10%. So far, this method works perfectly, as there’s no cracking or popping during printing. I leave it in the container for 48 hours, and I’ve modified some containers so that I can print directly from them. At a local budget store, I buy these containers for 3 euros each.
You can also dry your PETG directly in the printer by setting the print bed to 60°C for about 6 hours.
i also use the stuff in the pictures when i am in a hurry that stuff is realy good it brings down humidity level in 1 hour its only a little expansive 5 euro for 2 months