I know quite a few factors can impact filament parameters and performance, but I thought it might be a good idea to start a thread where people can share results and the settings they used for their filaments with their K2. It could be a good reference or point of comparison for someone who has just tried dialing in theirs and might not be having optimal results.
Very cool I like eSun a bit, maybe second to Sunlu for me. I only recently printed with PETG-CF and wow, blown away. Strength and beauty all in one and now I’m on the hunt for different colors of it lol.
TLDR: Getting the PETG first layer correct (I’m currently using a 0.24mm first layer height instead of the default 0.2mm) appears to be the key to preventing nozzle jams.
The stock CR-PETG profile settings in Creality Print for the K2 Plus have a high Max Volumetric speed that as of Creality Print v6.0.5.1840
is set to 18 mm3/s compared to a Prusa recommended8 mm3/s.
Every time I printed with the stock Creality CR-PETG settings with a fresh role of Creality CR-PETG on a model with a large base, it clogged the nozzle by the 2nd layer (same with other PETG filaments that had been oven dried).
Slowing down the max volumetric speed to 10 mm3/s did help, with multiple test prints not jamming however a later print did result in a nozzle jam.
I noticed the first layer for PETG was closer to the bed than ideal, but on another printer I use this had never been a problem. So I tried a 0.24mm first layer height instead of the stock 0.2mm and now the first layers look fantastic and after increasing the max volumetric speed back to 16 mm3/s results are looking promising.
Dear all, Creality updates and changes printer and filament profiles over time. On CP6 there is a page where you can update the system profile to the newest version:
If you click on the creality logo on top left of CP6 and the select Online Params you will find the list, select the printer/nozzle combination you use and the see if there is an update button. If yes, run it to update to latest version as they are not updated automatically when you update the slicer!
I look every month on this page and update for the 2 printers/nozzle types I have (from Creality).
By the way, your user profiles are not changed but the new System profiles overwrite the defaults in there which you may not have changed.
@Radical_Data ,
I do have a lot of eSun PLA, High speed (ST), Silk and Matte.
I have to print them all with 220°C but the bed (standard PEI) can stay @50.
When I print at lower temperatures I suffer either in layer adhesion or/and print speed. On the spool they say anyhow 190-230 and for our K2 hardened steel nozzle we need tu run rather at the higher end.
On my Qidi printer when I had there normal brass nozzle I printed also at lower temps but when I changed there also to hardened steel I needed for some of them even to go to 225°C to get acceptable flow rates and layer adhesion. On other side I needed 5-10° higher bed temps on Qidi than for K2+.
Your Creality PETG is also with low temp, the slicer system setting set it to 240°C and most of my PETG requires 250-255 (aside from some extrudr matt or XPETG which I print ~235) on K2.
Do you use these settings for K2 Plus or for another printer?
Ok, @Radical_Data ,
this is a thread for the K2 Plus and the settings posted here need to be for the K2 Plus as well as far as I understand, not for other printers because they vary so much that you cant use them on printers with other extruder/speed/nozzle!
That’s right frank. Just with my experience so far and it starting a nightmare that’s slowly turning into a dream (not to be corny) I’d like to try to help others along the way so they can hopefully have a little less heartache than I did starting out so they can sooner appreciate what they have in front of them like I do (now).
I have had excellent results using the.28 layer height preset with ABS & PETG. I’ve ordered some American Filament PCTG Filament, just waiting for delivery.
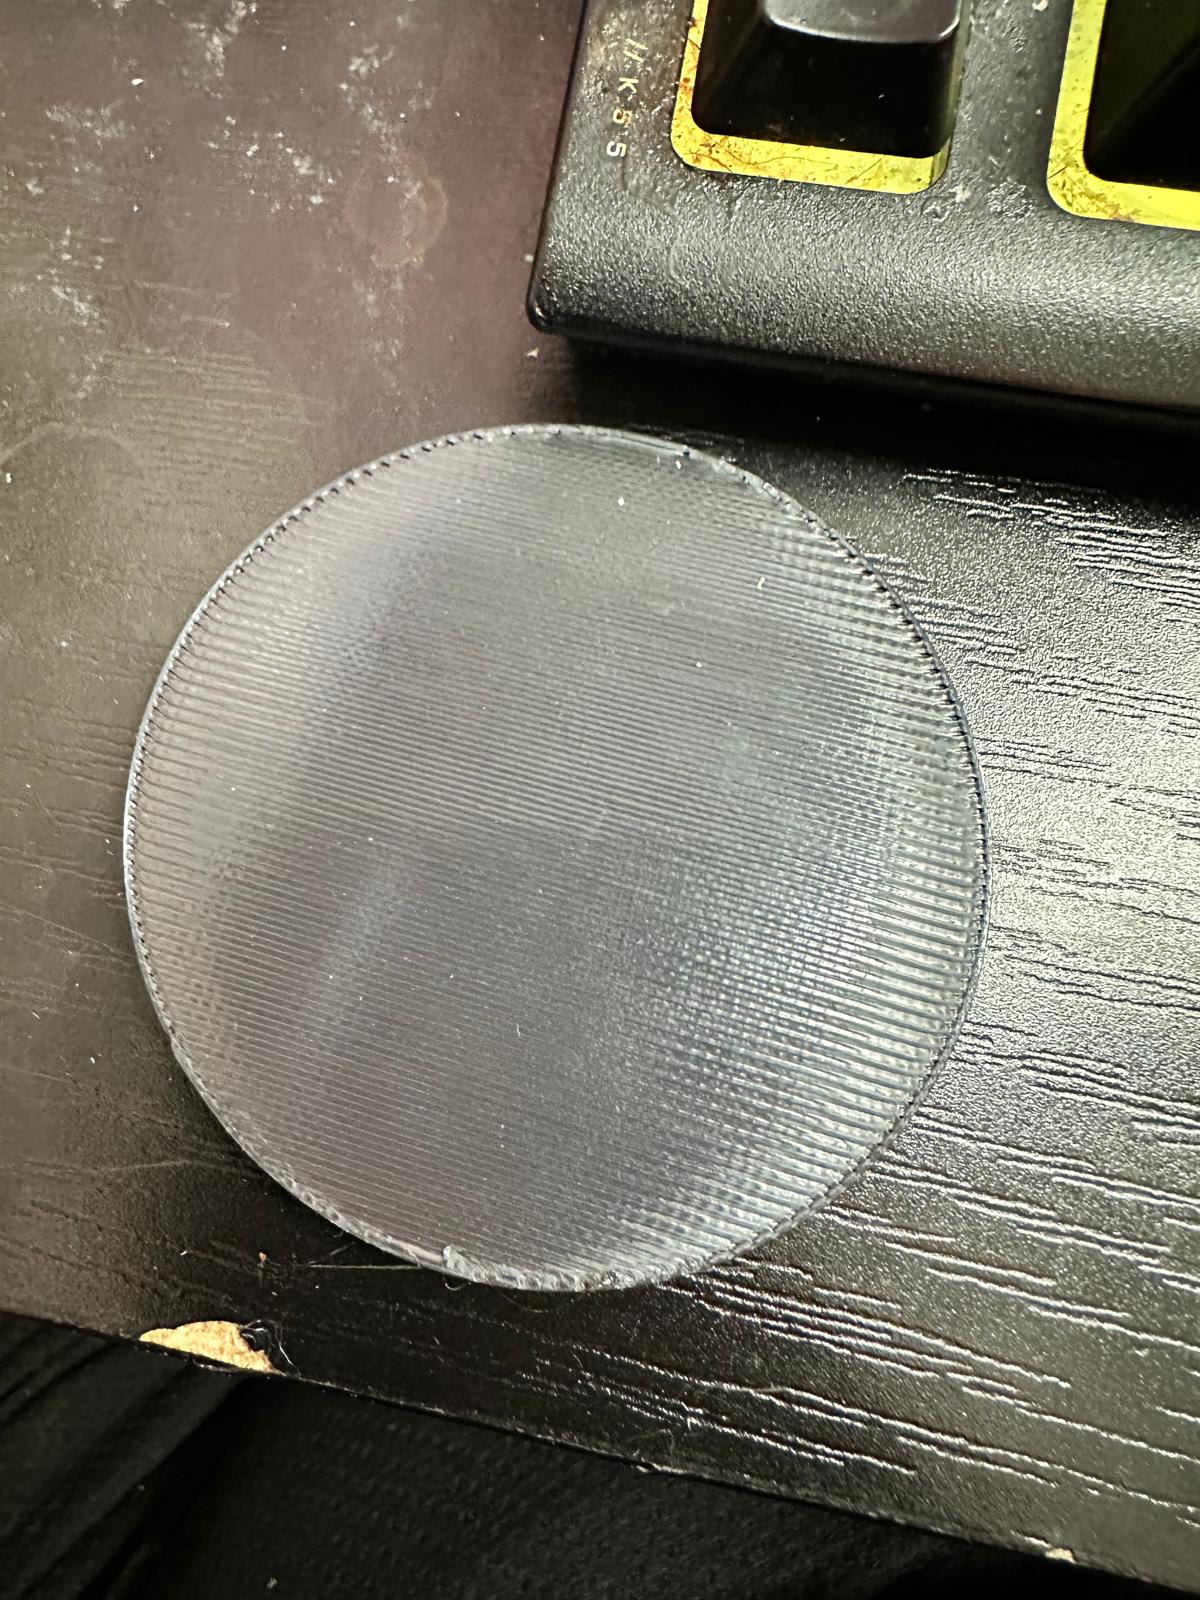
What was layer height and how many layers are this?
Did you use calibration for the print?
If there are >2 layers then top surface would lead me to adjust flow rate but on one or two layer prints you cannot really see correct flow rate.
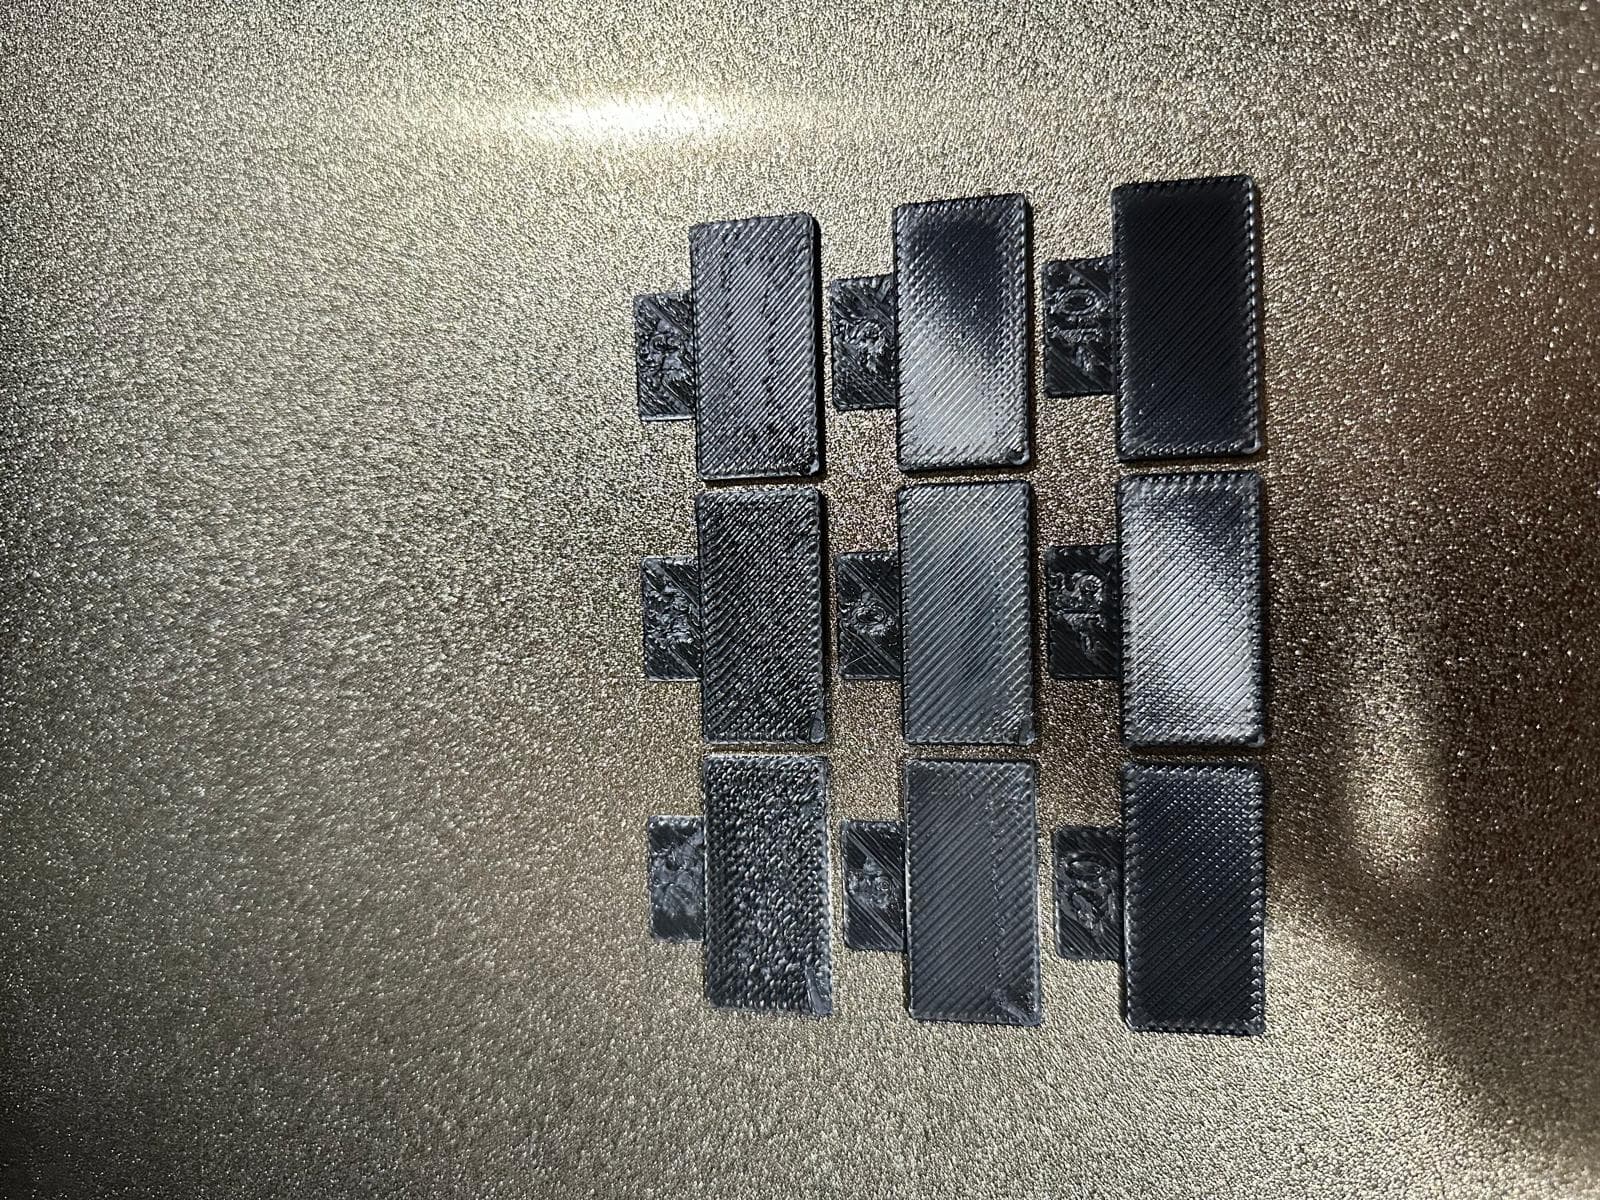
I didn’t use calibration for the print, it was my first print with it so I tried the default (updated as per your advice in the menu, thank you!!) just because I figured what the hell do I know better and maybe the default profile is good. By the way, I use the post you shared for new roll calibration literally every roll. Thank you for that.
Oh, you went the hard way! I used this test only once in last 3 month because the K2 flow rate calibration produced no results on a white silk filament. I usually use only the method I describe here because it’s much shorter and you could have done it within printing this first disk you showed.
In your case I would go with -5 for the 2nd step!
I don’t see the calibration settings in the printer for auto pa/flow. I only see bed leveling, cutter, etc. Is there another spot? There is in the print tab once you click on ‘Send print’ in CP6 “Print calibration” though which is what I’ve been using.