Dear all! I see a lot of problem statements in the forum therefore I would like to share my best practice so you can benefit from it.
I had 200+ rolls of different filament from 20+ different vendors before I got the K2Plus Combo as my first 3D printer from Creality, only 5 rolls (including those which came with the printer) were from Creality.
I used before mainly Orca Slicer for my other printers and had setup tuned filament profiles there for all the filament (types) I used.
Now I can mainly use only the temperature for the K2, the PA and flow need to be re-calibrated and luckily K2 can do this for you and help you in there!
So for every new filament type I use on K2 I run the following (using CPv6 now instead of Orca)
create a small new project with 0.2mm and using just a disc pattern from the slicer.
Use a generic PLA/PETG/… filament setting from the slicer
Important, use the original Textured PEI plate which came with the printer, on Epoxy plate there will not be any calibration!
Make sure that on the printer in the calibration settings the ‘Auto PA Calibration’ and the ‘Flow Ratio Calibration’ is turned on, normally all the flags on that screen are turned off in my setup.
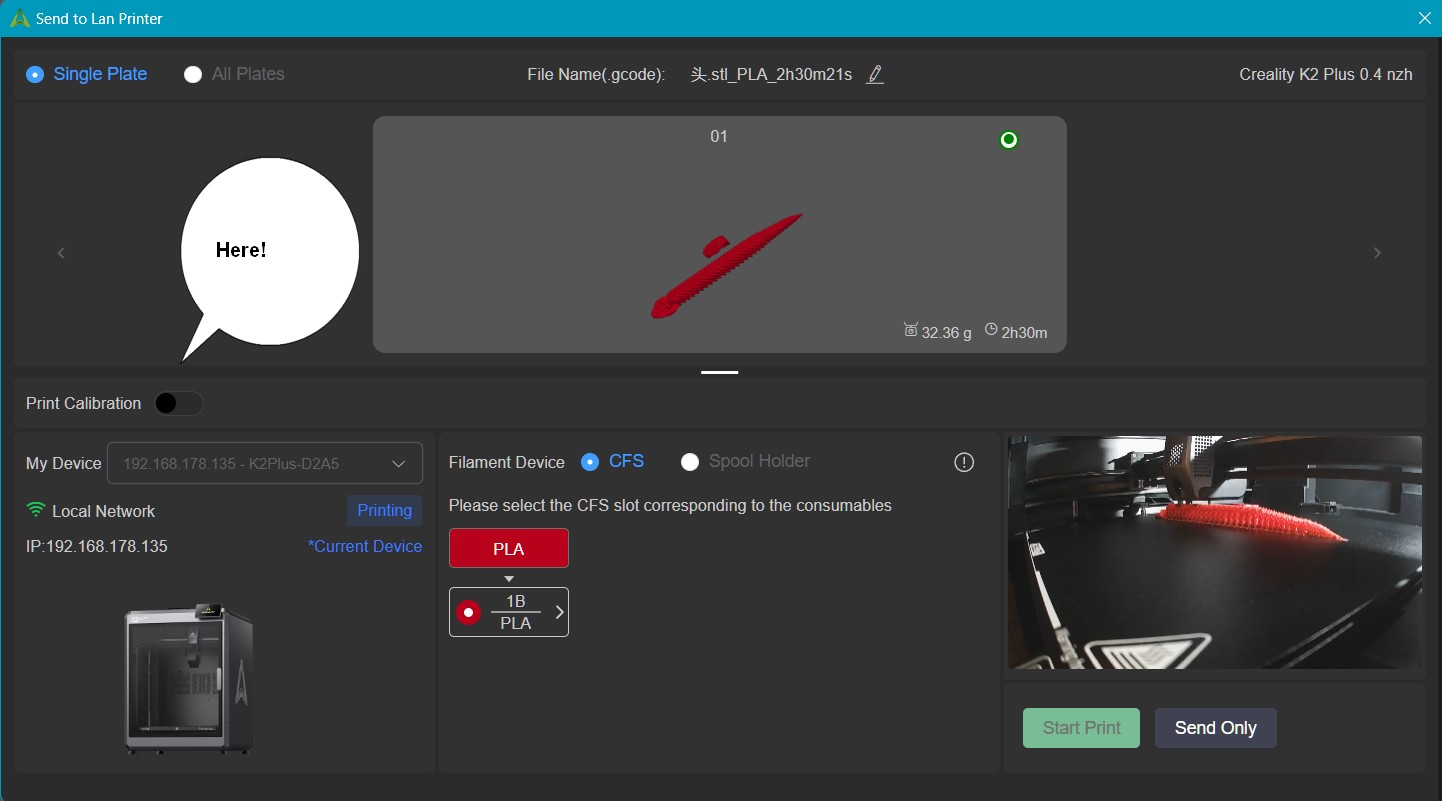
Slice and send the print to the printer in CP6 with the calibration turned on!
The printer will then print and run first print bed calibration, then PA calibration and the flow calibration before it will start to print the disk.
When it prints the disk you need to go to the fluidd interface of the printer (http://ip-of-printer:4408/) and look up the printhead tab where you see the changes which the printer measured: The presassure Advance number the printer is using after calibration & The flow multiplyer the printer is using
In CP6 open the General filament setting you used for the print and eneble use of PA and enter the PA-value (0.088 for me)
Look which flow rate the original flow rate was (0.95 for me) and multiply it with the flow rate from the fluidd (98%) so 0.95 * 98 / 100 = 0.931 and enter this in flow rate:
Change any other setting like vendor, color, maximum volumetric speed or cooling/temperatures
Save the result as a file with the name of your filament !
From now on I will use this when I print this type of filament (maybe in different colors).
Next time I may tell you how I generate myself NFC tags for my filament so the CFS or the printer can read them and at least understand the type and color of the filament!
Muchas gracias por el aporte, me parece genial para los que empezamos y lo hacemos con una K2. Voy a estar buscando tú siguiente post referente a los NFC generados, me parece muy interesante.
Gracias de nuevo.
Yes, I switch on PA & flow calibration on printer only when I calibrate a new filament.
I usually run also bed level calibration only after removing (for cleanup or parts removal) or changing print plate.
The FW 1.1.1.7 runs bed level calibration on the first print after boot as well.
So in between only the filament profile is used.
I have been using Orca with my Bambu Labs X1C and using the pressure advance and flow rate calibrations routines in Orca to fine tune my settings. Is there anything similar in Creality Print V6?
Yes, I did and am doing the same for my other (Qidi) printer as well, but K2 method is much faster.
CP6 has similar calibration function like Orca slicer (V2.1 but not yet same as V2.2) but I used them only to check or for some filaments where K2 flow rate calculation is not working (my anthazit ASA from extrudr for example).
You also can continue to use Orca on K2, only difference is that you need to assign CFS filament slot hard coded and you cannot switch calibration on. If I use Orca and need calibration the I send file to printer and start with printer.
First, thanks for the info. I have been playing with the calibration routines in V6, and there is not much difference from Orca. I have not figured out how to send it to the printer without going to the printer and turning calibrations off at the front panel. Is this the only way?
Could you be more specific on the above statement? I want to continue using Orca for both my printers.
@txrpls : You can add & assign colors in Orca to #1-n and the print will use slot 1-n for it.
When using CP6 you can re-assign the slot numbers before sending and you can also set a flag for calibration.
This options you do not have when using Orca to send the file to the printer. You have to be sure that the right filament is in the right slot upfront and have to enable calibration manualy on the printer.
Great post, wish I had seen this before I tried to find out about the calibration results myself.
If you like to visually check PA yourself below is the PA the machine uses on each line and in each box. When doing the PA calibration the machine prints five boxes then prints four lines going through each box . You can use these to judge for yourself which is best.
The difference between each box along the same line forward to back is 0.016, the difference between each line within a box left to right is 0.004.
The first line (left) in the first box (nearest door) is the lowest reading @0.02
K2 Pressure Advance Auto Calibration Readings
First box (closest to door)
1st line (on left) 0.020 2nd line 0.024 3rd line 0.028 4th line 0.032
Second box
1st line 0.036 2nd line 0.040 3rd line 0.044 4th line 0.048
Third box
1st line 0.052 2nd line 0.056 3rd line 0.06 4th line 0.064
Forth box
1st line 0.068 2nd line 0.072 3rd line 0.076 4th line 0.080
Fifth box
1st line 0.084 2nd line 0.088 3rd line 0.092 4th line 0.096
I know that’s a ton of info but I hope it’s clear enough.
Thanks for taking the time to put this info up for the rest of us.
I don’t find the screen reference in step 7. It is on the printer ui screen correct? Is it only available while the printer is printing the disc?