Just a quick tip… do not use a spirit level to level your printer bed, this is not how it works. You should be leveling your bed so that it is level in relation to your gantry and not to the earth.
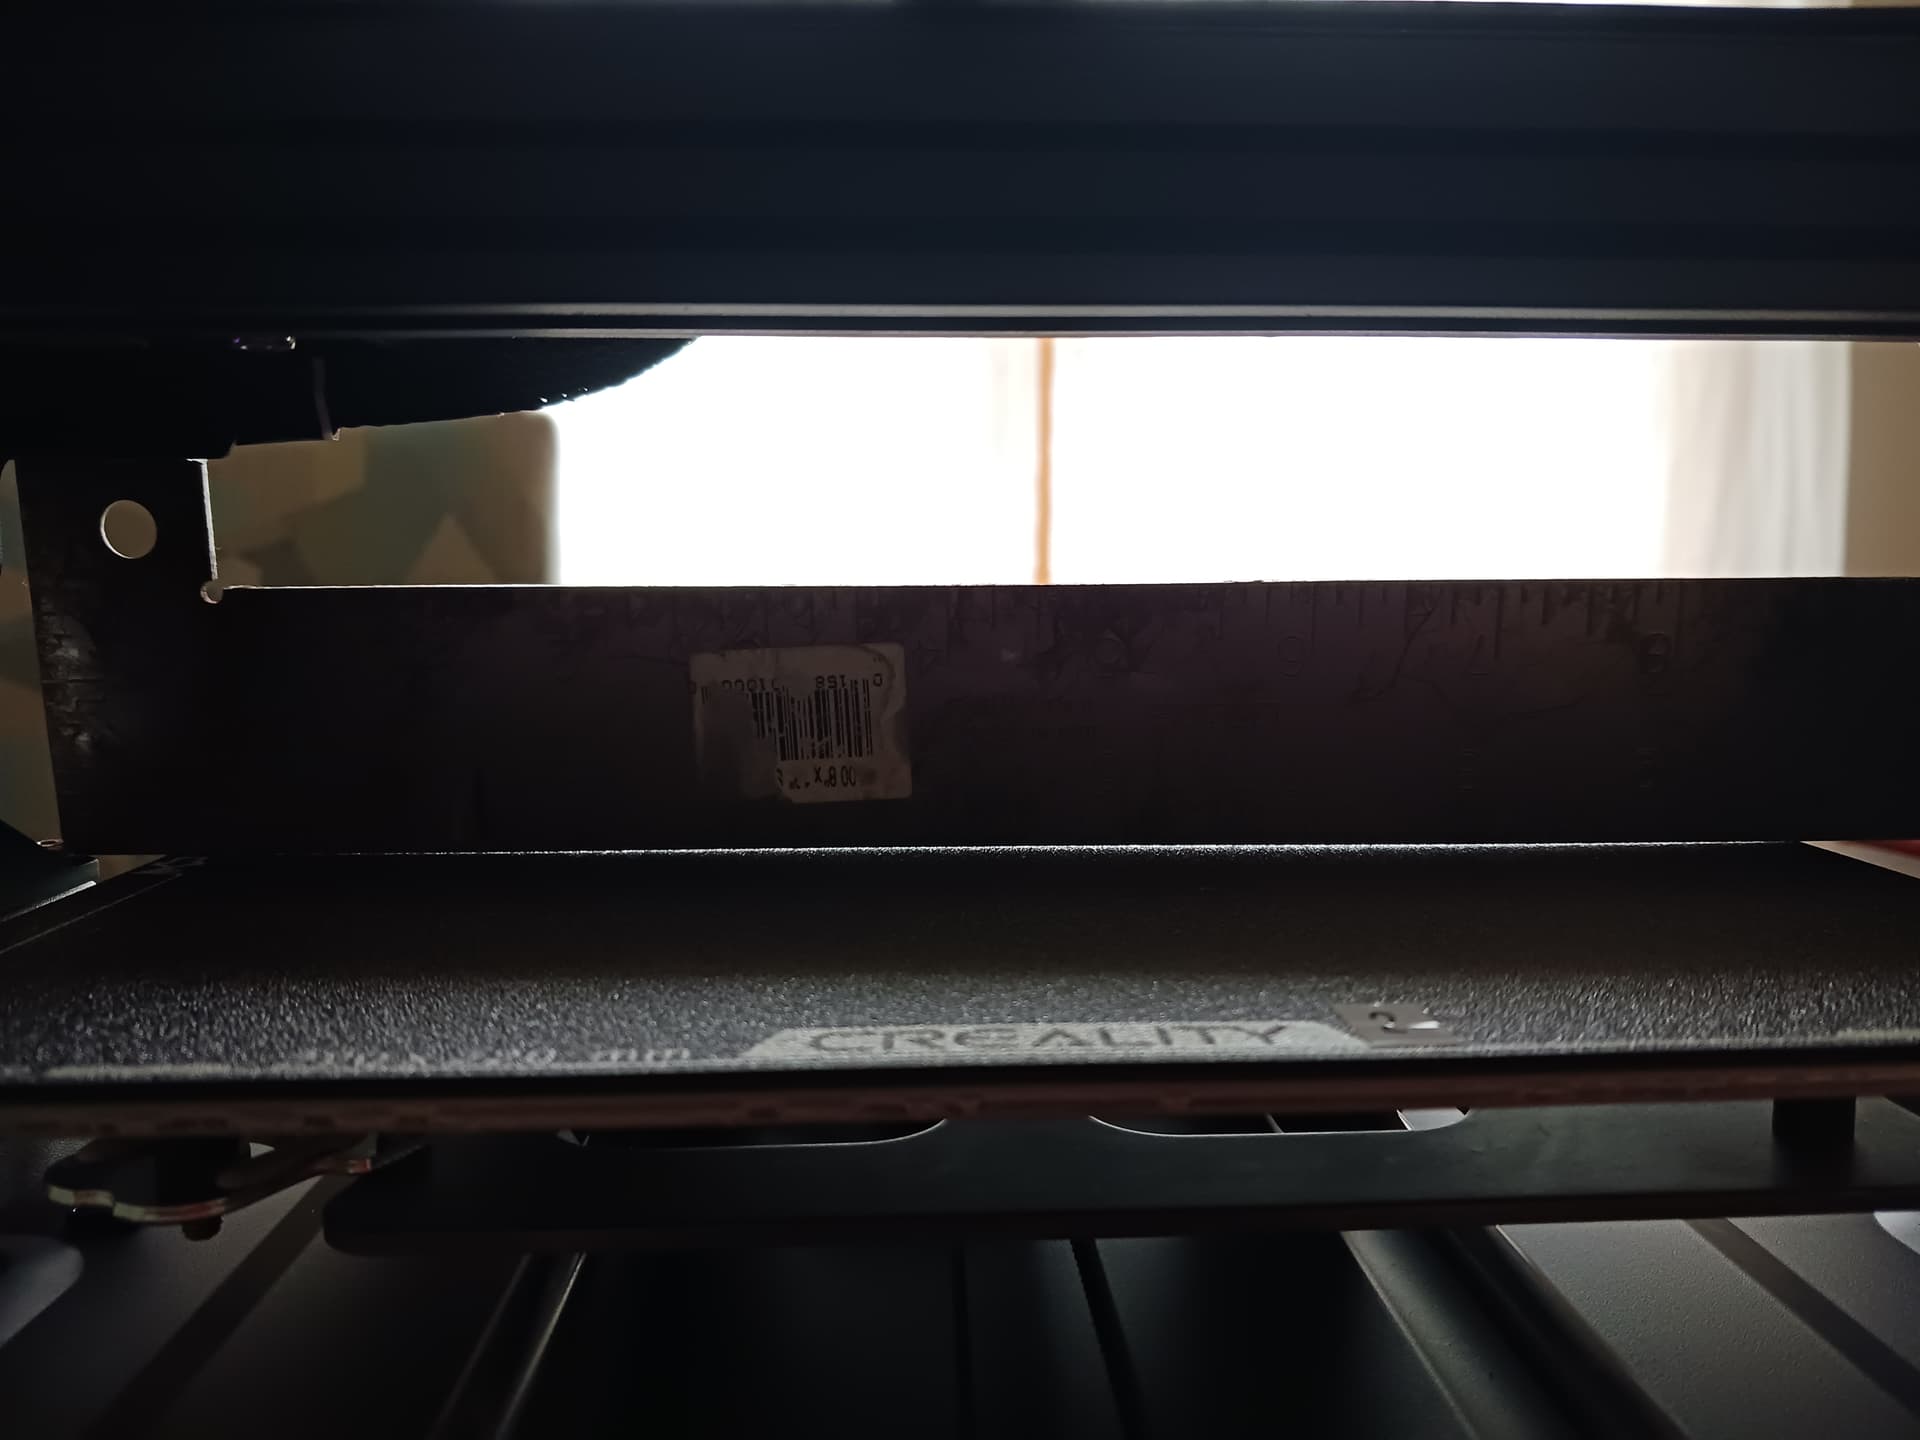
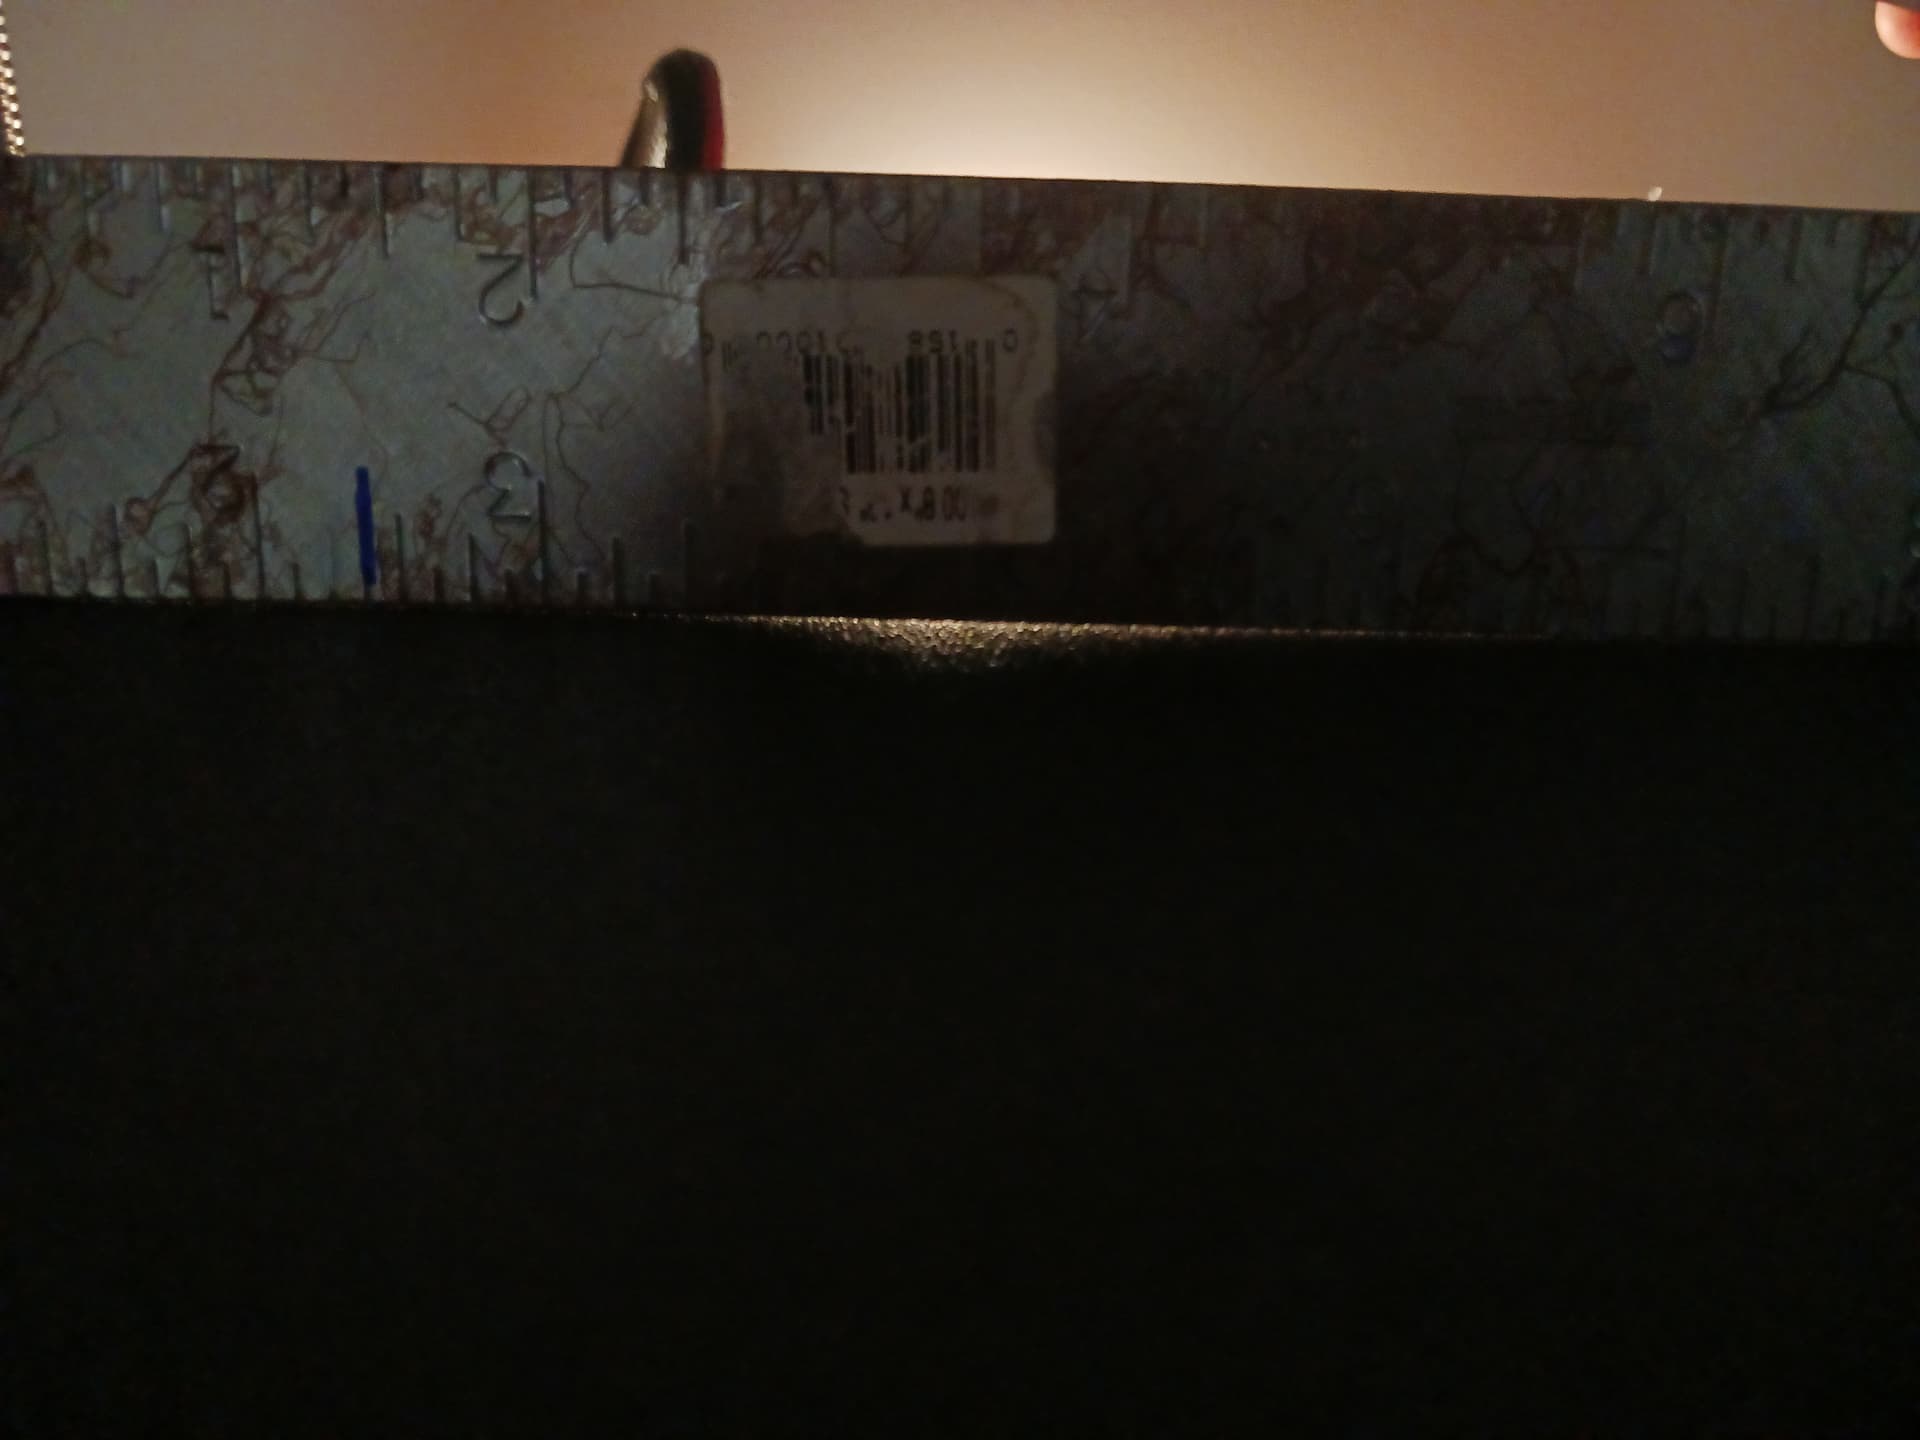
If you want to check if a bed is warped get a steel rule and place it on the bed on its edge and see if light leaks underneath it.
My bad. Sorry if I spread any wrong information.
Sorry @LethCollege
Obviously that makes total sense that if you level the bed then the gantry has to run parallel/level to it.Thanks for pointing that out.
I think I, and most beginners, get lost believing since this is machine is calibrated at the factory it wouldn’t be off so much as to cause the first layer issue I and others experience. I can see that happening on one built from scratch but I literally only had to install the gantry/head assembly to the base and that was it. I expected everything to be square and level to a reasonable point. Self calibrated and we’re off printing right?
I just received a replacement V3 KE because I determined there are a number of things wrong with my original one such as whining/binding bearings in the bed base fan (really loud) which usually indicate unquestionable failure to come sooner than later, and also uneven bed temps which I believe is the main culprit regarding my first layer issues.
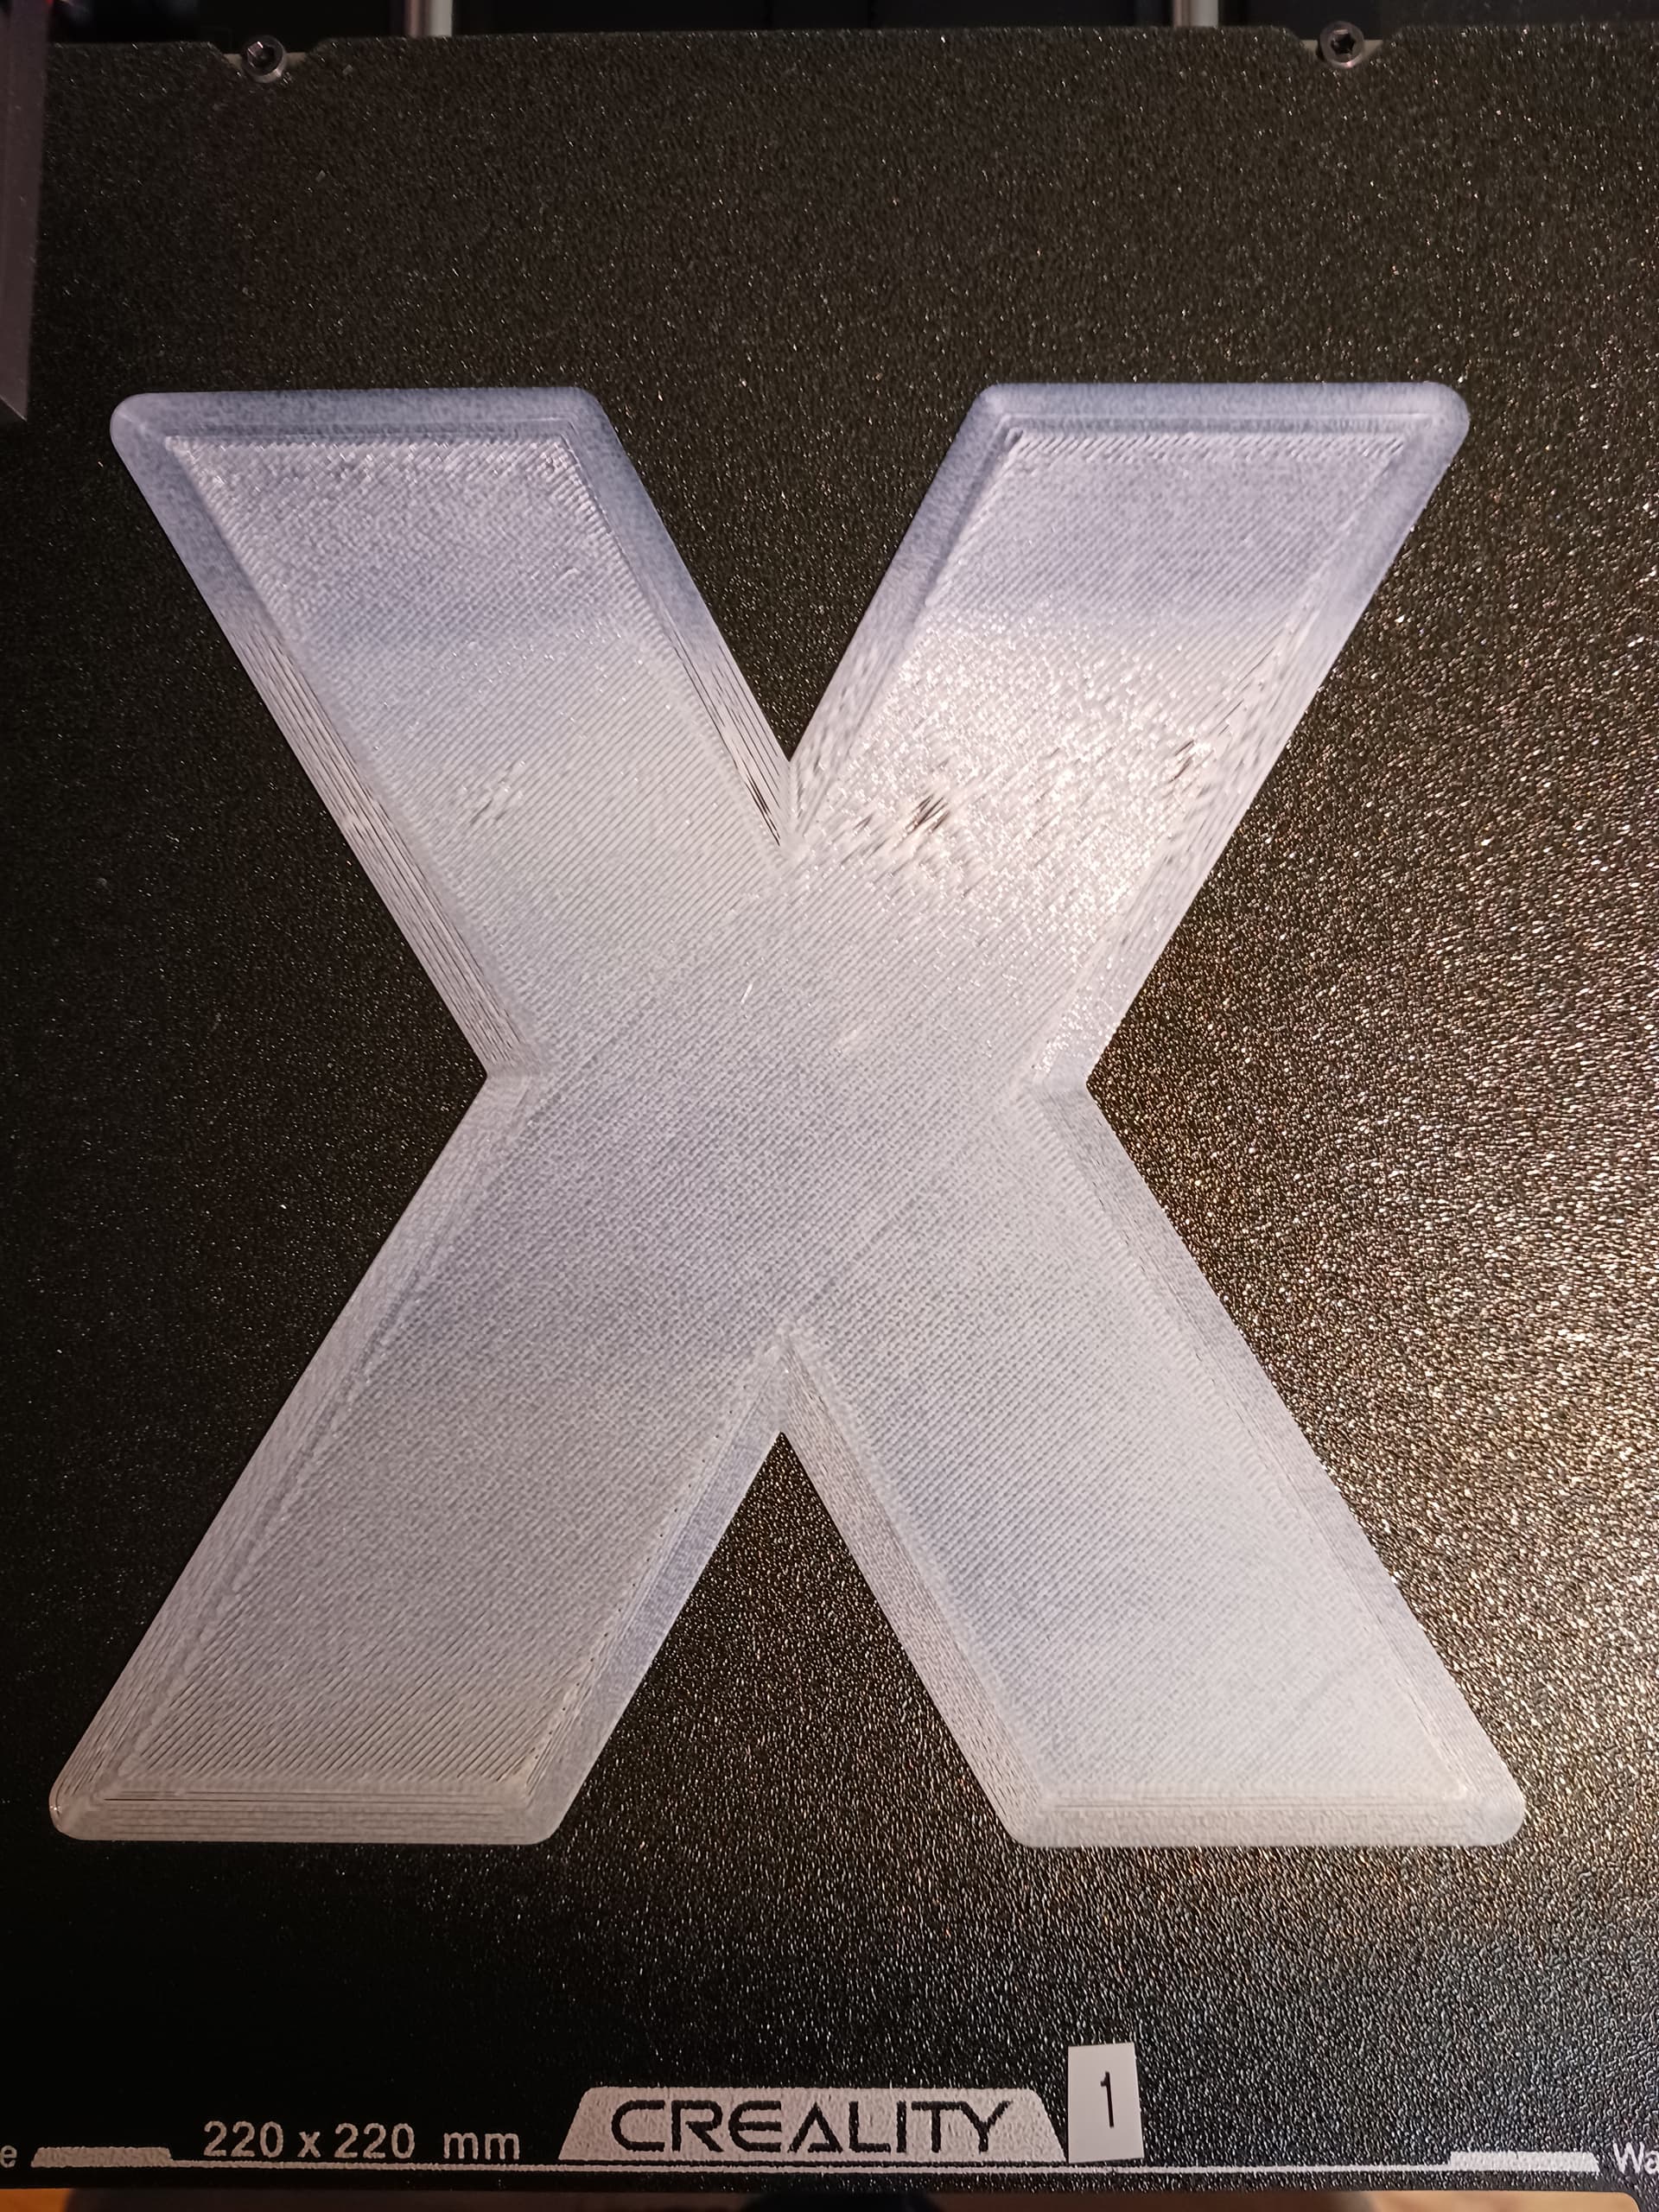
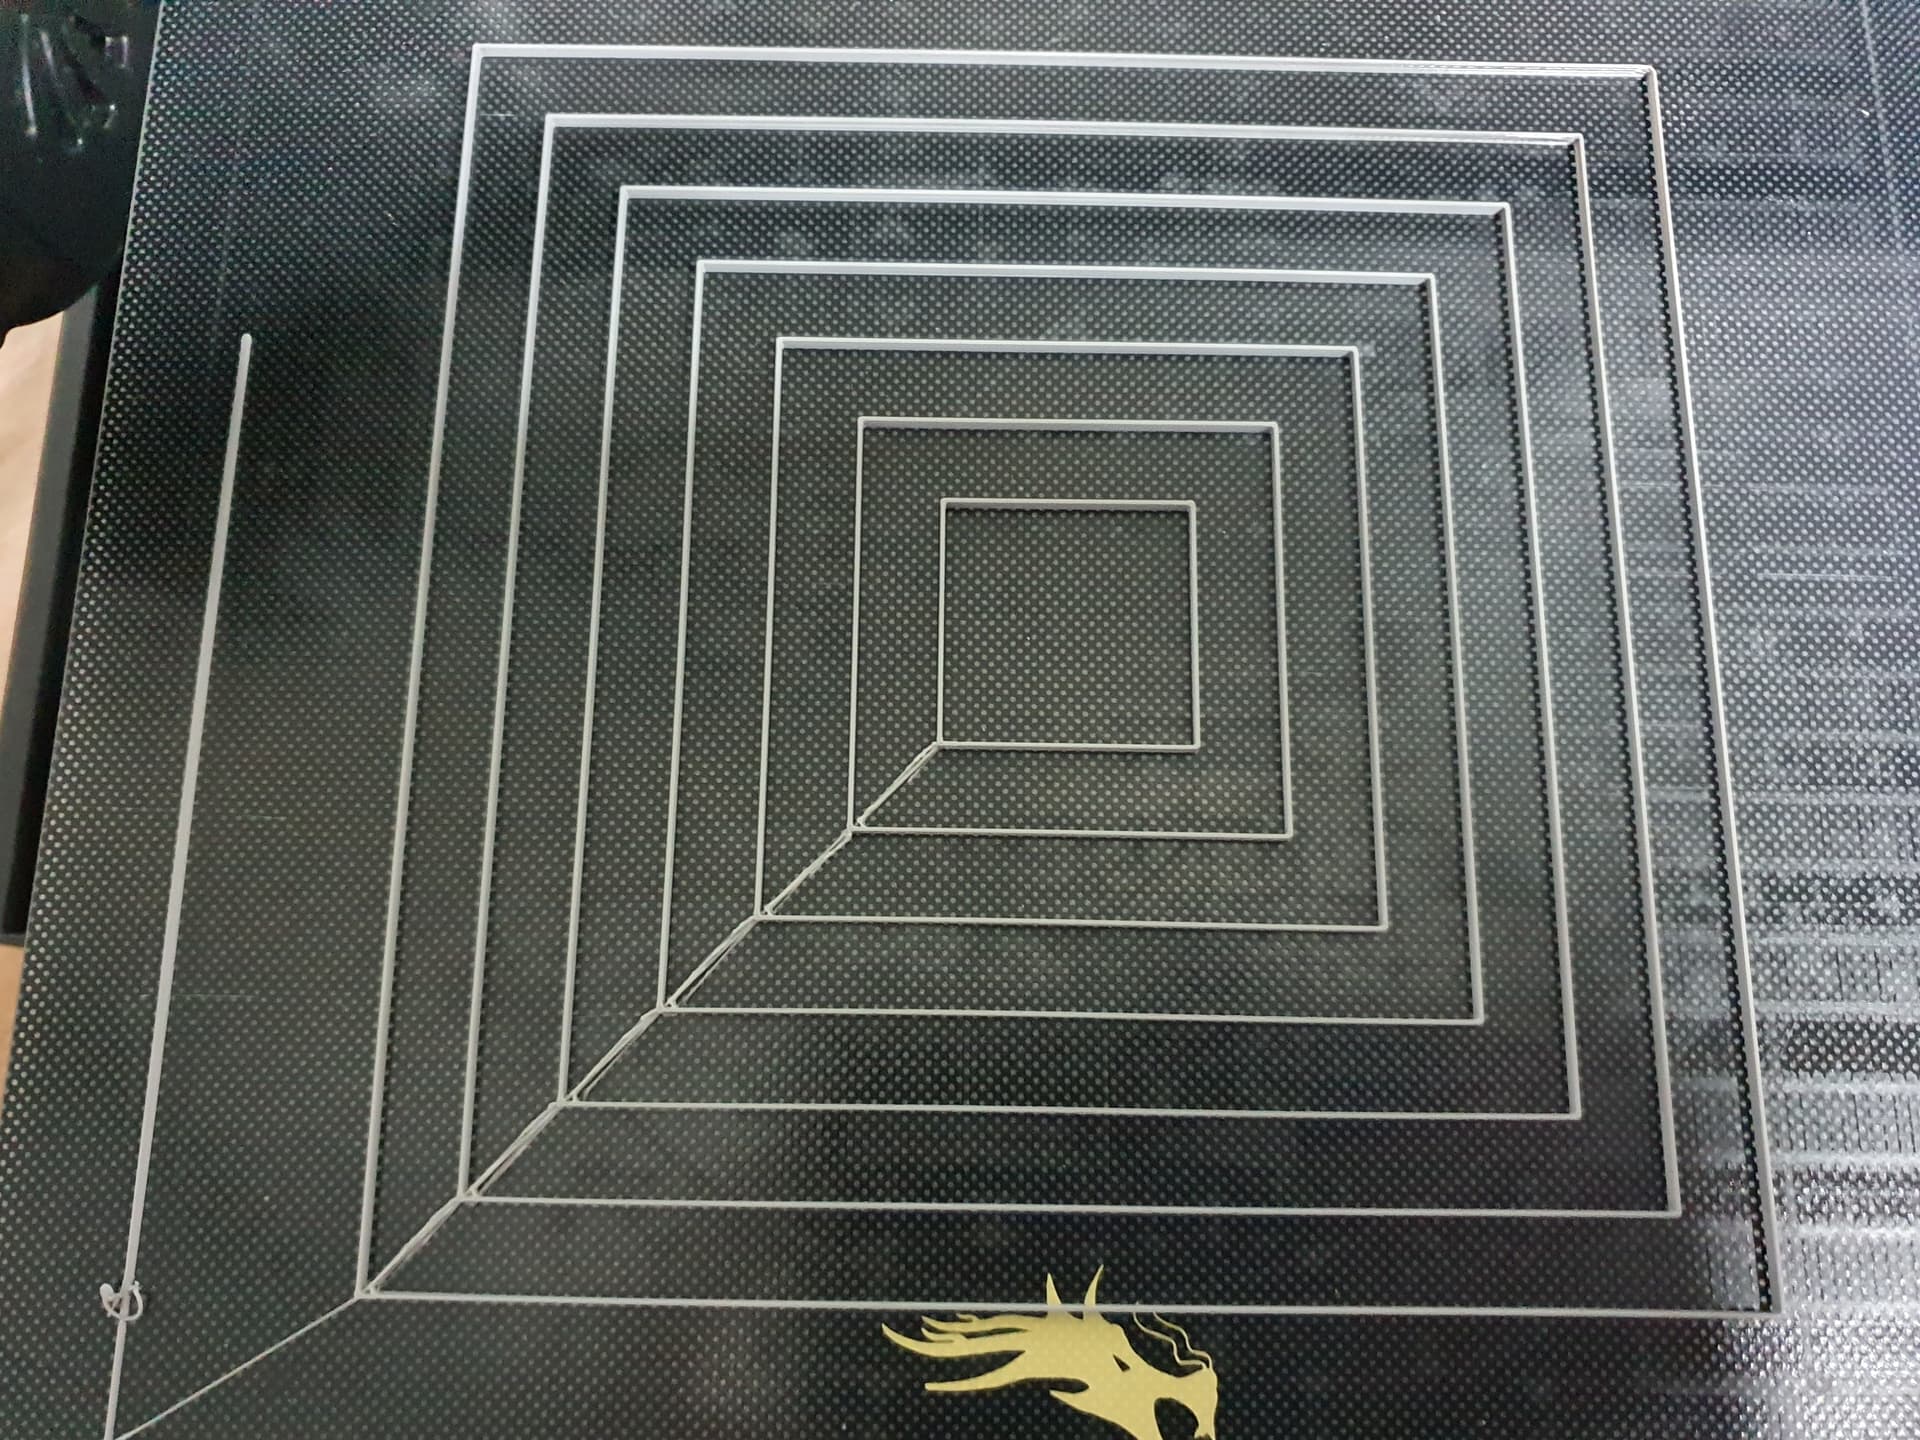
Since I now have two “identical” KE machines I started from scratch. I Auto level & Z, clean beds, same exact (one) filament, same slicer and ran a first layer calibration test. The results pretty much confirmed my suspicions about my original printer which was uneven bed temp of 5-6° and maybe level/warping issues.
Original KE. Note the issue in the upper left and right areas. This directly corresponds with the uneven temps I measured on the bed during printing.
It may be obvious, but not knowing exactly how the printer works (learning pretty quickly though) I gather that the auto leveling and Z adjustment is not a physical/mechanical adjustment per se but a “step” adjustment in the code meaning since there are no physical user adjustments to the bed or gantry the head is being raised & lowered according to those level and Z readings? Accordingly there’s really not much to be done by the average user to tweak it out?
I guess I’m most frustrated because there’s no reasonable adjustments I could have done to get good, consistent first layers from my old KE and although I learned a lot so far I spent hours upon hours troubleshooting something I “shouldn’t” have had to do according to Creality marketing. Down the rabbit hole I went…
Your original bed is bowed, how about manually trying to push it back into being flat. Not had to try it but had read that someone manipulated theirs with a bit of pressing it onto his knee, that’s if you feeling brave. Its almost as if the bed needs a spacer in the middle of the same length as the outer spacers (well the 3 longer ones)
So I followed the "chep bed levelling print " on Youtube and it is printing like a champ now. I believe that this machine has auto x-axis compensation as it was paper levelled , then it auto scanned the bed and came up with an x axis value.
I’m too chicken to try that. I did check to see if the bed any give at all and it does not. Bending it might damage the rails it sits on. Or did you mean the magnetic build surface. I think that’s flat.
Right now I’m printing the same lithophane on both printers simultaneously and there are definite differences. My “old” printer is making weird clunky noises and the brim is not great at all but it held. The new printer sound much smoother and the brim was seemingly flawless. They’ll be done in about an hour+. I’ll post the differences here. It’ll be interesting to see how much difference there is.
My Y axis rails on both the SE and KE are a little graunchy sounding but I just put that down to the ball races that run on the rails. Whack of lithium grease I might try.
With my luck if I unscrew the bed then 4 other issues will pop up and that would be if for me!
I greased the Z & Y but I guess there are a few more places. It’s weird because, making the same print, the new printer was very quiet and didn’t make near the noise as the old one. It’s a very pronounced, clunky sound at certain points but not all the time.
I think he meant to look under the straight edge to see if there are any gaps, not to make sure it is level.
This will tell you if the bed is bowed - or not
Upon testing my new replacement against the old there were definitely a couple of issues with the old one which were causing problems that I couldn’t easily fix with any hardware or slicing tweaks that I researched and tried.
My first layer issues do not seem to be “level” related at all. The auto level and Z adjustments worked just fine on the old printer and of course new one. The problem was demonstrably due to uneven heating of the bed. I did some temperature tests with a infrared gun along with test prints along both the x vs y which confirmed the issue. I also “mirror” printing on both machines. For the record my wife called it “right out of the gate” but I needed to be “thorough” didn’t I?
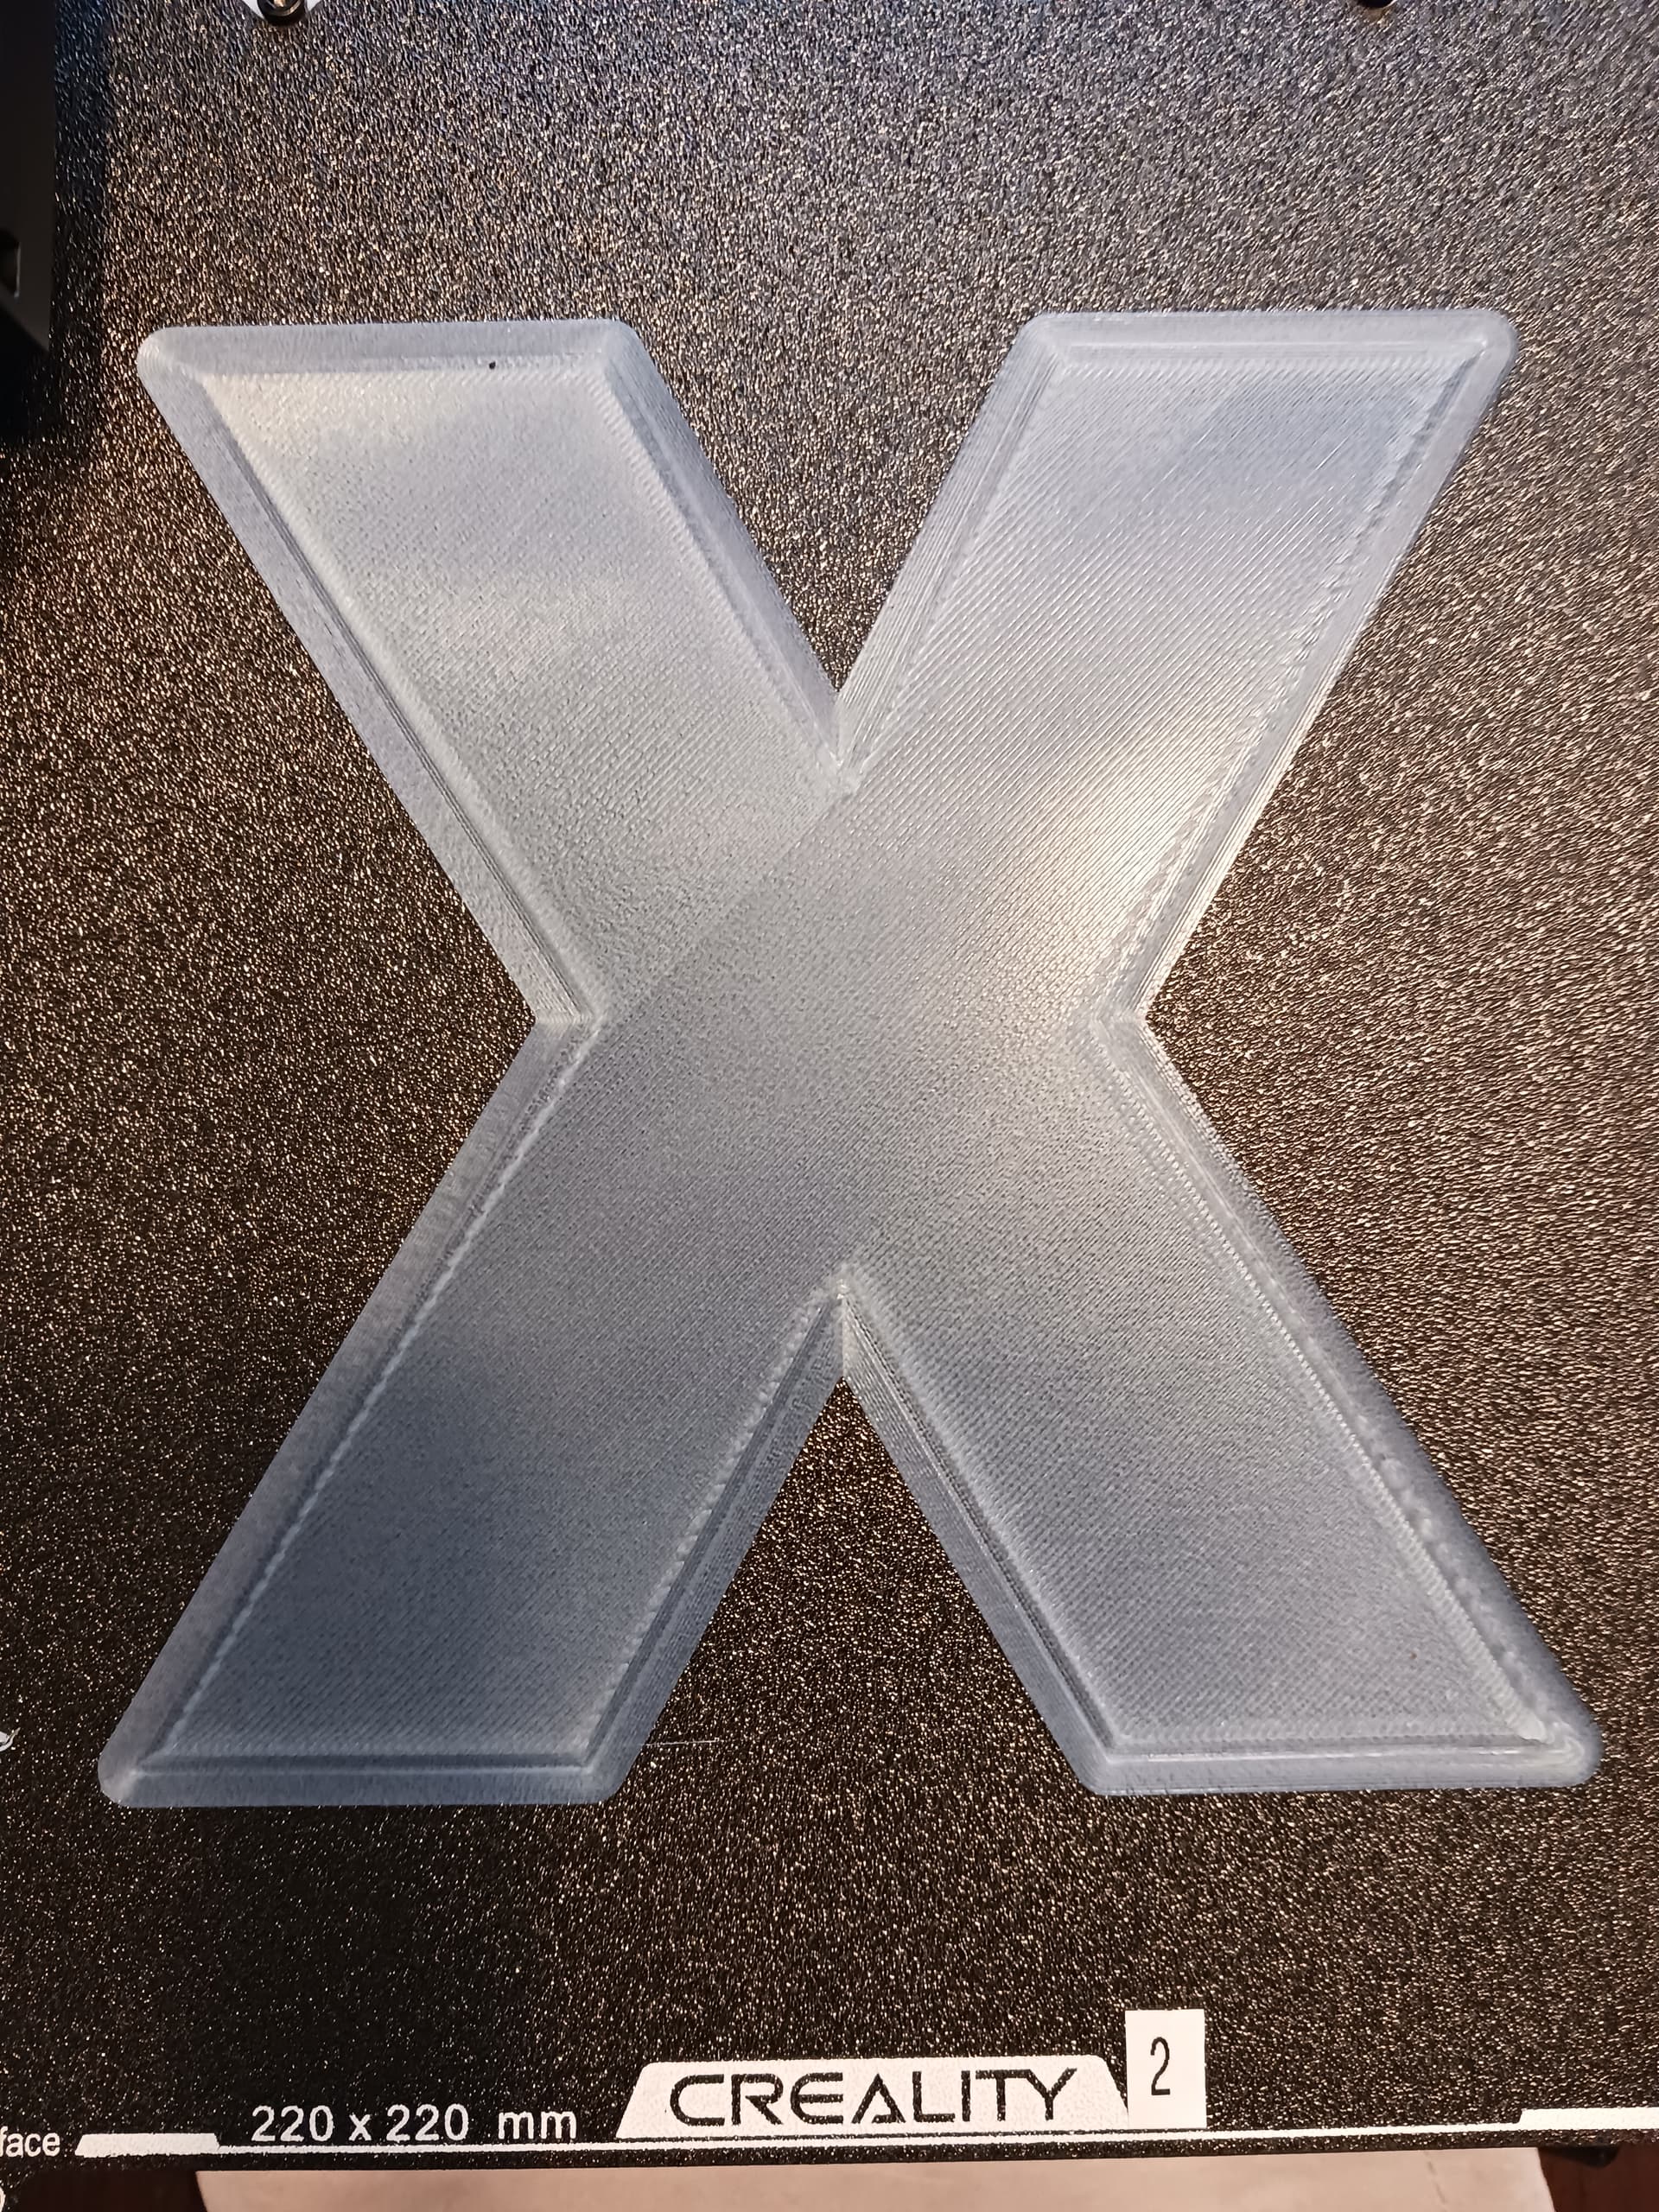
So far the new printer is quiet, smooth, even heating, level and most important has printed all the first layers with a 100% success rate!
Figuring this out was a great learning experience and I wonder how many other people who experience the same(ish) issues I had have just have an uneven bed heating problem and think it’s due to level and Z?
From (my short) experience I would say that’s an issue (but workable) if the temp is consistently -10° different across the entire bed than what the console/pad reading is. If you know that constant then just compensate +10° on the setting. However, if your temps are different across the bed than that’s an issue (at least it was for me which is why I had them replace my original KE). So far the replacement hasn’t had any bed issues which prevent successful (almost 100%) adhesion. The temp varies slightly towards each edge but that’s to be expected I guess.
I read all your topic, thank you for sharing it with us!
I have similar problems that I can’t solve for two weeks while I’m trying to joy my first 3d printer! My first layer looks terrible as yours. Autoleveling and Z offset - works but even if I change in addvanced settings manually -0.05 Z offset - its still terrible. I don’t even say that it should compensate it.
But in my case: I order it on Aliexpress Official Store, and I’m not sure its easy to replace my printer now.
So in the end you’re saying that the problem with “old” KE was not in autoleveling and Z-offset sensor but exactly in hot bed platform? I checked it and when Nebula Pad said its 60 degrees C (for Creality PLA) - real temperature is slightly more: 62 in right bottom corner, 63 in the center and almost 65 in back side of the bed. Is that where is the problem on your opinion?
And to be sure: on your “new” KE real temperature is the same on each corner of your bed? (like if you set 60C - its real 60C on each corner and center?
P.S. I’ve requested from Creality help center to solve my problem and get ticket ID, but while waiting - I’m trying to find the solution, because I’m pretty sure they will never get my broken printer back with all delivery costs to China.
I don’t think the temperatures are the problem. I think it is just dialling in that Z height. The autolevel is pretty good but not perfect. What I do when printing is have a skirt of 3-5 line count, whilst that is printing you should be able to adjust the Z height on the Nebula pad. During the time it prints those you should be able to get it right. Once you find the sweet spot the pad should remember that offset.
Thank you, I’ve tried (see link and description below)
Sure, thanks! But it will work until you will make a calibration again (accedentaly or for purpose). So its solution but only for one time (if it will work).
Problem is in bed or in sensor I don’t know.
I somehow did one of the “best” first layer prints so far, but it still on the left side too close when on the right - to far (see photos below) - and how could it be adjusted without manual bed corner leveling? (in KE there is no leveling knobs on corners)
I tool a look at the images you posted especially the Thermometer readings. Seeing those readings, I don’t think the bed temp is your issue especially since they are consistent across the bed. If anything, it looks like maybe just a faulty temp sensor if you’re set to 60° and are only reading 52°. However, during printing your bed looked consistent at 62° or at least from what I saw.
Also, it looks like @Bonfireman solved your issue!
That being said I wanted to answer your questions:
My old KE temp measured inconsistent in all quadrants the biggest difference being a -10° difference (specifically in the back right area) that was having the majority of adhesion issues (nothing would stick at all).
The from the center of the bed outwards of about 1"-1.5" radius the temp was nearly 60° consistent. The near right and left was up to -7° lower but not equally.
I exhausted the the following suggestions ad nauseam:
Auto leveling numerous times
Wiping the magnetic plate with IPA
Adjusting the Z offset
Changing filaments and any other thing the forum suggested
Changed slicers - Creality Print > Cura
Resetting the printer
Ran all the test I could print
While tweaking the Z did help slightly it didn’t solve my issue and I still had a first layer 75-80% failure rate. I think somebody suggested checking the bed temp which I finally did with my Infrared Thermometer. That is when I found my issue.
Upon replacing the KE, the first thing I tested was the temp. The new KE has consistent temps everywhere but the very edges with about a -1° (which is to be expected).
To date of getting the replacement, I have not have any first layer adhesion/print issues at all. Everything sticks exceptionally well. Sometimes almost too good!
So I read the answers and I am looking to understand bed temperature. Raising the bed temp to a measured higher temperature should help or hinder my lifting problem. Like I posted 50 deg c after setting at 60 c .
would raising or lowering the temp aide.
it lifts after about a 4% completion, would that be due to cooling too quickly or something else.