I’m so frustrated. After having 50/50 printing success since purchasing my KE just about 30 days ago, I’m still having issues laying down a first layer. I’ve reset, updated firmware, auto leveled, manually adjusted Z (paper method)… and still I can’t get consistent and viable first layers to lay down and/or stick.
Last night I started printing a basic (hollowed out) rectangle with no brim at the “normal” stock settings (0.2 at temps 220/60. I got 40% done and it pulled off the bed and made one huge mess! Luckily I had been watching it on my GoPro from another room and stopped it when I saw it.
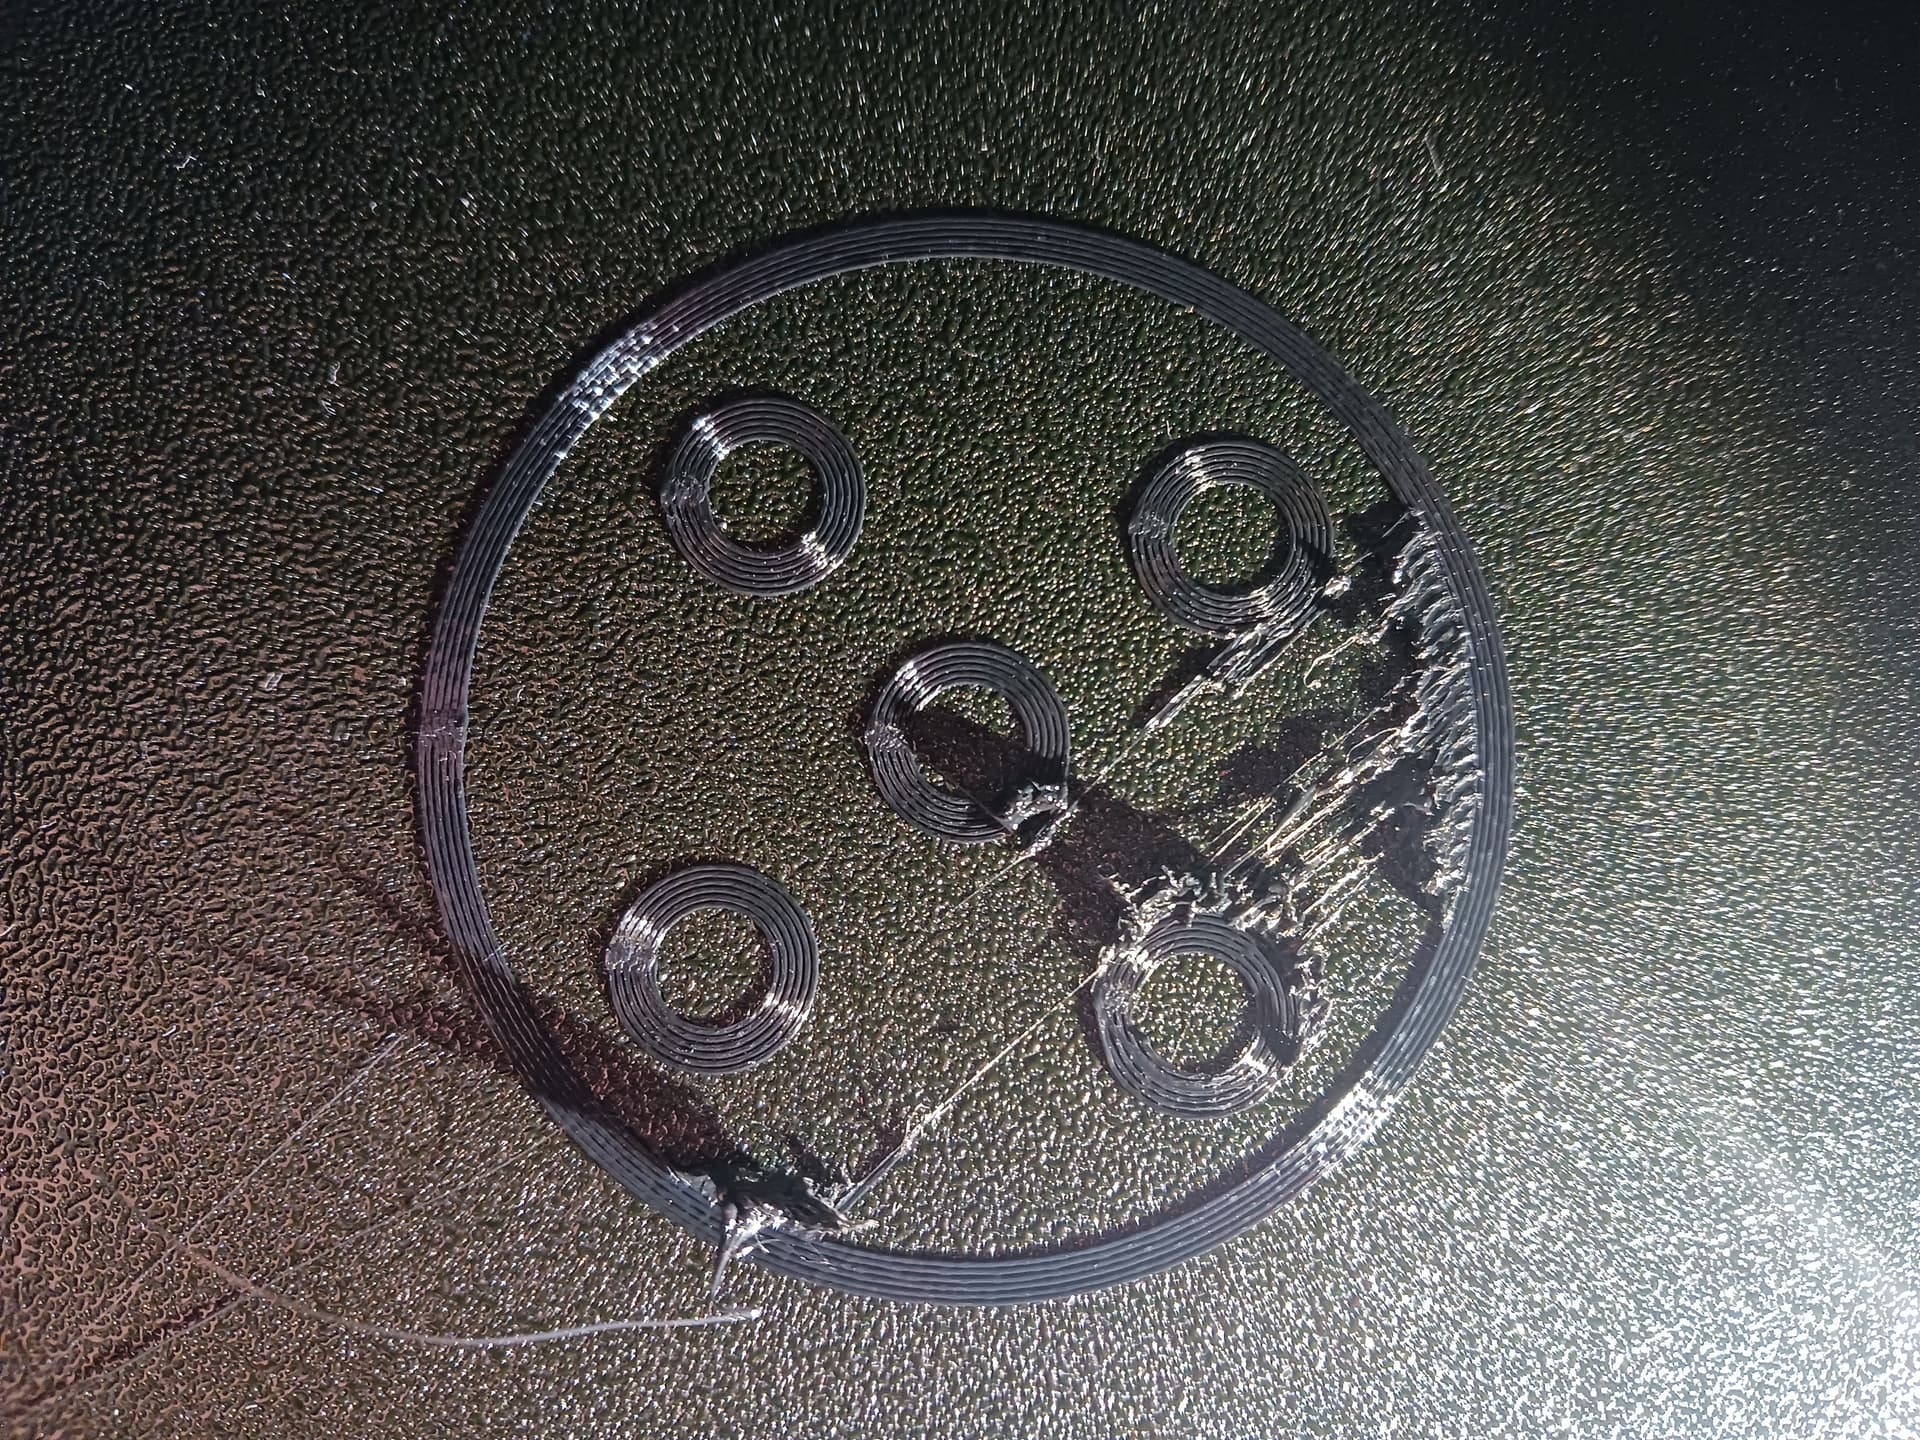
Here are some images of relatively “simple” prints which I did in succession after auto leveling and Z adjust. The circular one confounds me the most as the “circles” printed fine but the base/fill would not adhere. I’ve adjusted up and down but no consistent luck. I’m also noticing that the bed heating is quite uneven (see rectangle image with green arrow adhered and red less so). The shiny part of the print is securely adhered to the bed while the matte par is less so.
One curious thing: On a few occasions I tried printing the failed piece again within seconds of the fail and to my surprise the second and sometimes third successive attempt printed just fine with no (major) first layer issues. Hmmm
Obviously I’m a greenhorn and I understand it’s a long learning process but I feel I should be seeing some type of consistency and I’m not. The actual successful prints I’ve made are quite good in quality for just starting out. Since I’ve tried just about everything I could look up I’ve got a replacement arriving tomorrow. Hopefully it will solve this issue since I’ve exhausted my adjustment options.
I have the bed at 50-55°C and the filament at 200-210°C on a PEI buildplate, the black Creality one, though I do prefer a gold PEI plate. At 60°C it sticks but sometimes get corners lifting, dropping the bed by 5-10°C has helped. 6 builds today, all identical with perfect adhesion.
I would recommend thoroughly cleaning your bed with either soap and water or IPA to ensure there are no traces of grease on the bed as the smallest amount of grease or debris can cause filament to lift.
I would also recommend lowering your z offset slightly, on the second photo it looks as though your perimeters are not squishing together and looks like your infill was not adhering to the bed. Lowering your Z slightly should fix that issue.
Thanks. I’ve cleaned the bed with each adjustment step using IPA and have adjusted the z both up and down and used at least 3 different shape/Z/Temp tests with no luck. Some better than others but no acceptable adherence & coverage.
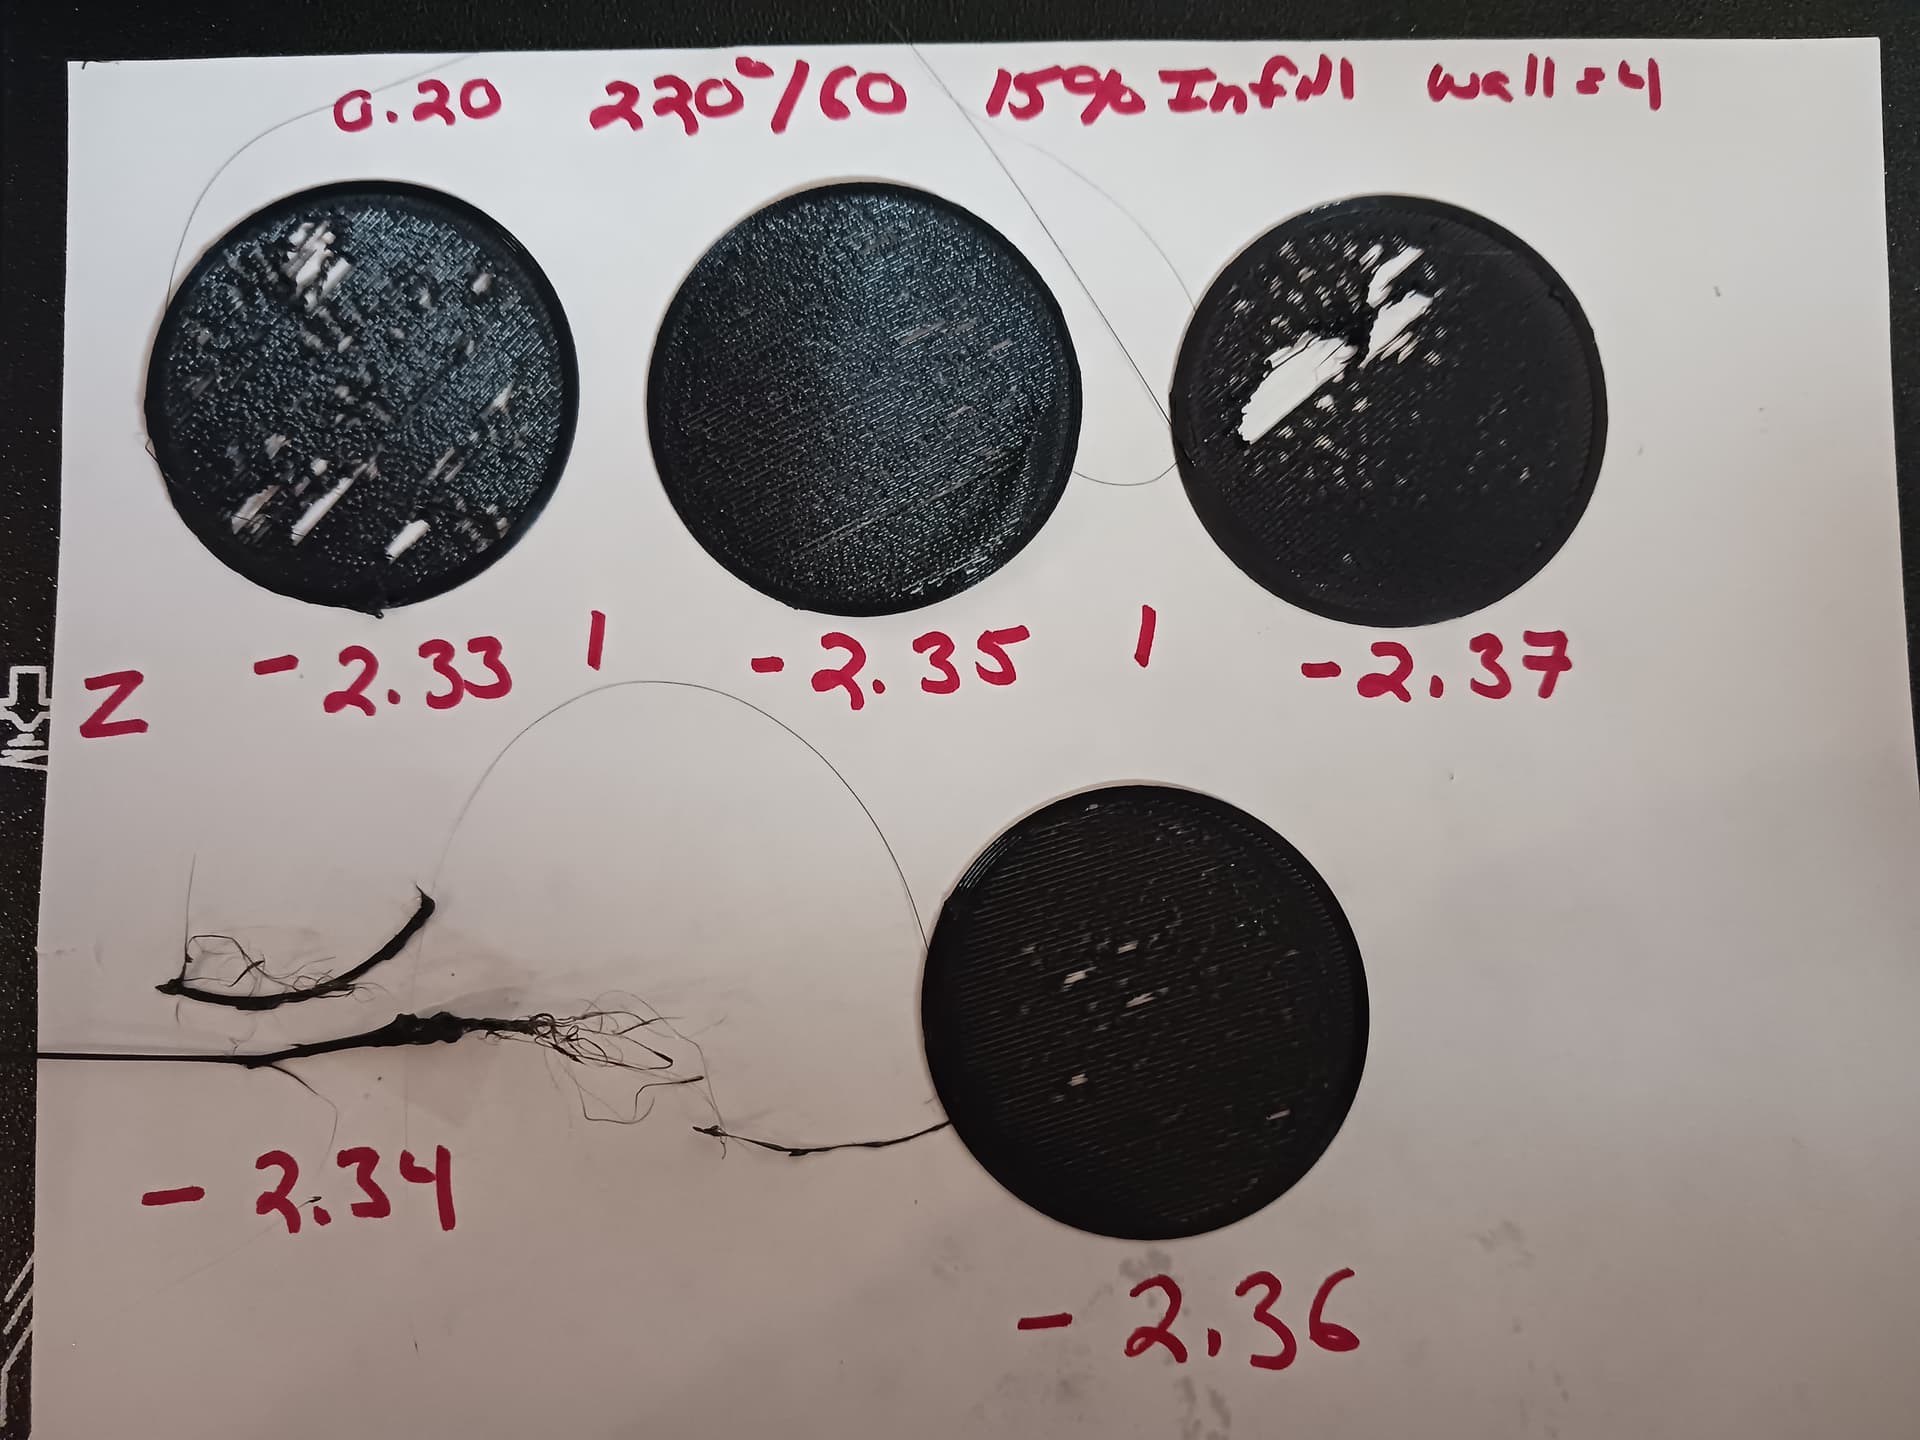
Below is the most recent.
-2.35 is the best but it’s still not sticking like it should and with that setting it will definitely drag across a build and mess it up. -2.34 is just a piece of abstract art defining the sum total experience of my 3D printing journey so far. Outside of the Z, & Temp where else do I adjust. I’m also printing the initial layer at 50mms for line & infill. Stumped.
I was having issues with Creality Hyper PLA at 55°, I measured the temperature of the bed and it was only 43° so I added 17 to the temperature resulting in a measured temperature of 60° on the bed and no more spaghetti messes. The temperature sensor on the bed is on the bottom of the aluminum plate below the magnetic plate and build plate which both those plates absorb heat reducing the net temperature, why all manufactures don’t adjust for this is the question since filament vendors don’t provide temperatures that adjust for different style build plates.
" I’ve got a replacement arriving tomorrow"
You returned the printer?
Thanks for the suggestion. I’ve only used the the Hyper PLA with the V3 KE (since I just started) and I do believe my first layer issue might partially be to an uneven bed temp. I’ve already adjusted that +/- with no luck.
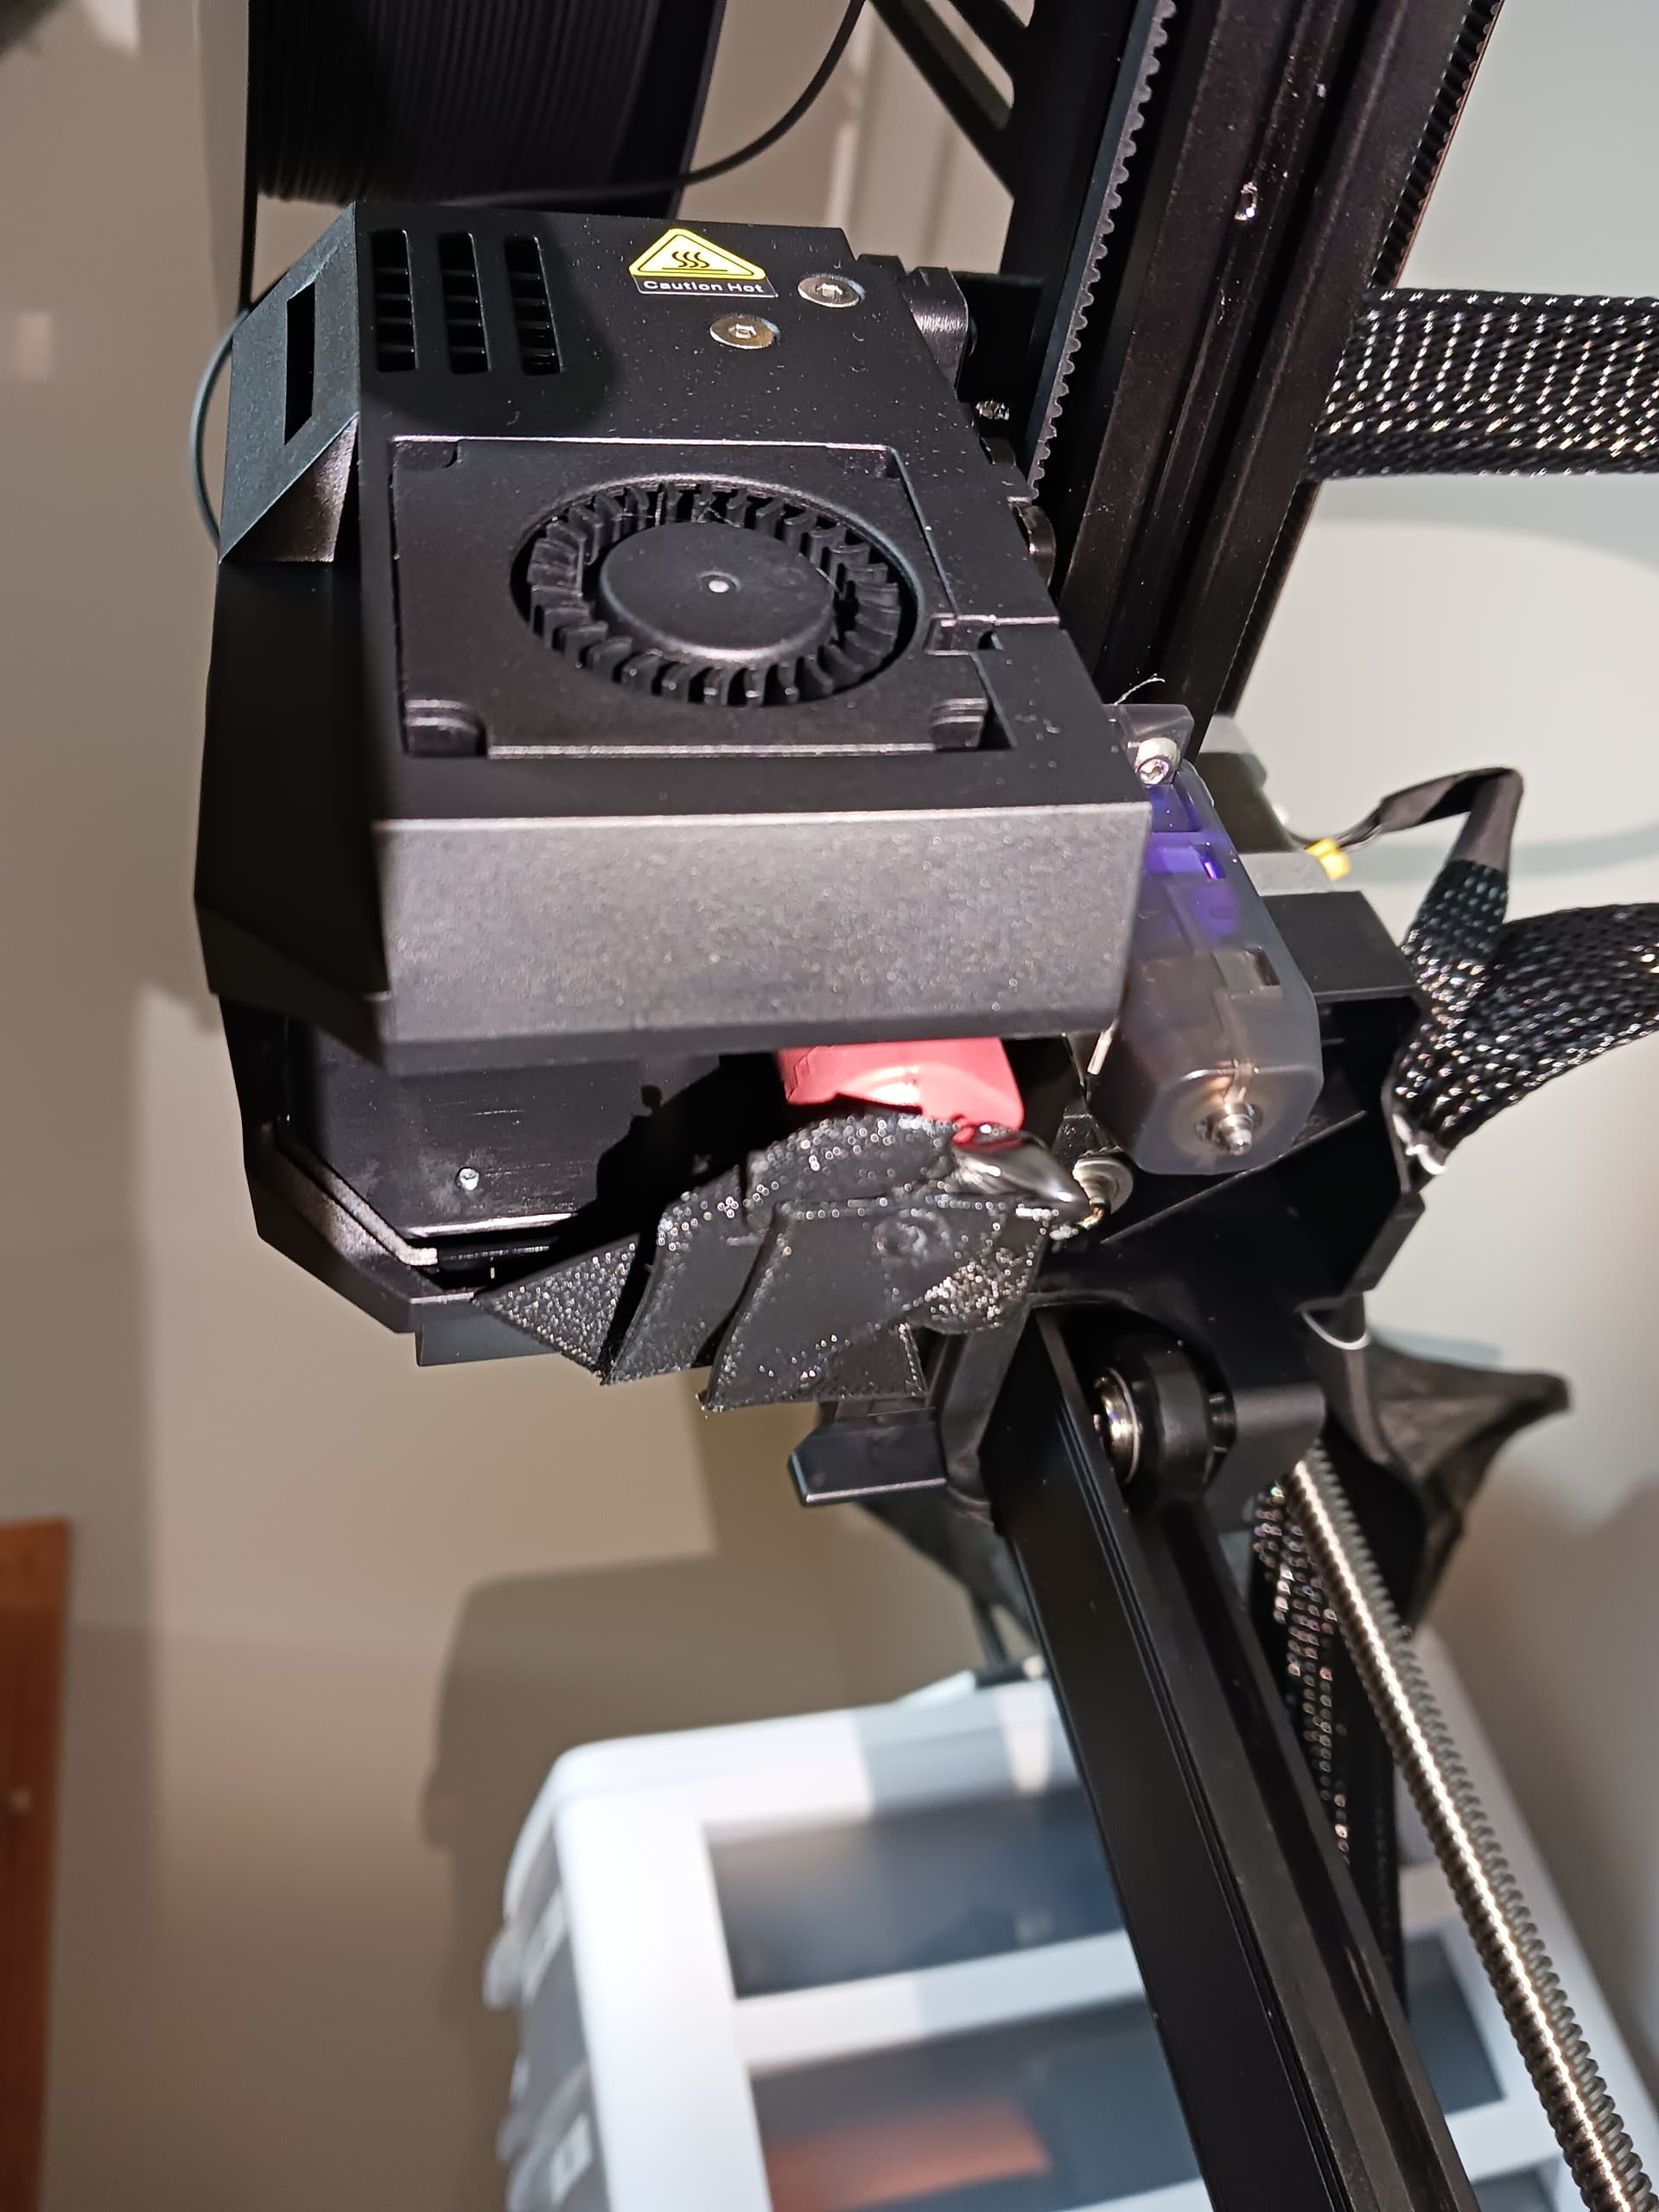
It’s not so much spaghetti as it is a big blob on the nozzle!
I’ve done and do a lot of hardware and software tech for our studio (30+ years) keeping everything running smooth so I’m not a stranger to hardware and software calibration and I certainly expected I would need to fine tune any machine but not to this point.
After researching all the available printers for my “needs” as a beginner and also price point, this one checked the most boxes especially for “ease of use”/auto calibration.
To be fair, when/if I can get past the first layer the prints come out very nice. It’s just that I can’t reliably get past that first layer hurdle which is not right.
I’m spending more time=money on fiddling around with this to get the first layer to print than should be expected. Since I’ve exhausted reasonable attempts to resolve this I’ve decided to replace it and have a replacement coming in tomorrow then I will have two of the same printers to make comparisons before I send this one back. Hopefully the new one will get me where I need to be within a reasonable amount of tweaking.
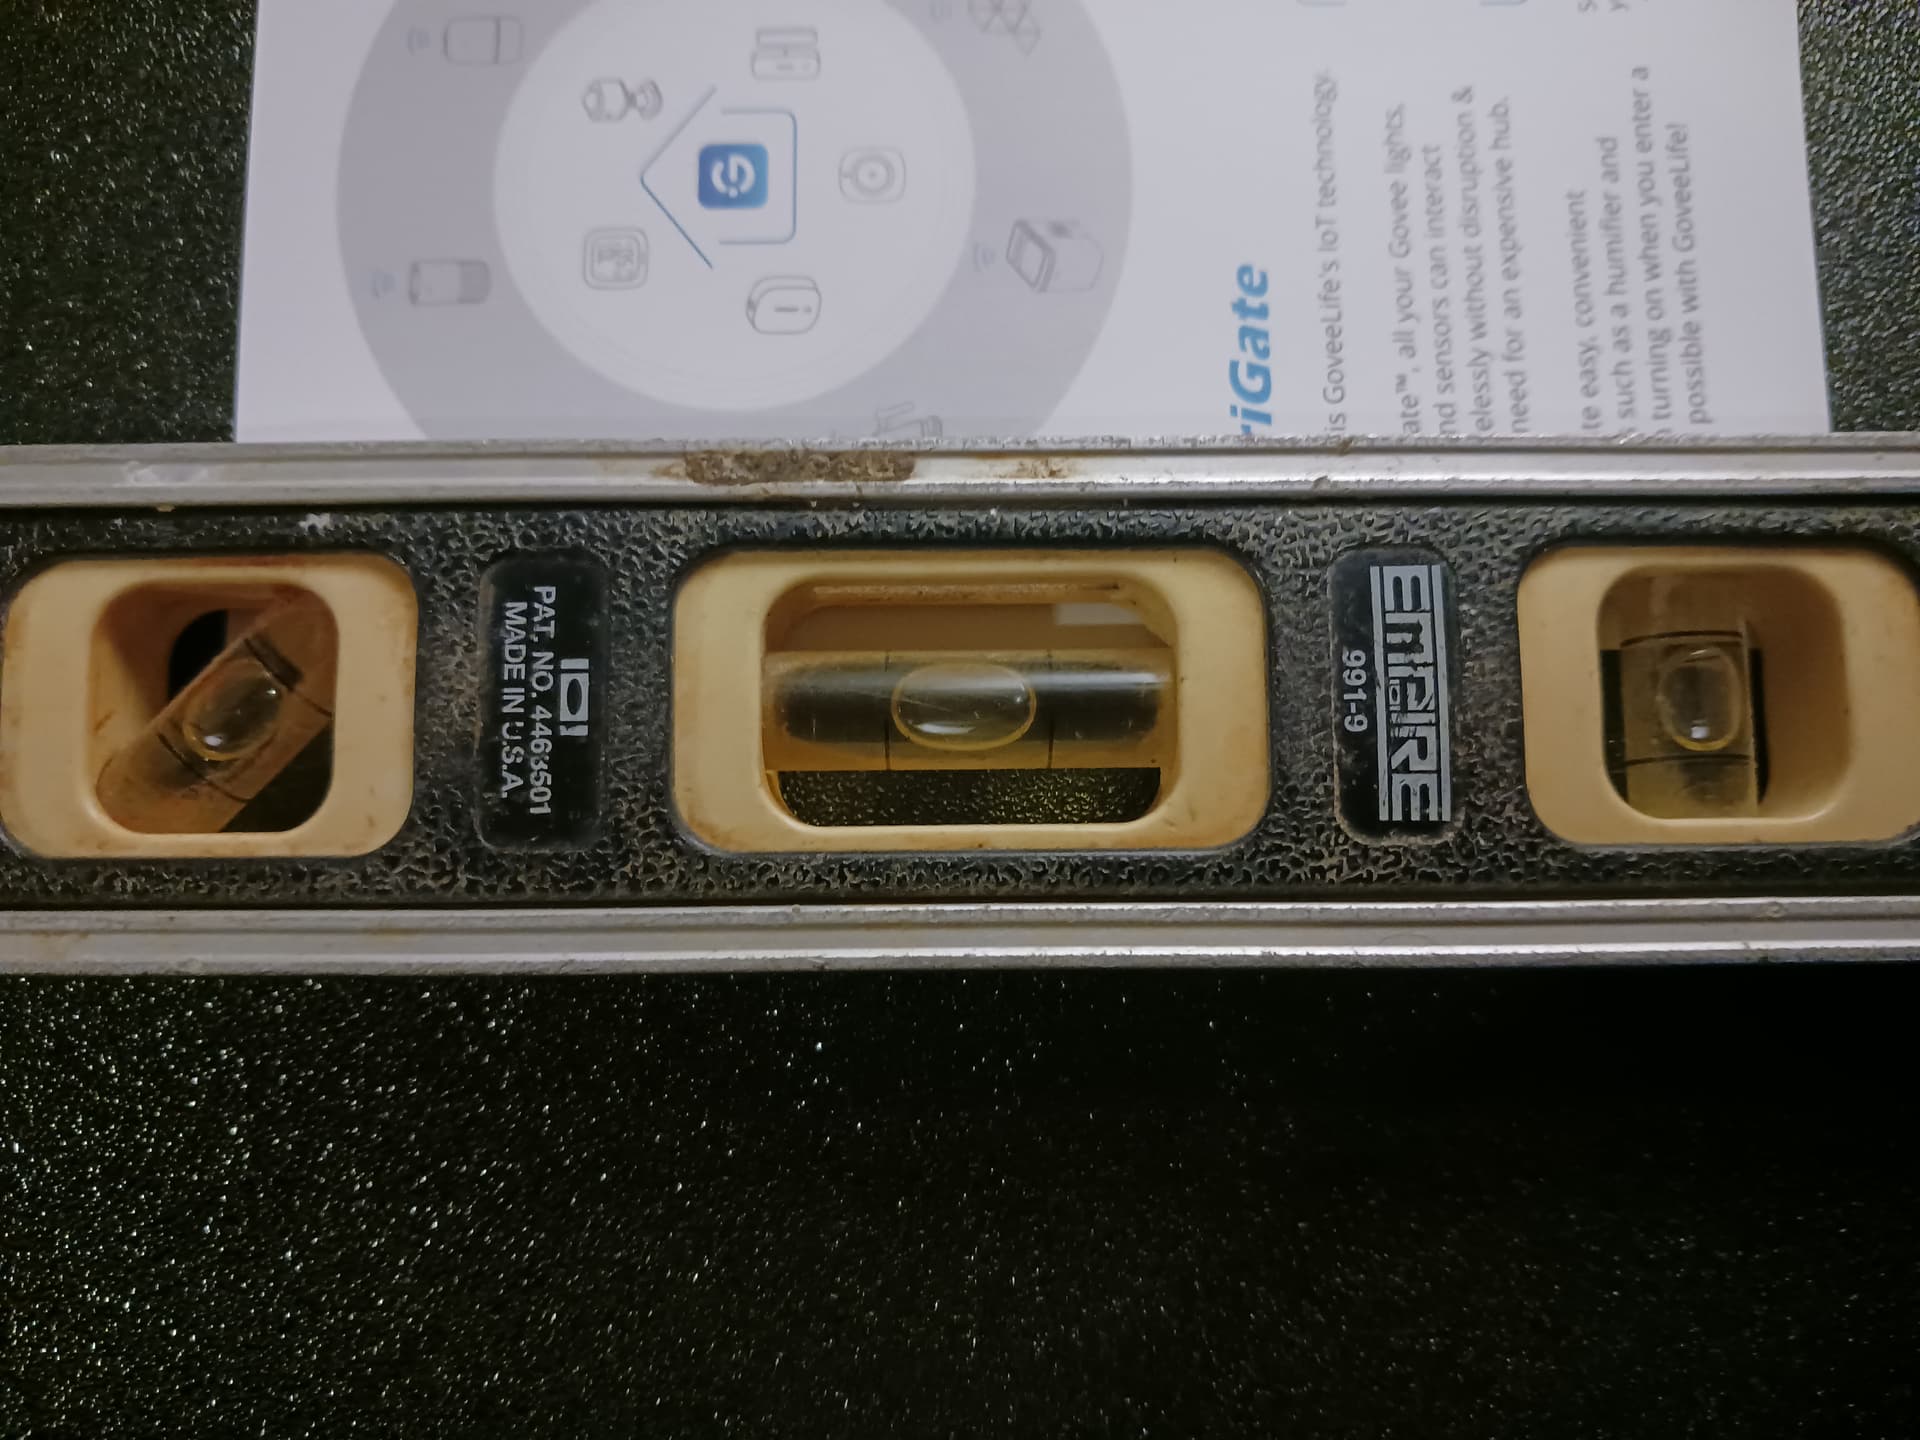
Hmm. I never thought of the level aspect simply because I expected “auto level” to do just that. I don’t think I can manually adjust the level on my version(?). I didn’t find any literature or video on it anywhere.
As you can see my X level is dead on while my Y is within level but not exactly as is X. Seems minimal but I wonder if that could be an issue? After all we are dealing with hundredths of a mm on the Z!
No detectable warping. The back right bed screw was not tight at all however tightening had no effect. It almost seems as if the rails are not level (Y). If I lift up on the back of the bed ever so slightly I can level it perfect. Bad news is there is not easy way to do that permanently. I can’t even see how the “auto level” is done. It must be through the head because there are no servos on the underside of the bed itself that I can see. The difference from front to back is the thickness of a piece of paper. That would definitely have some sort of impact I would expect.
I did make two successful prints tonight. They were a custom drain stop for our utility sink. The 1st print was rough on the 1st layer but I powered through it. the second was relatively smooth sailing but the first layer just doesn’t seem to adhere as much as it should.
I had the same issue with the SE, after I bought a crystal bed no more first layer issues, also if I want strong adhesion I use hairspray as a coating and believe me hard to remove until I put it in the freezer for 3 mins.(obviously you need to wait to cool down and not to put in freezer immediately). This is the only minus of having a glass bed, you need to wait; but on the other hand is difficult to warp the crystal.
Seems like the factory beds get warped after intense use or hard bending when we try to remove pieces. Seriously I know your frustration I even open a thread here about the same. Give it a try for glass or PEI/PEO and see the results.
About the mechanic level is not a trustworthy source, I did the same but if you manage to connect to Octoprint or whatever system that is able to read your bed mesh you will see that those millimeters plus and minus makes a huge difference in the 3D printing quality and in the result bed mesh.
Since there are no mechanical adjustments to the x/y of the bed then why not make a shim? I used a strip of cardboard 0.5mm (which is pretty significant) and placed it at the back of the bed, placed a level and now it’s even more level! Now all I have to do is test it out. I don’t think it will present an issue with the bed heating since I don’t ever print at the very back. I’ll be testing it this morning.
Well… It most certainly did help as there was no dragging and the print did adhere better however check out the brim in the image and you can clearly see there is still a significant discrepancy from front (bottom) to back (top) which is where uneven slope is. I’m not sure if I can get it better. I shouldn’t even have to do this. Takes way too much time in a day.
Yup, everything is running according to the slicer settings.
While I had 3 successful prints in a row today I wanted to run another Z Offset test I didn’t make myself so I tried this one. The X (150mmx150mm) covers a good portion of the bed.
The bed was cleaned, auto Calibrated for level and Z and subsequently tweaked by -.01 increments due to initial catastrophic failures to adhere.
You can see the steps I’ve taken to level the bed X&Y the best I can in the above images. I had to shim the pack to achieve near perfect level according to the bubble So that along with the auto calibration should give me an acceptable first layer one would think.
The way I’m interpreting this test is that there is either an imperceptible high spot or low spot in the area void of filament. Why else would I get good adherence in the lower right quadrant and that ugly mess in the mid/upper right? I’m no expert but something is just not right with the machine(?) It just shouldn’t be this difficult.
The replacement was just delivered an hour ago and tomorrow I will set it up and test it against this one.
This image below represents the only test out of 5 that “completed” the others didn’t get past the first level of fill and I had to stop them before they clogged the nozzle.
I have a 3040 Pro unit and had printing problems after changing the nozzle. I went thru the levelling of the bed using the paper method and still had printing problems. After reading this ( thanks to all who help others ) I also have a bed that is not level and maybe that is why the machine is showing a z-axis compensation of -1.81 after starting the print.
The most confusing thing about this machine is the lack of information in the manual and the actual translation from one language to another. Thanks to all those out there who assist others.