Too hot I find it lifts. I run at about 55. Also depends on colours. I have a purple PLA that lifts much more easily than a blue PLA, could be the brand.
Using black colored PLA.
Bed temp 55.
Nozzle temp 207.
Printing so far has been great no lifting at 7% ( fingers crossed ).
will report back with results tomorrow.
I also applied the glue stick after the bed was heated.
These people know their “stuff”. Good luck! ![]()
![]()
![]()
I had a few issues when starting a new print and adjusted the z-axis to -1.95 and it helped. I am going to check the belts for tension after it finishes what is being printed now.
Thanks to everyone who steps up to assist people with their 3D printing problems.

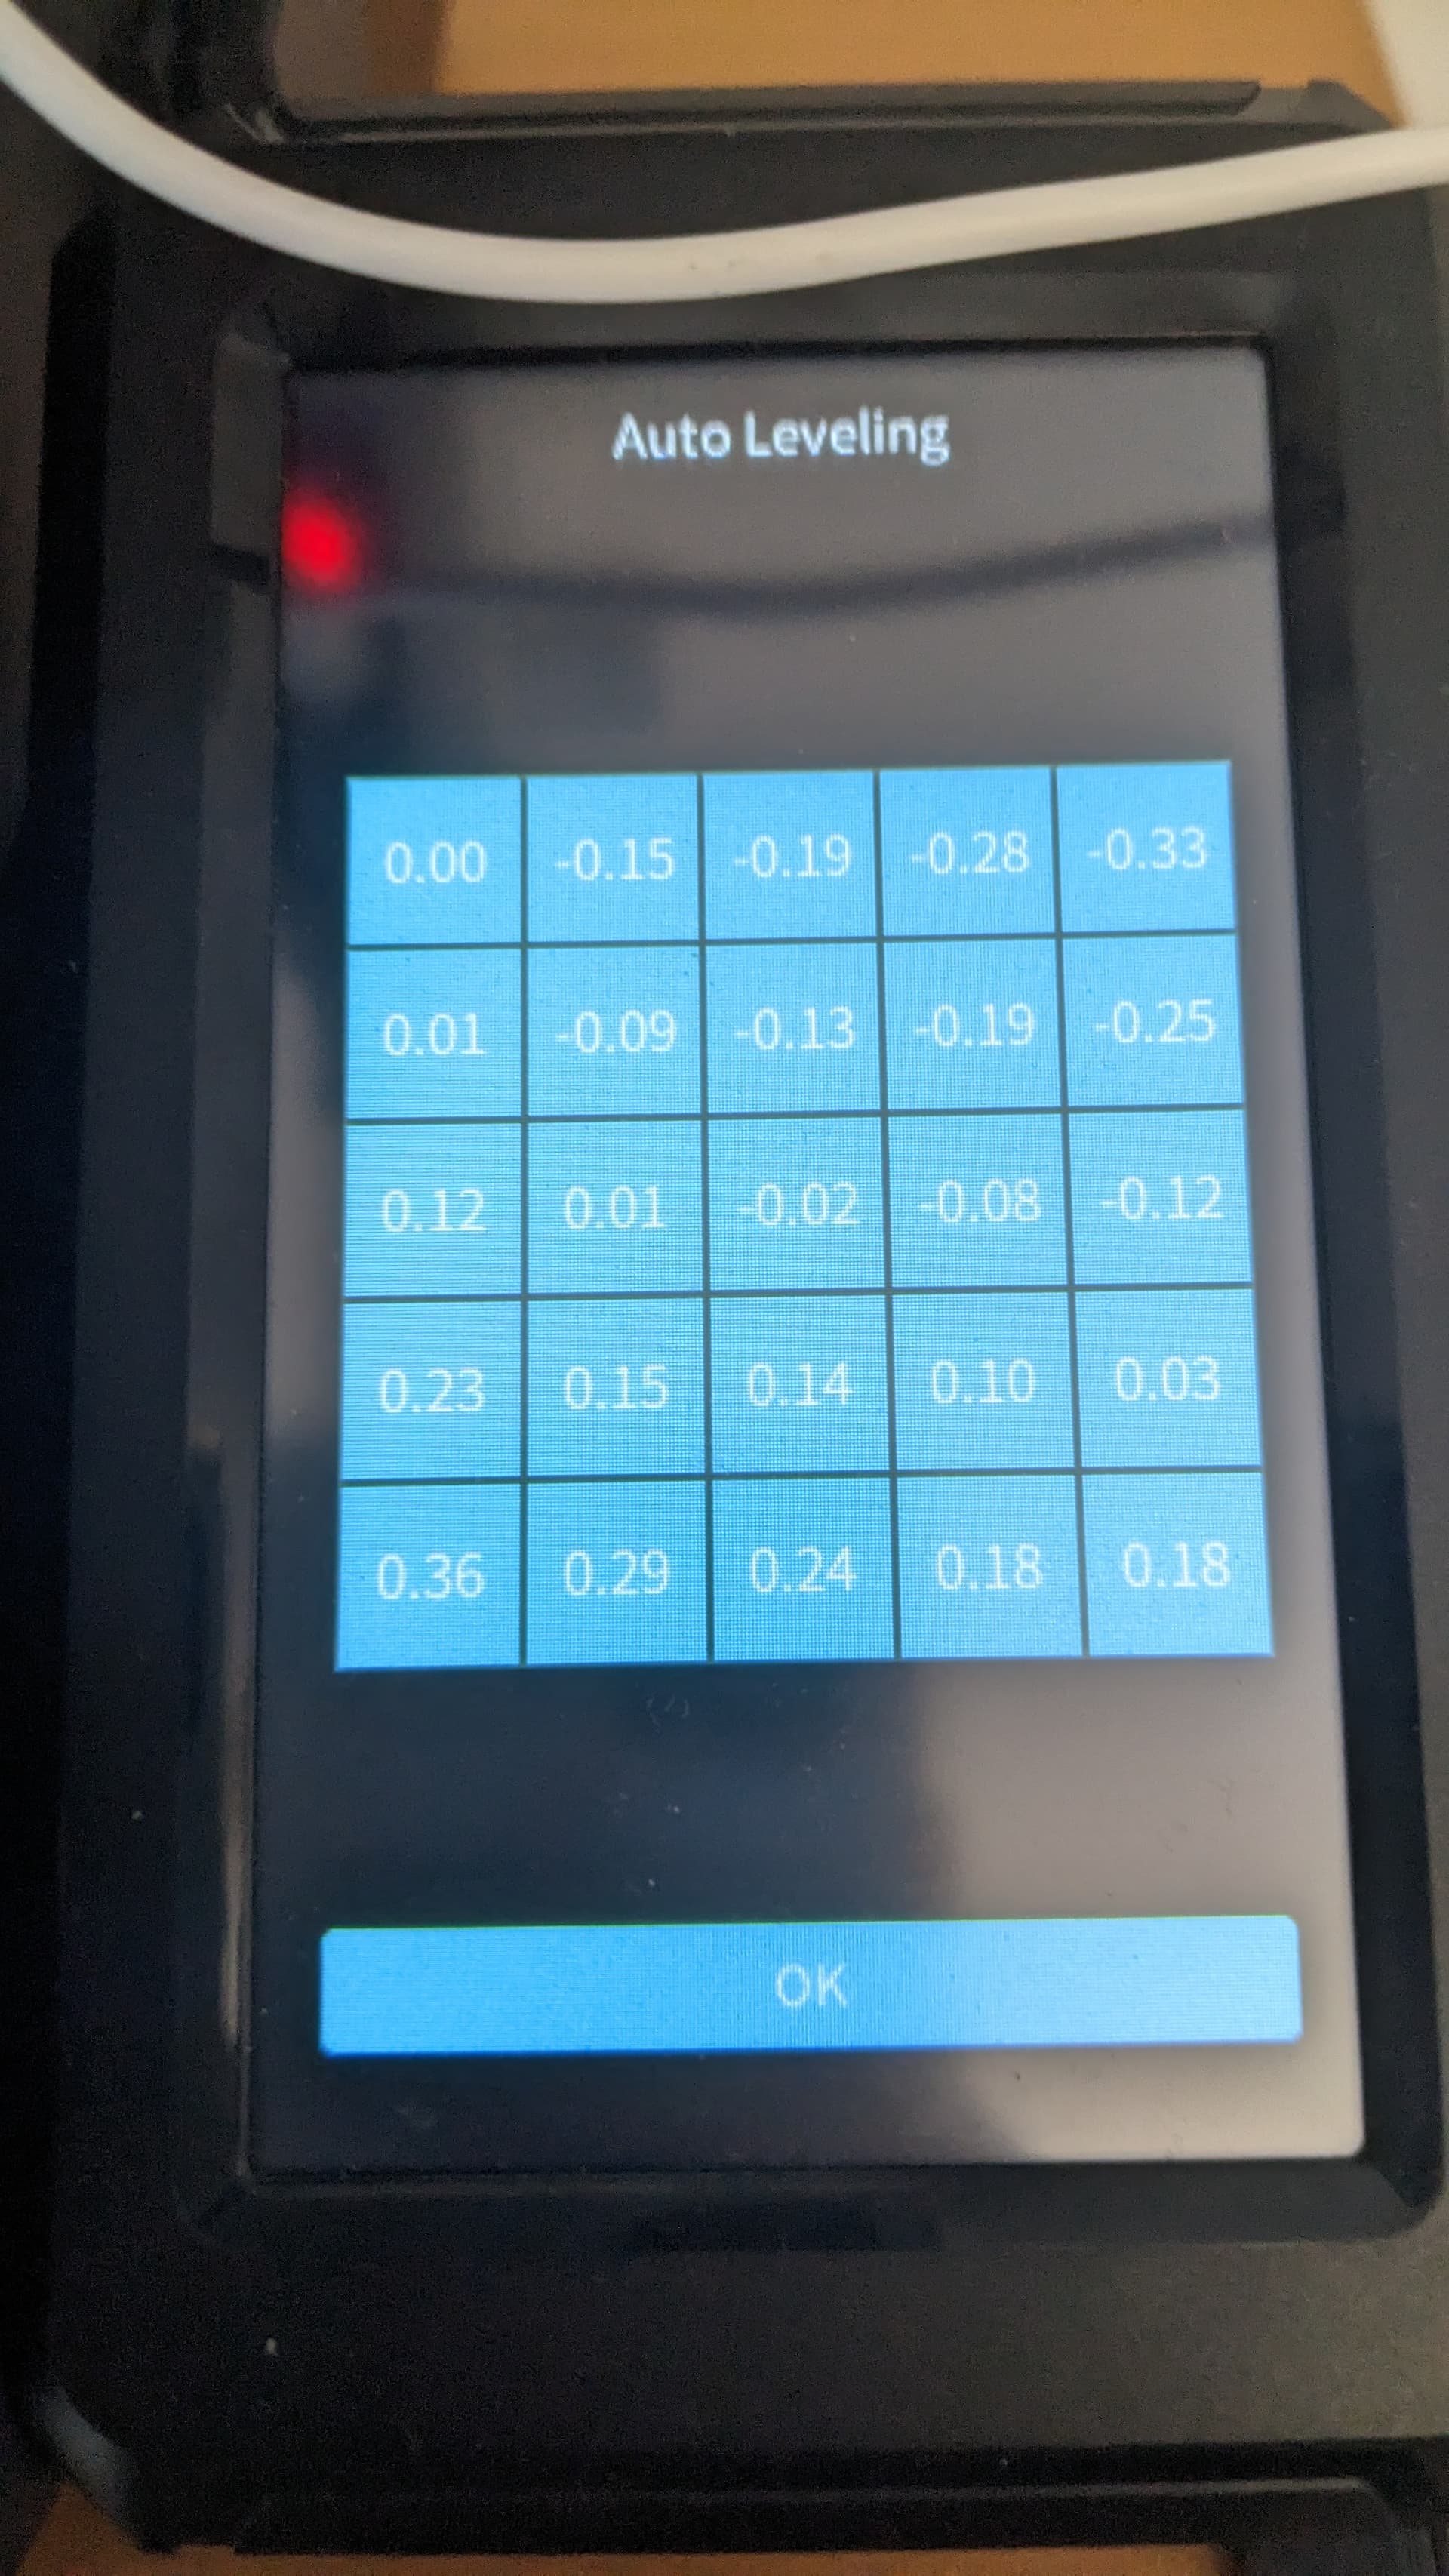

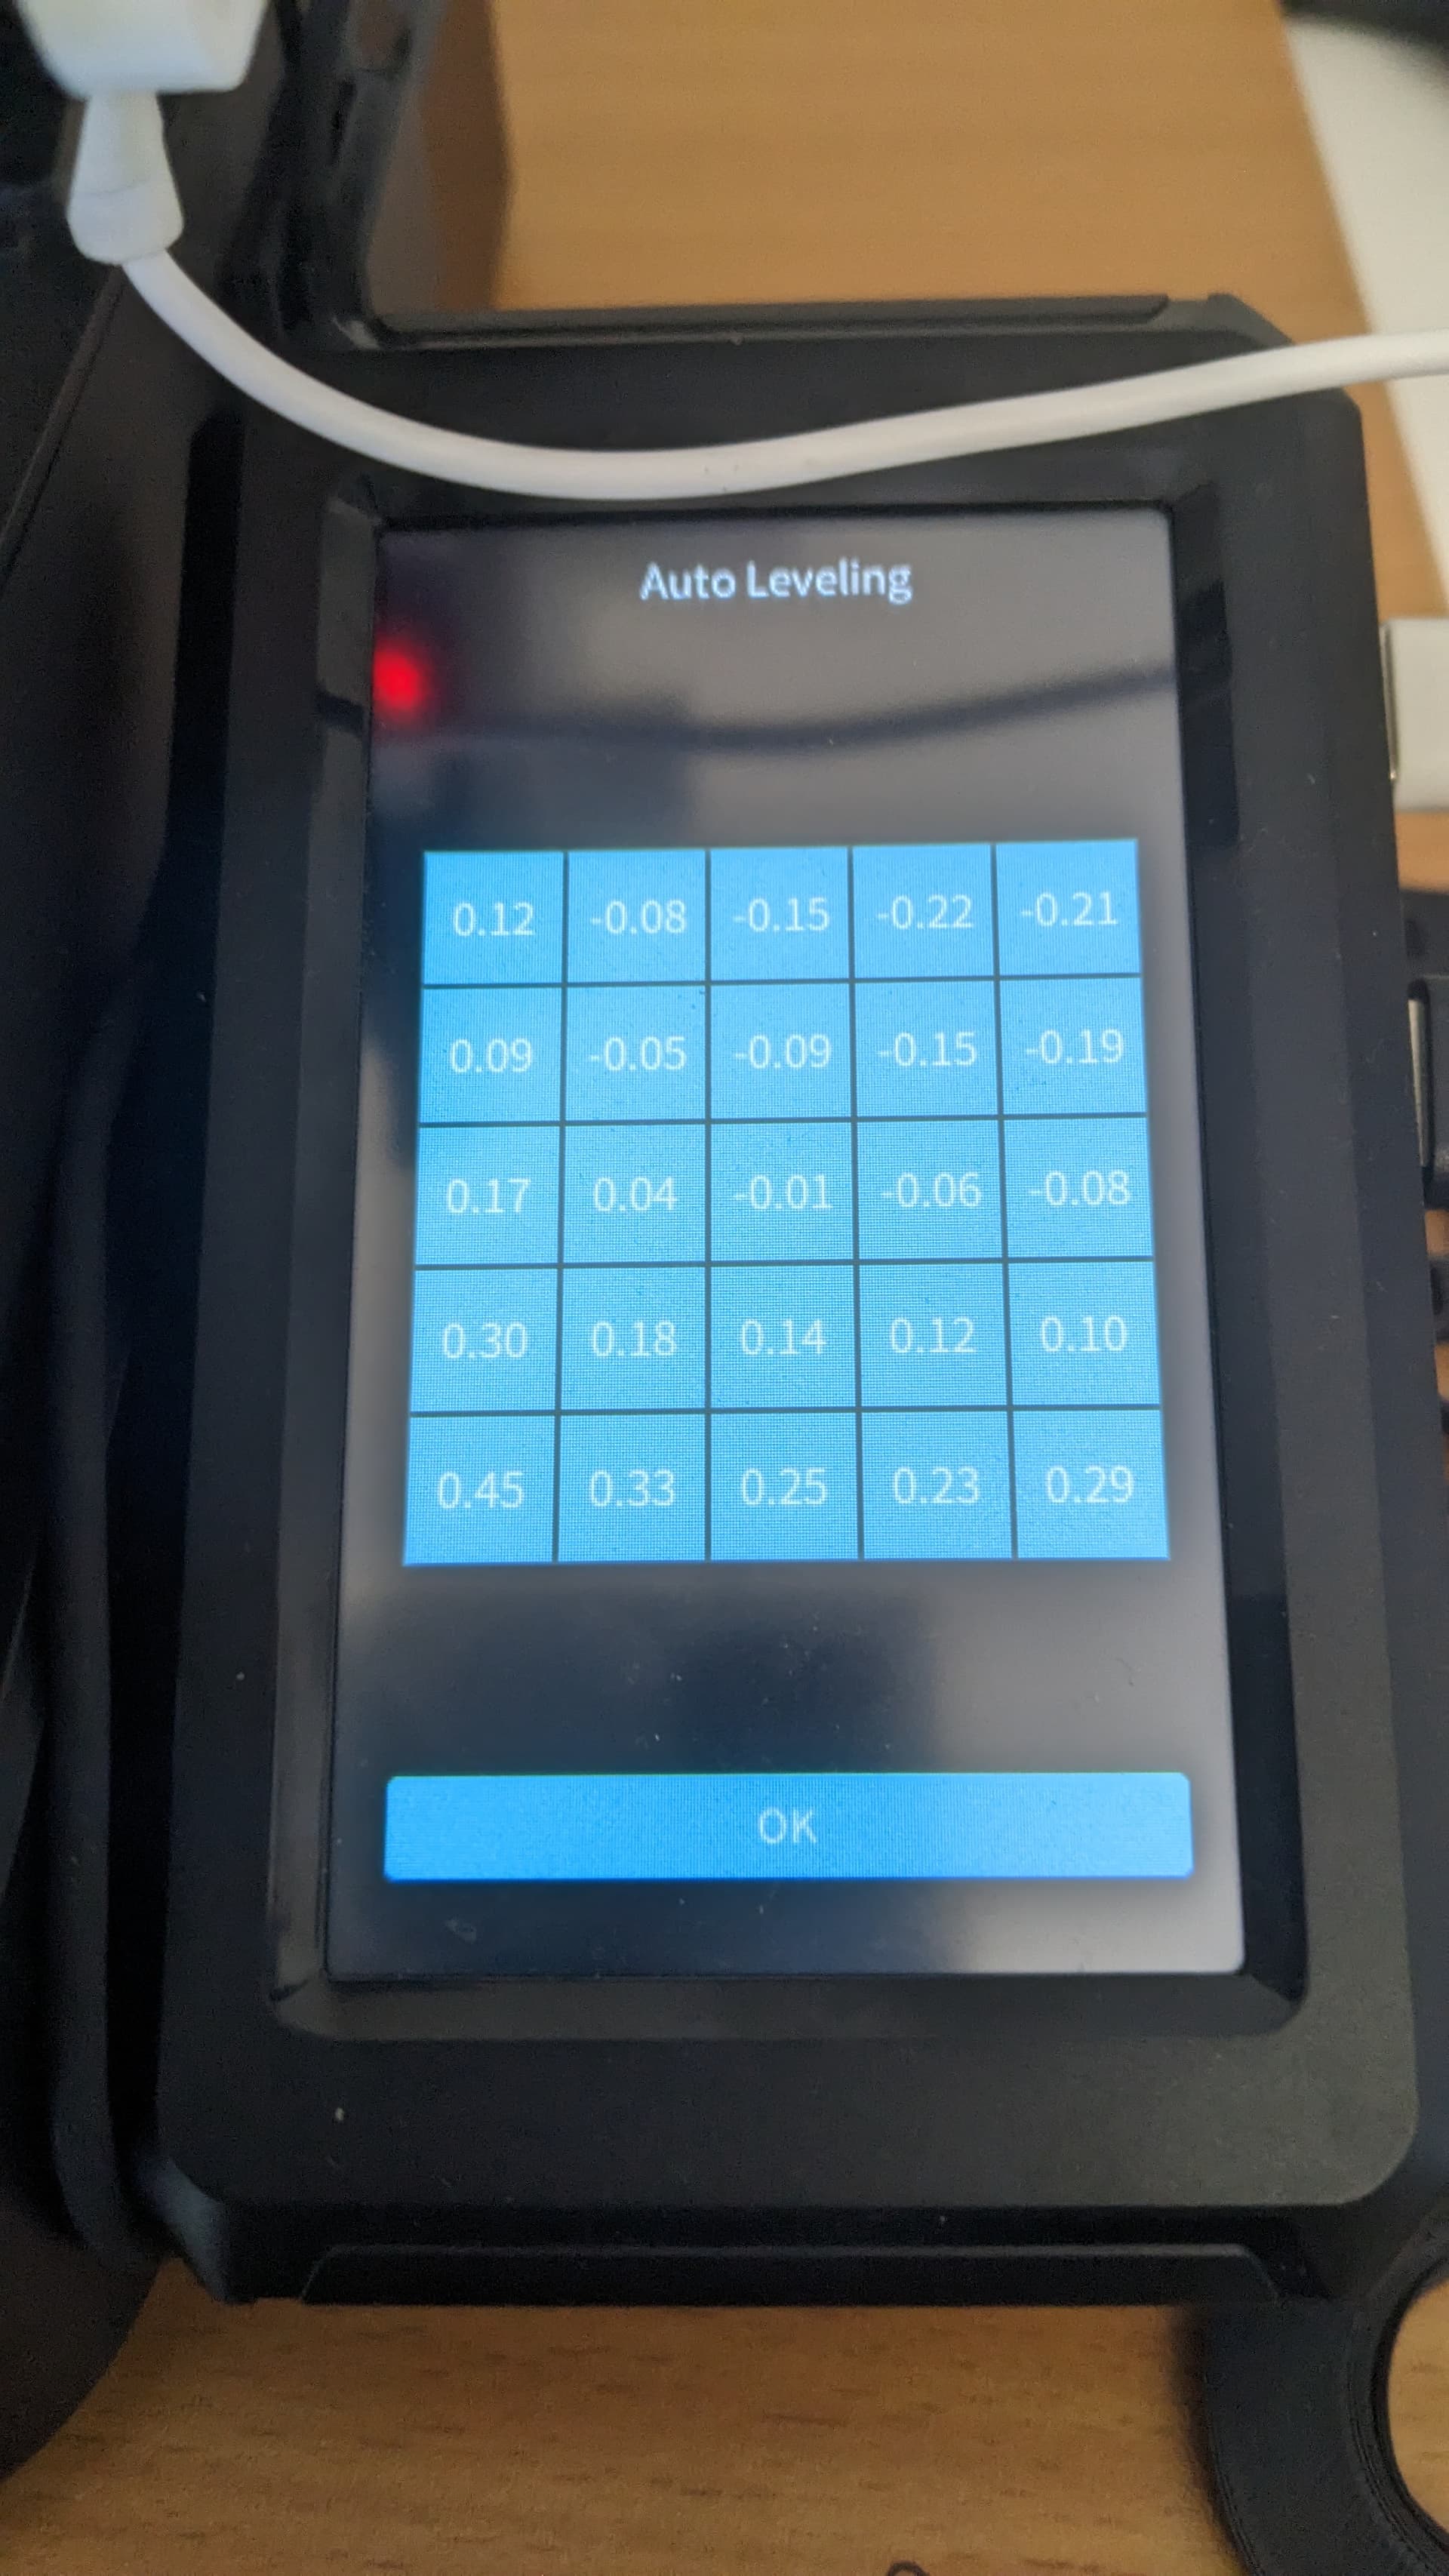
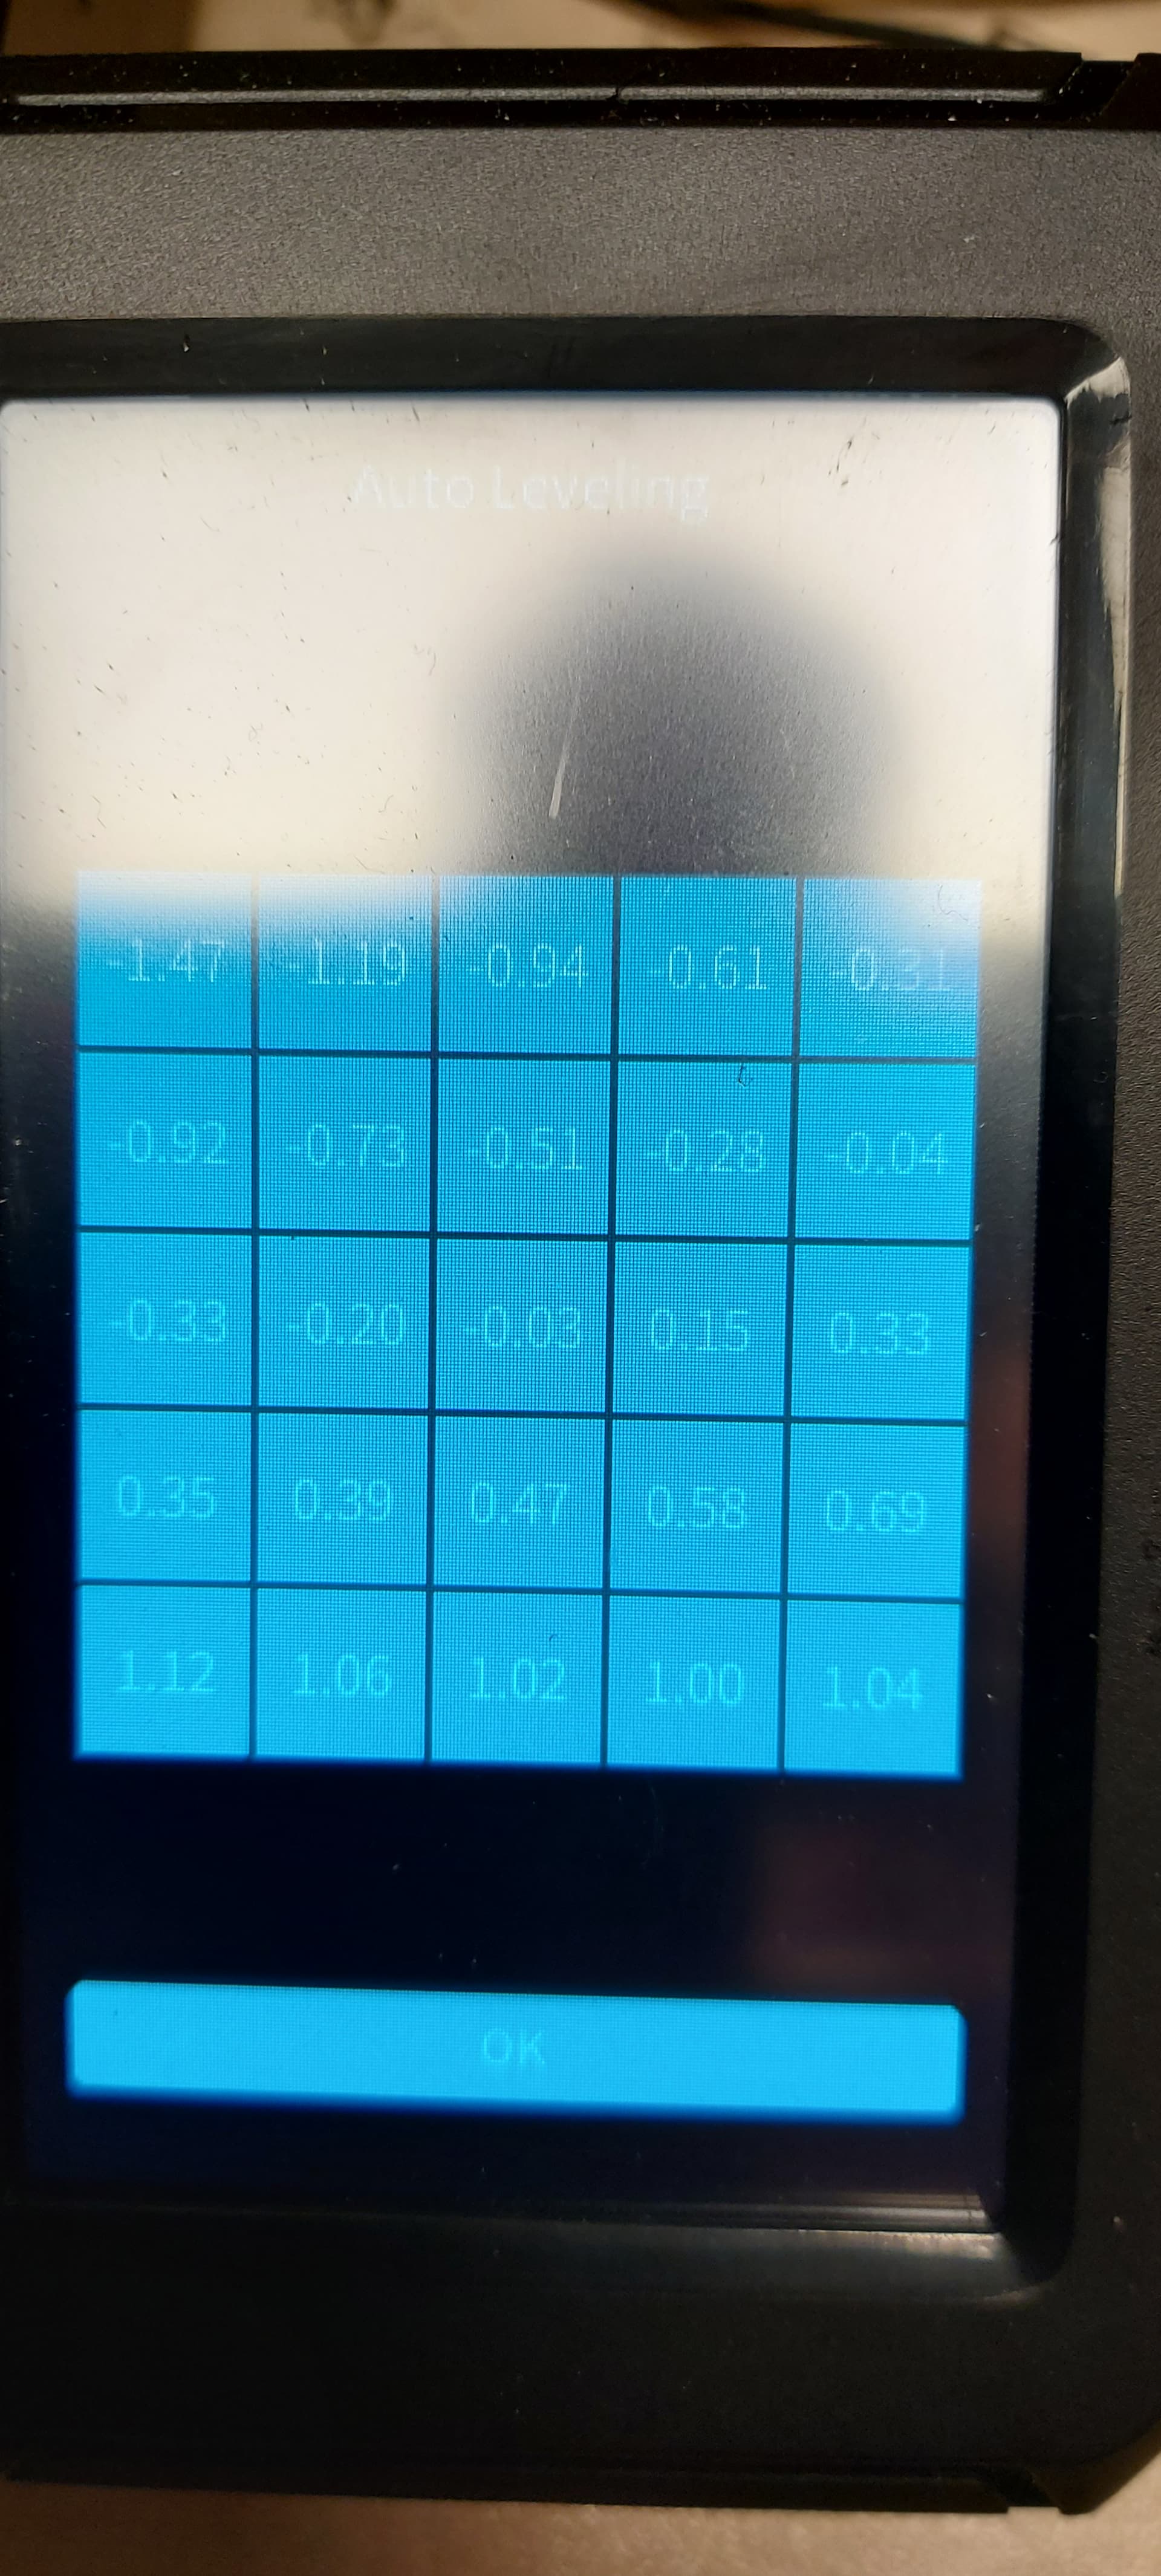
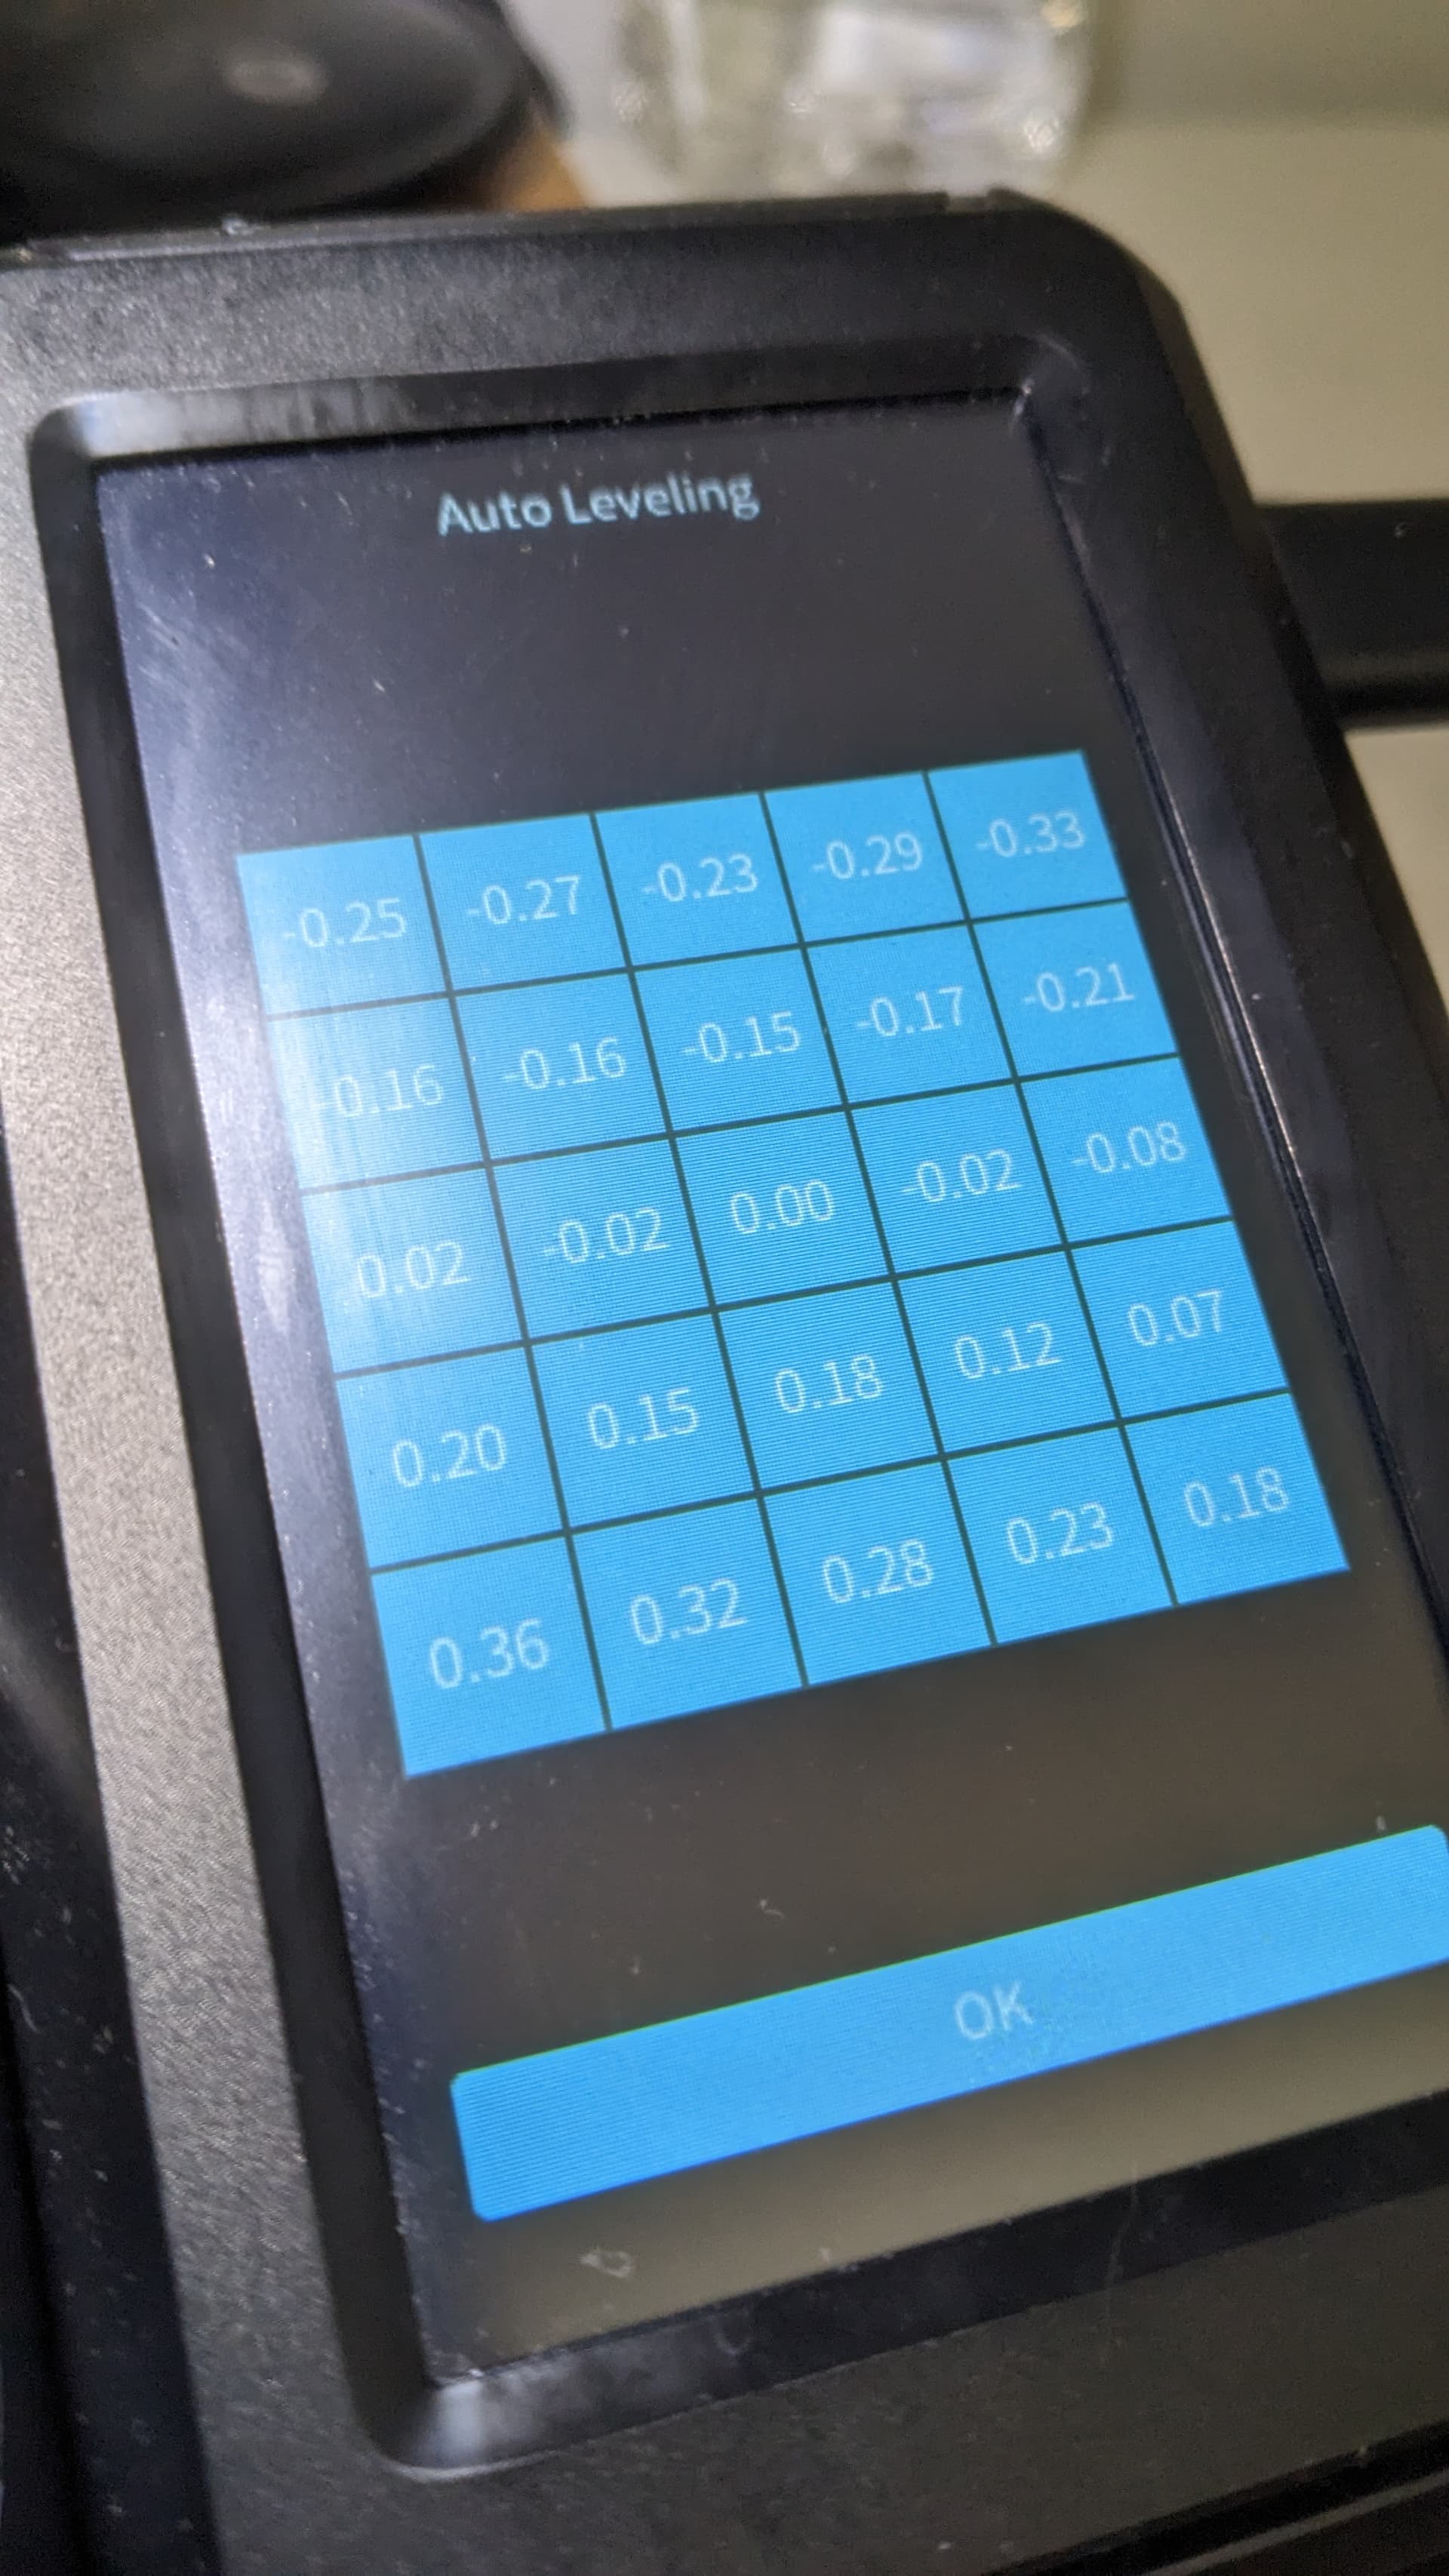
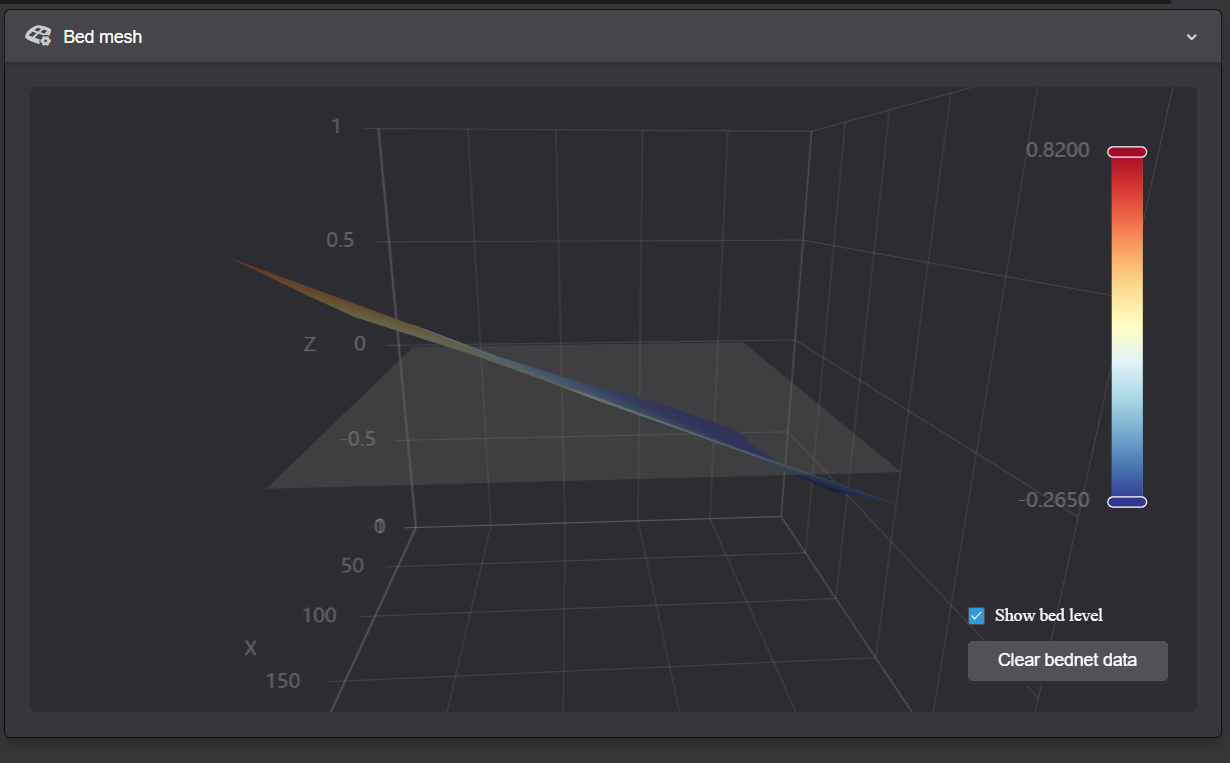
So, today I’ve checked my CR sensor. Its looks like the problem is in that sensor. On photos you can see that with every new calibration it shows different measurements. But since I did not change anything with printer except just clicking for new calibration - it seems to be a problem. I asked creality help and they said that these numbers should be consistent. Check on you side.
Because making manual adjustments with z offset will help only in the center of bed. If you want to make something bigger - your first layer will be always terrible on the corners. So will see what Creality will propose to fix it.
But don’t be shy to check it and write it to help center so they will know we are not alone:)
So you did 4 calibration runs and compared them? I might try that out of interest.
yes, as you see every new calibration shows new numbers, which is strange if you’re not replacing the printer. I’m ok if they will show like 0,01 change, but not 0,15
and if you do - may I ask you to show photos?
i certainly shall, an interesting experiment type thing. Might even do it on my 2 other machines connected to my Sonic Pad.
1 Like
I’ve had the same “issue” on the printer I sent back with successive calibrations where the numbers are not the same. As you mentioned the printing in the center of that machine was fine but leading out to the edges it became progressively worse. I did take pictures of the screen but unfortunately I literally just deleted them since I received a replacement.
Now that you mentioned it I’ll have to do successive calibrations again on the new machine. It makes total sense about Z adjustments only effecting the center and not the edges however I was under the impression that the “print calibration” check box accounted for the discrepancies.
I also tightened up my belt and it smoothed things remarkably.
1 Like
Looks pretty consistent to me, but did find my Y belt was loose so worth a look. Worth a look at any screws that might be loose, bed screws, belt screws all of them.
1 Like
Impressive. Only a .01 variance it looks like. That looks dead on considering margin of error.
lucky you! looks really good!
Thank you for sharing anyway, I will wait for Creality help for solving my case))
Need to read how to do that ![]()
Y belt there is a little screw on the back in line with the belt. X belt is a little screw on the right hand side of the gantry. There isn’t one for the Z.
I’m impressed that it is so repeatable. Definitely down to checking all those screws are tight. Really interested how my Ender 5 plus, BIG machine, turns out, bought it for size but it is only marginally bigger than my Snapmaker A350T. How often do I print that big? Twice perhaps. But at least I can if I want ![]()
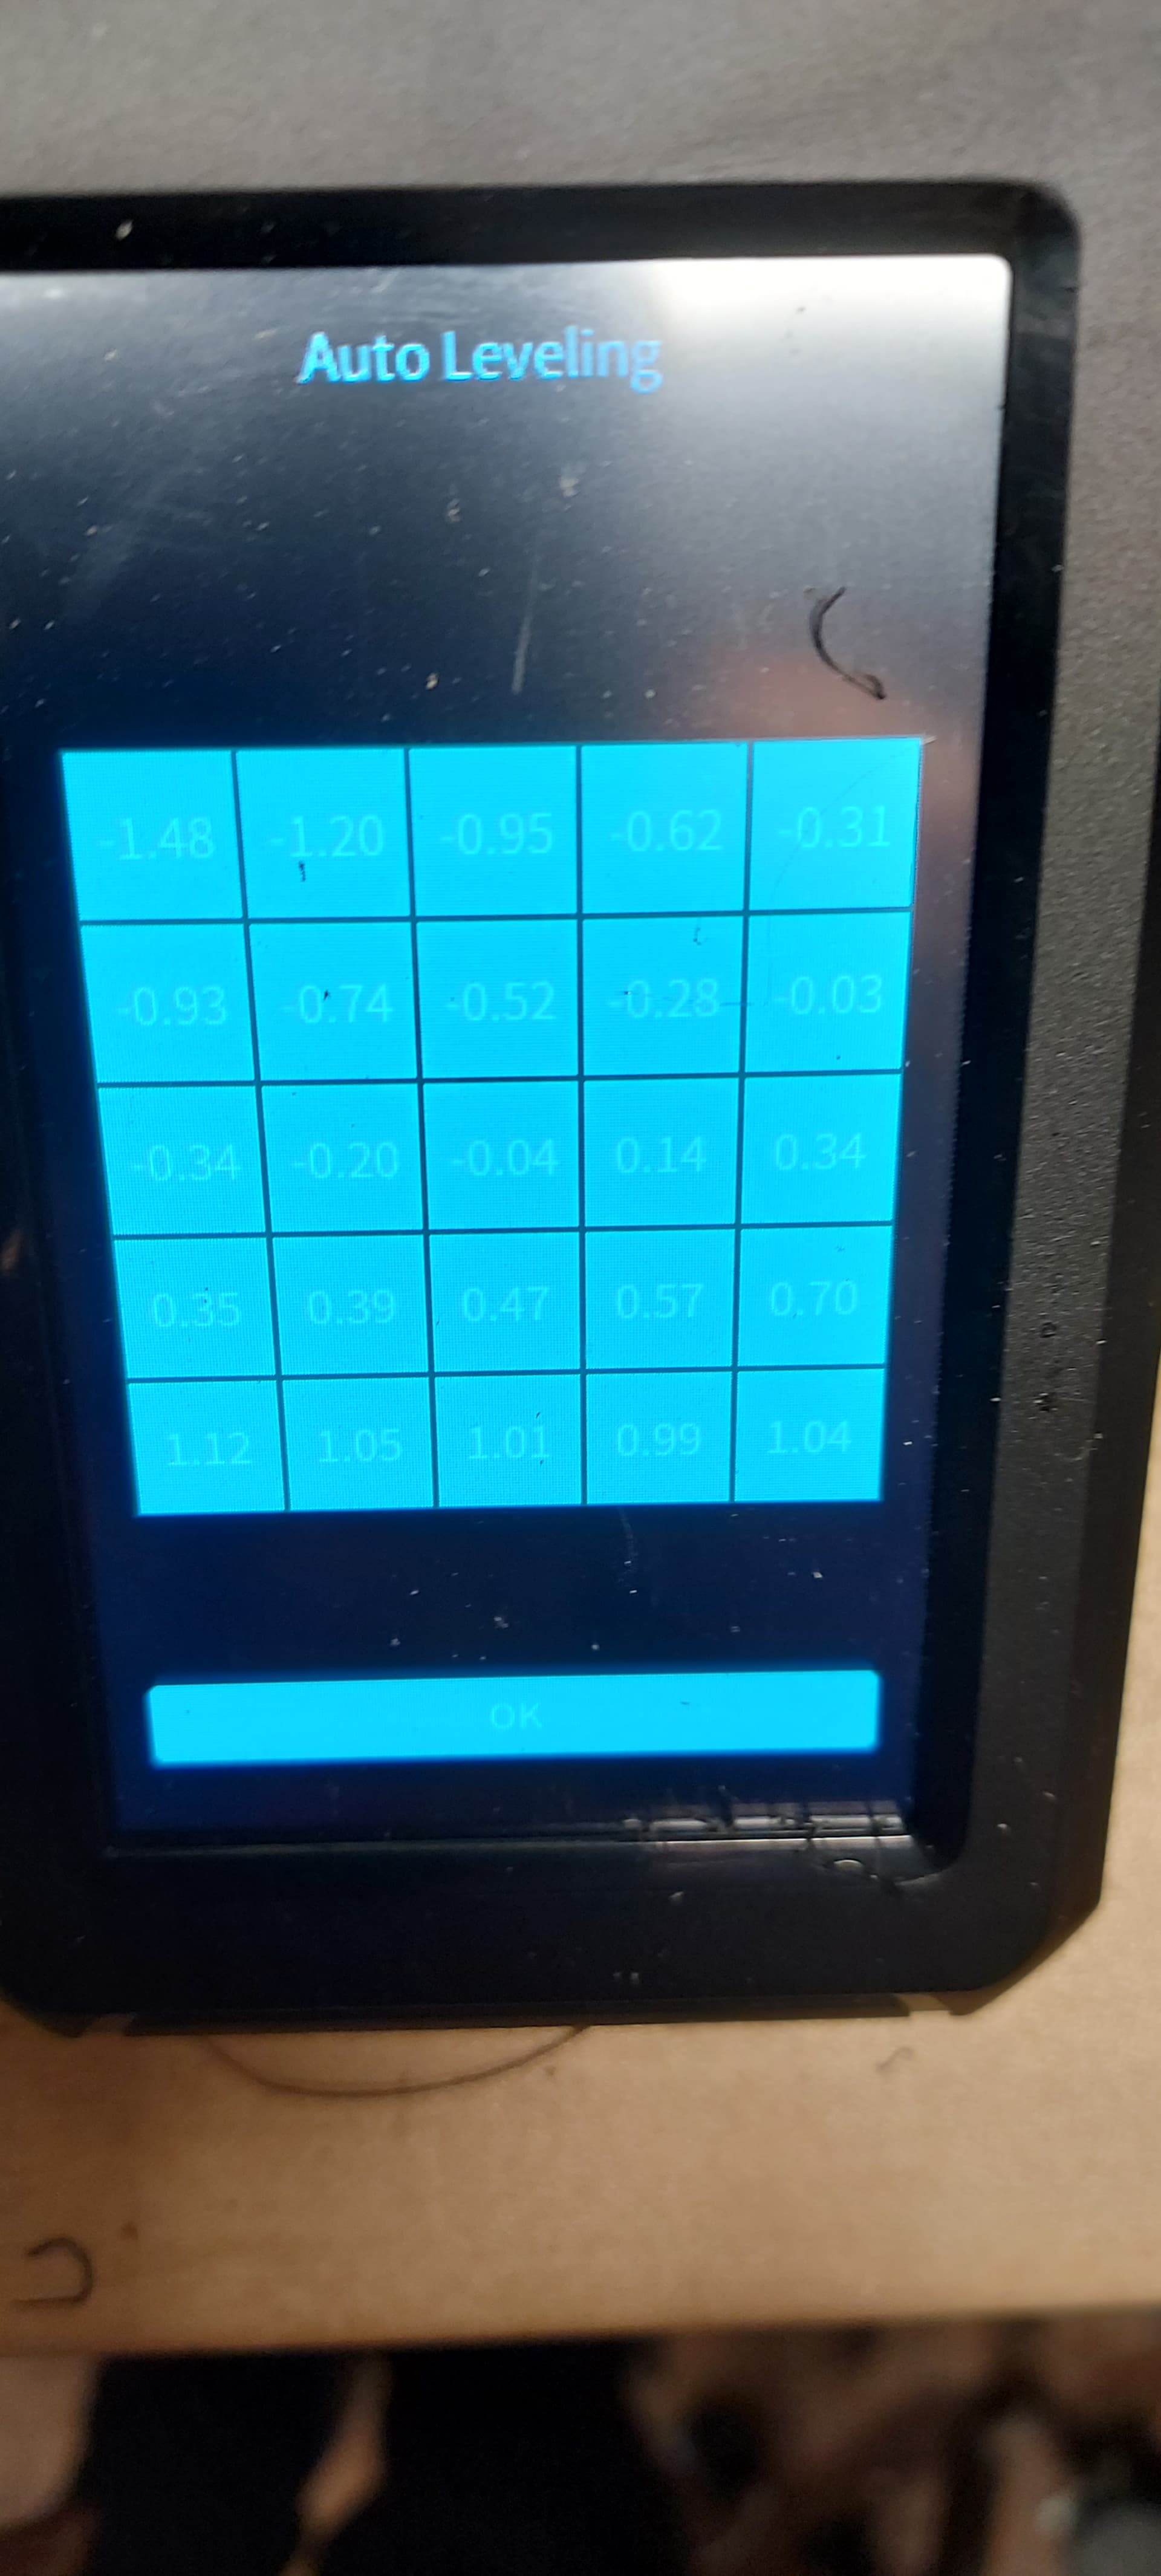
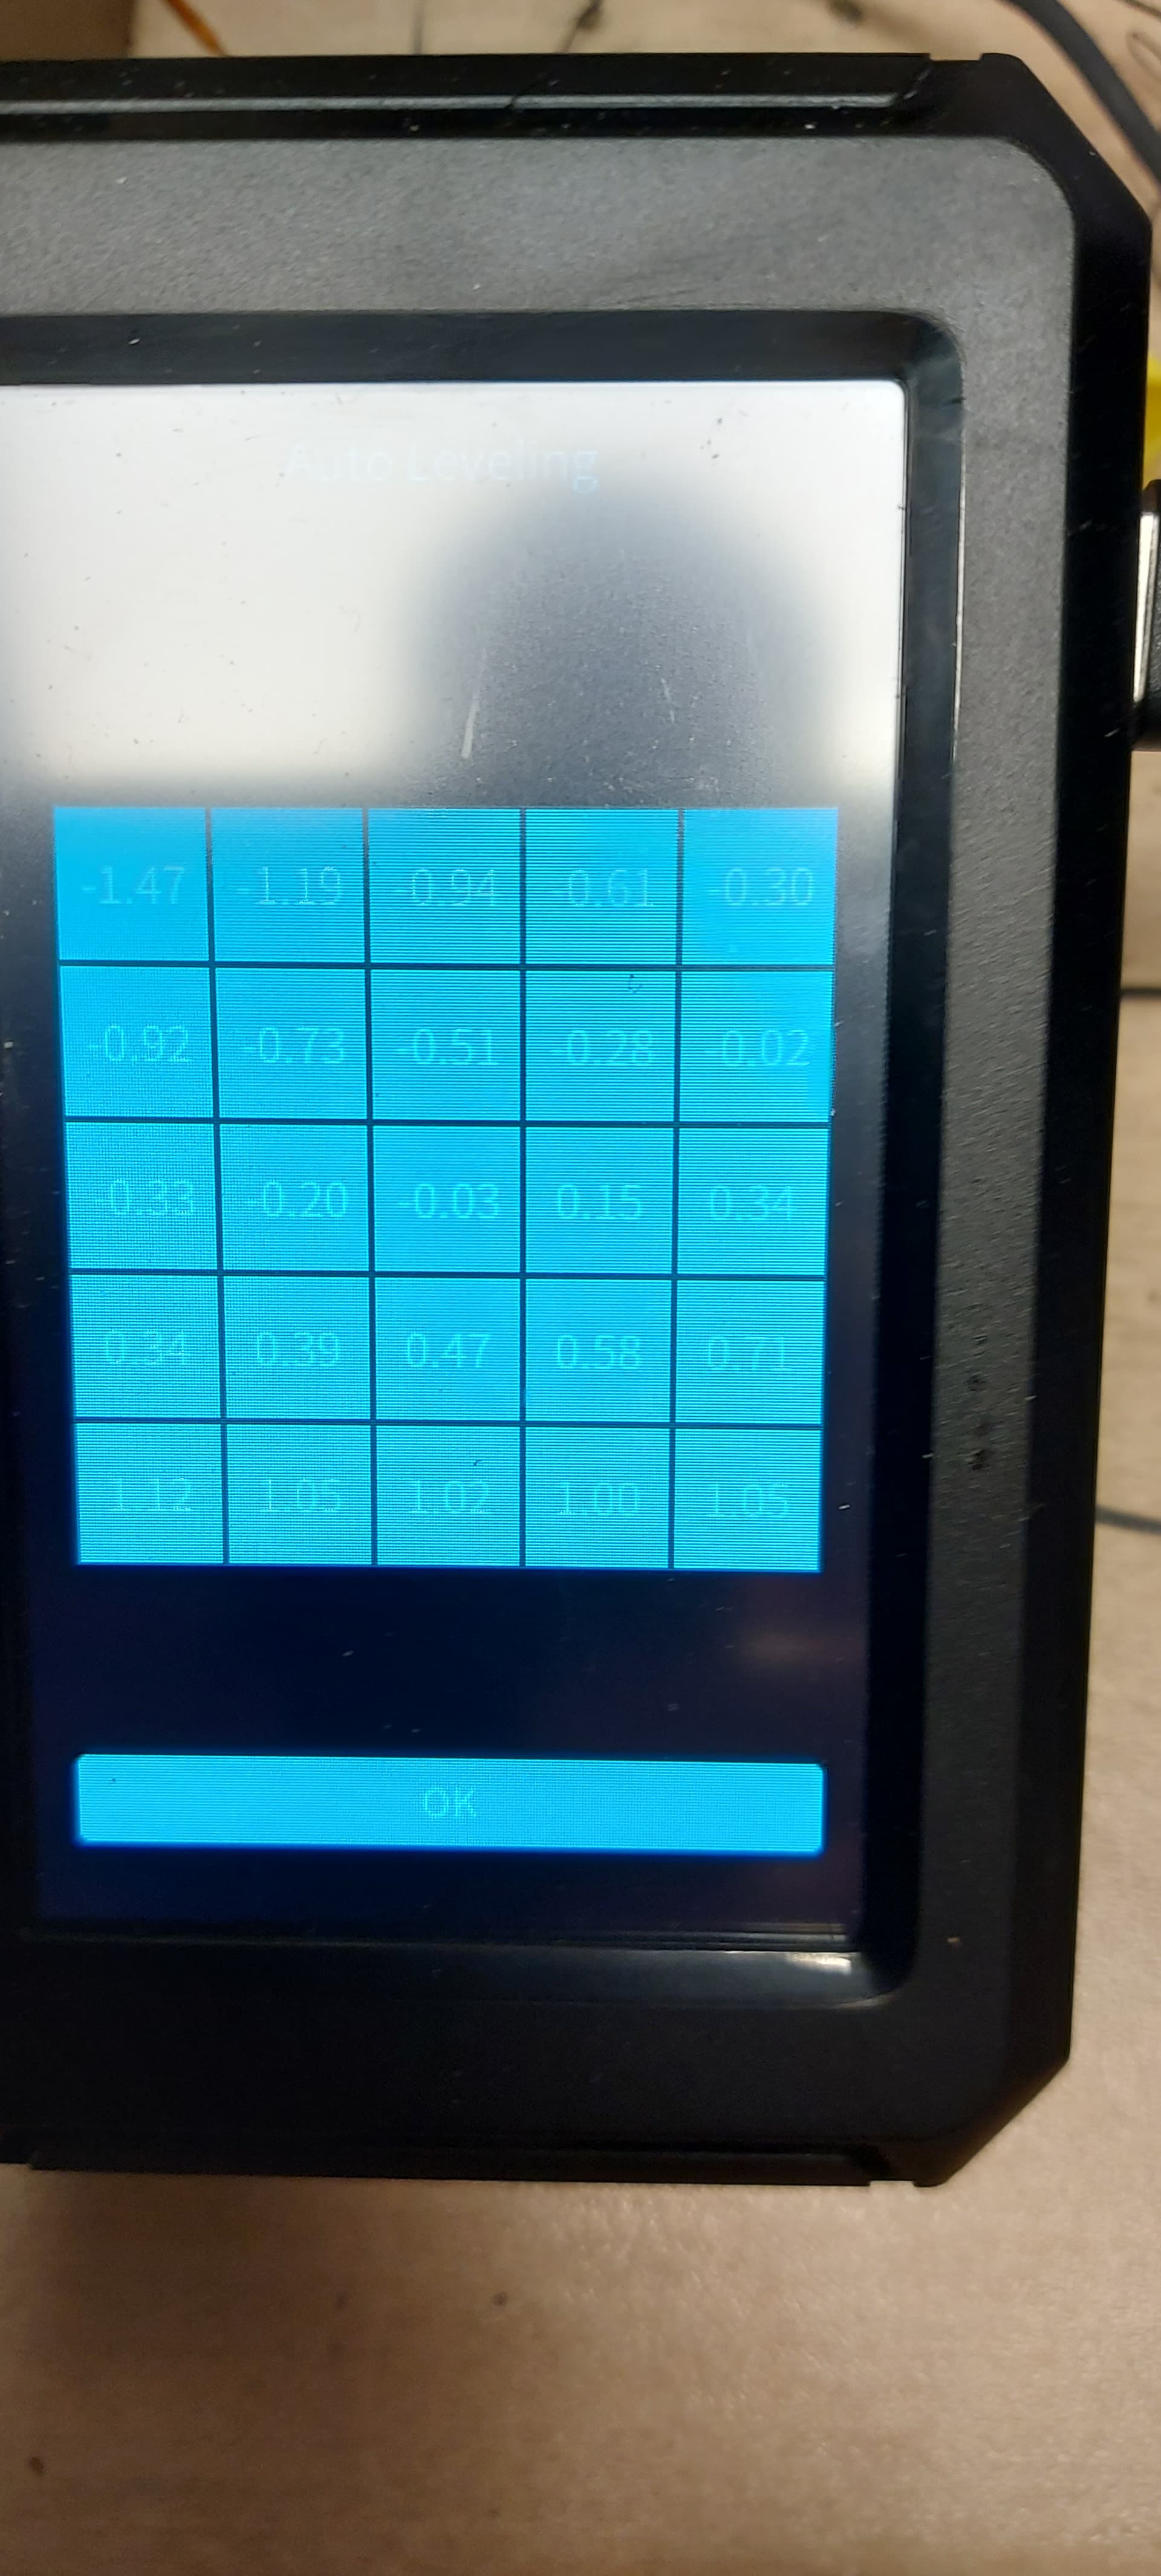
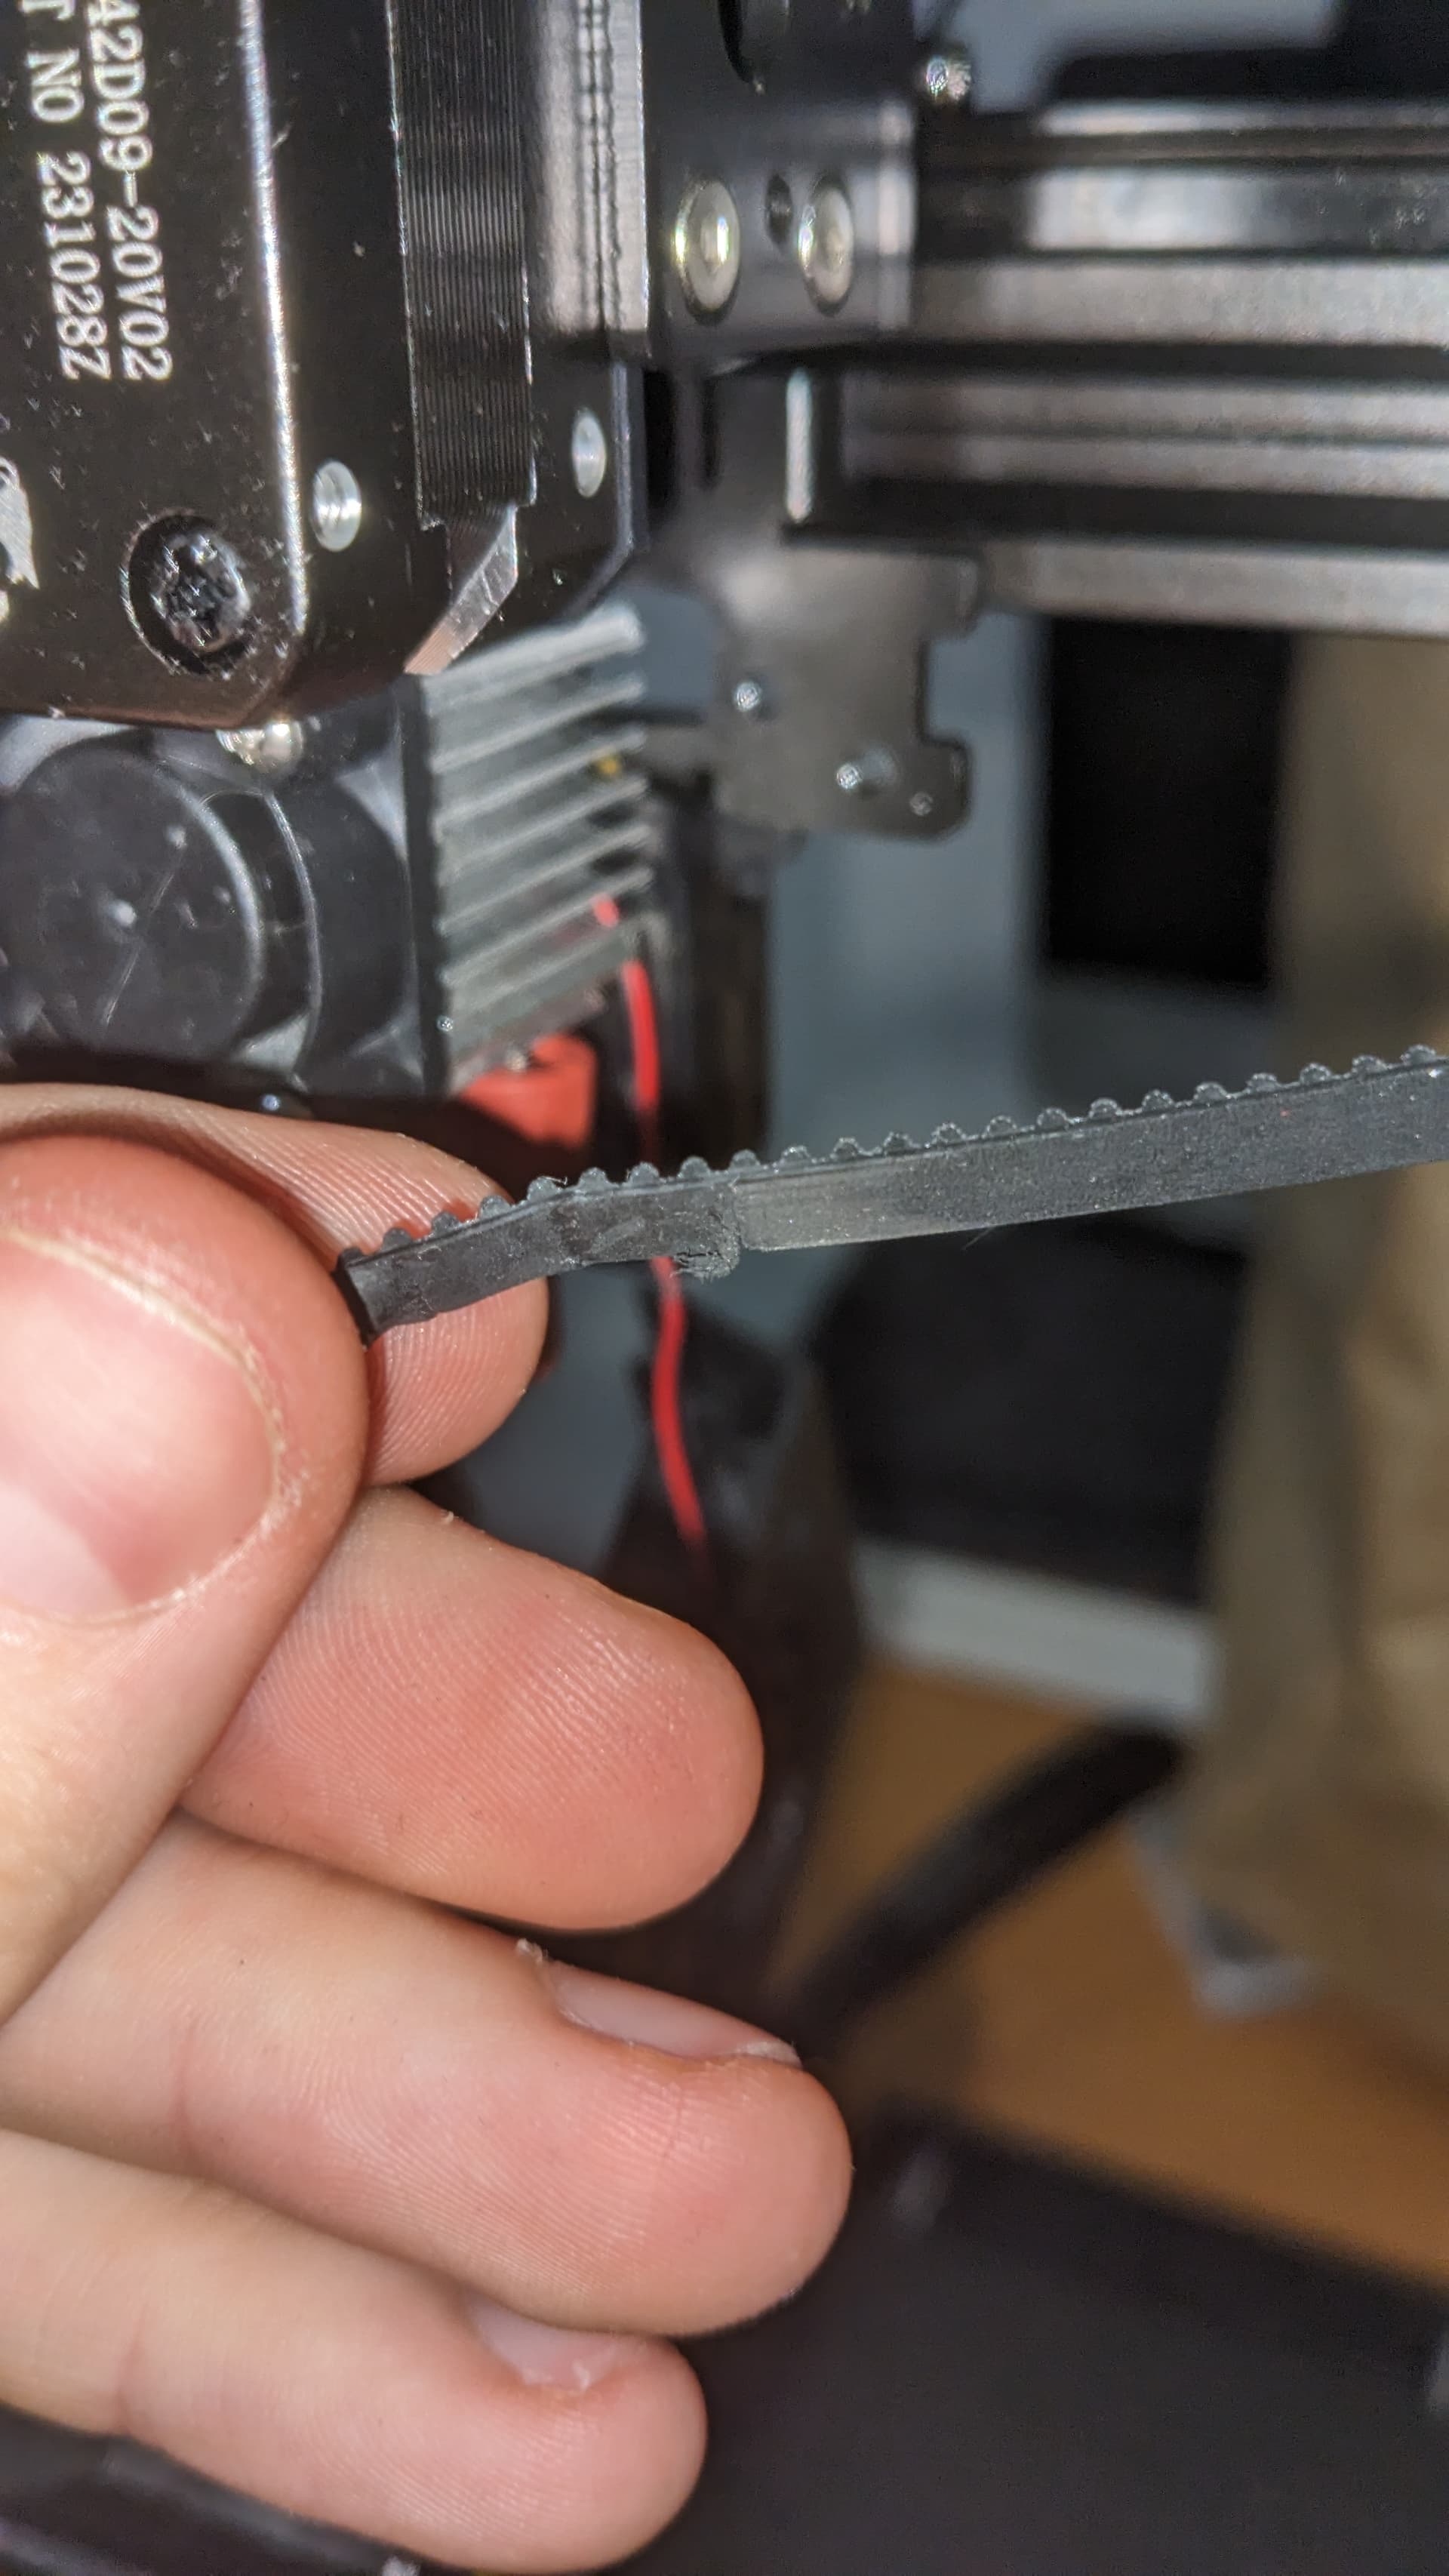
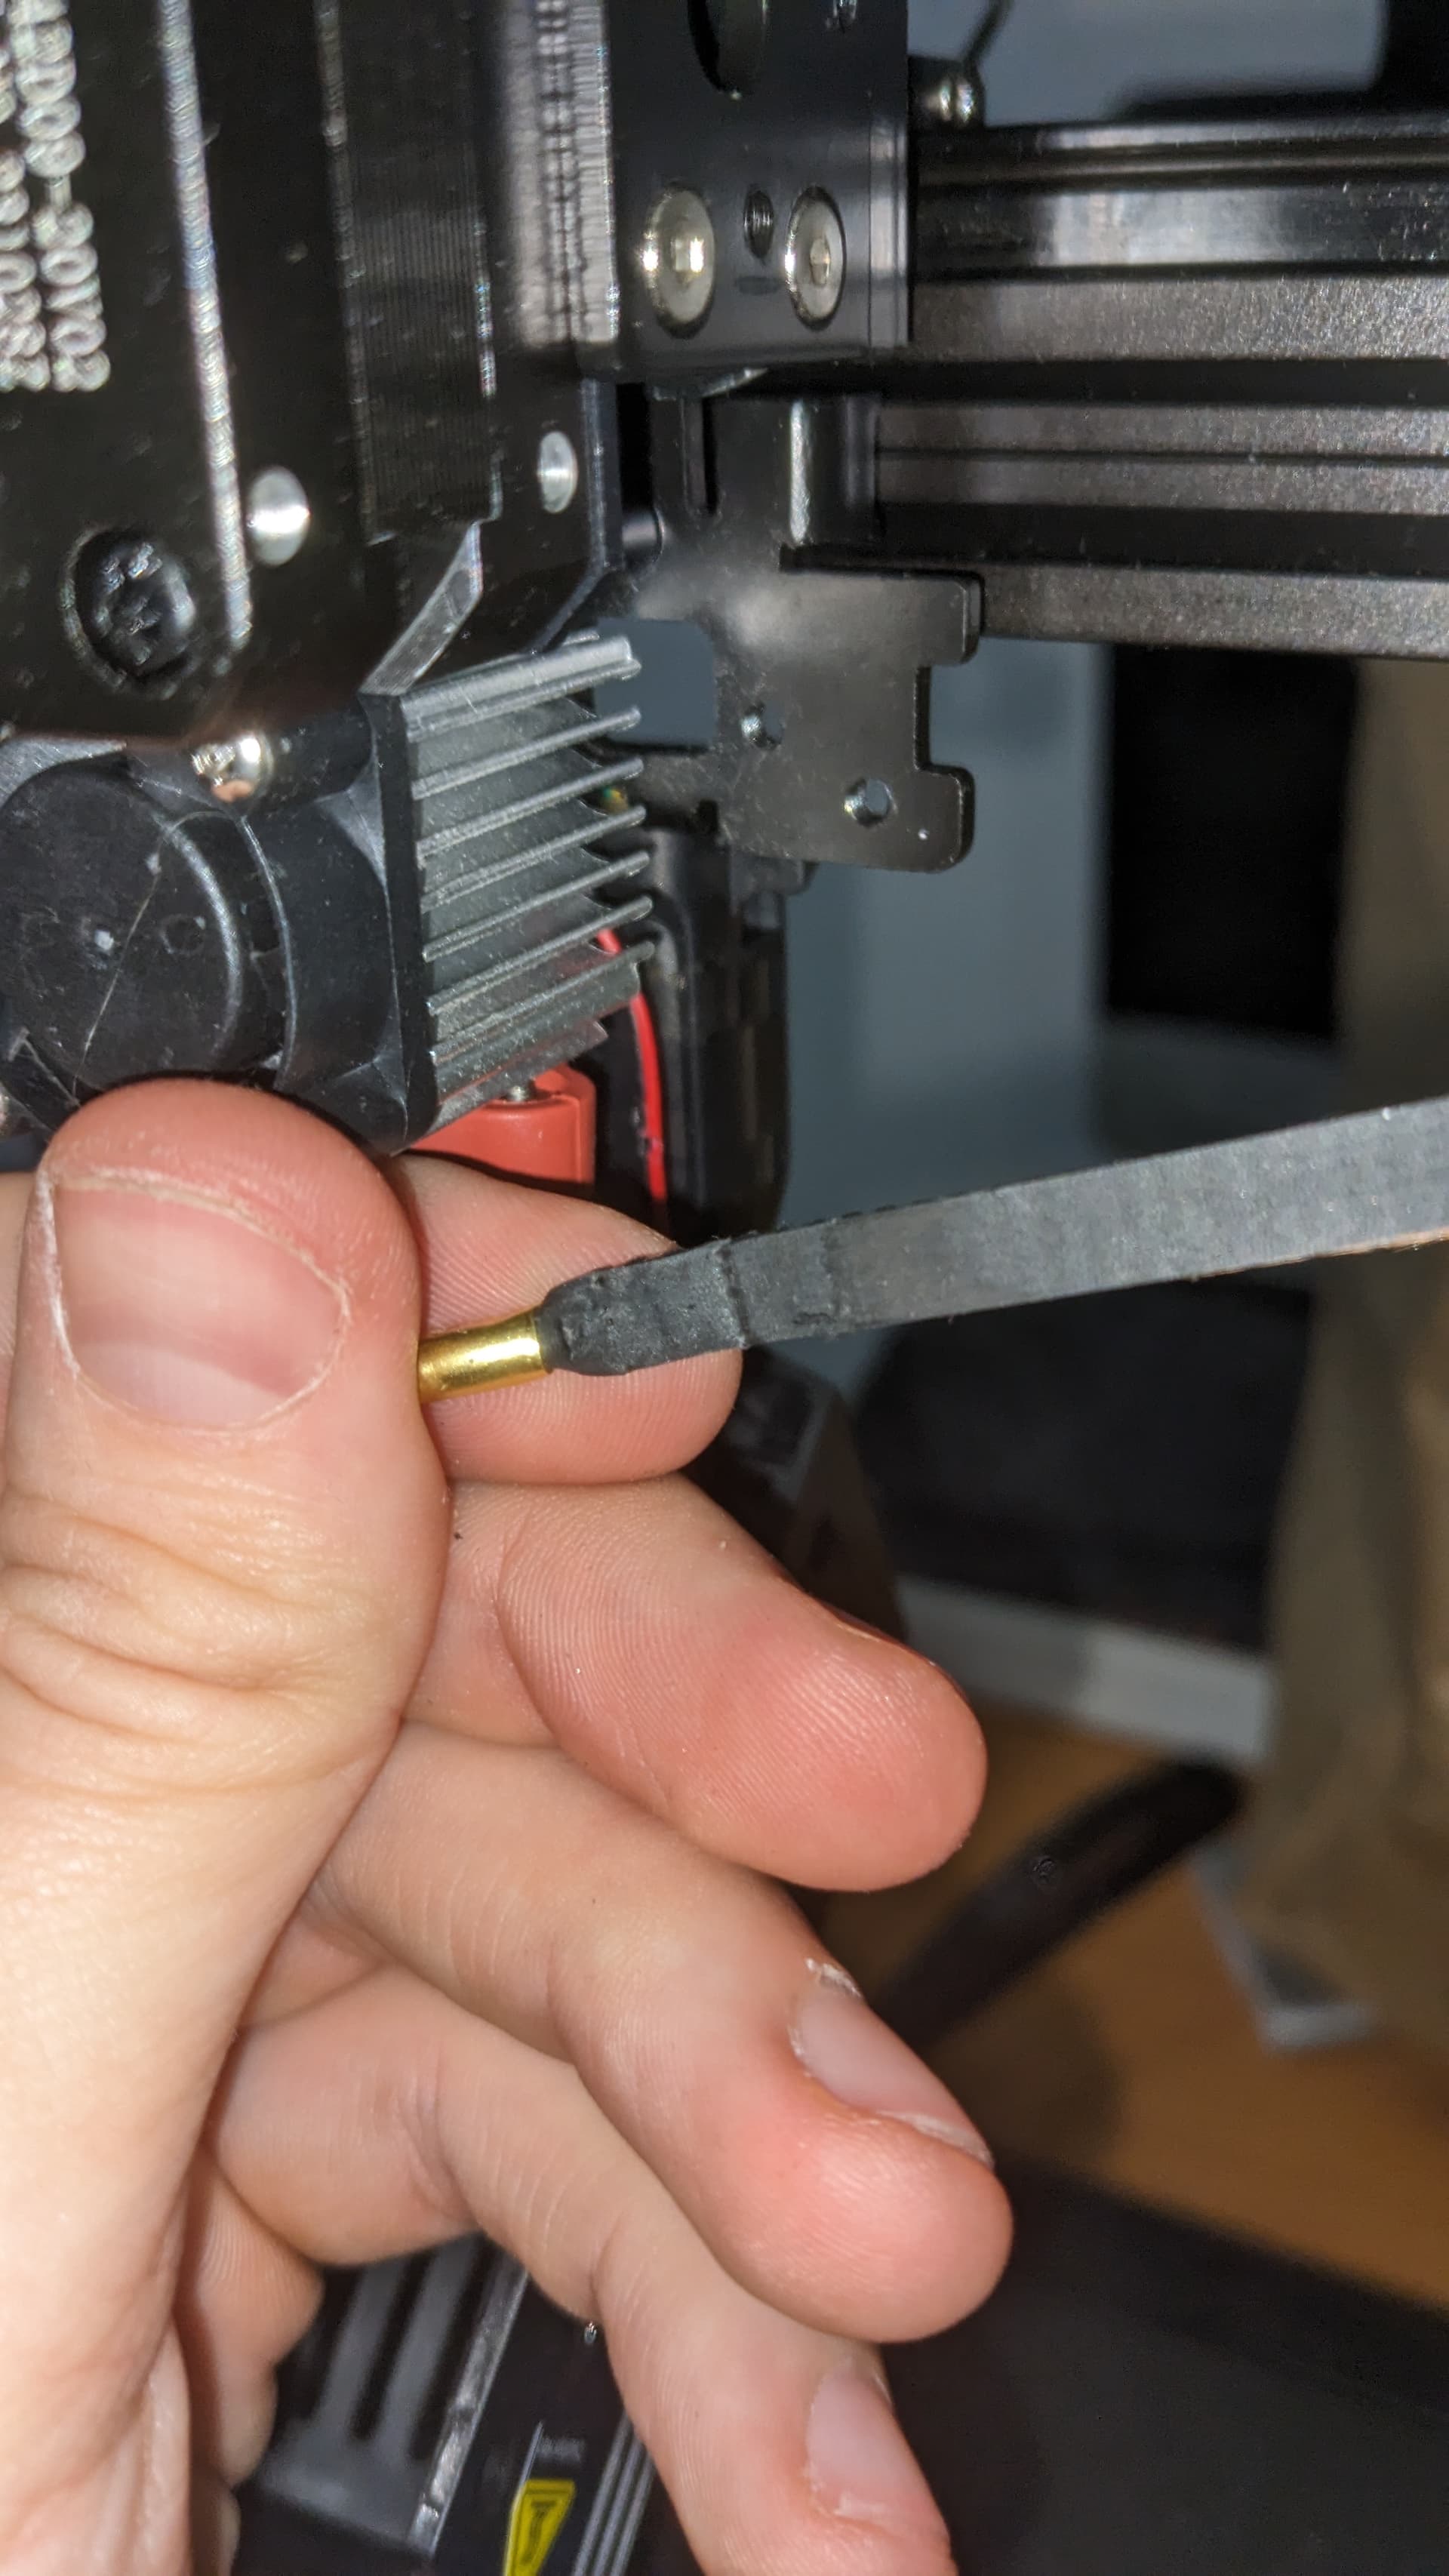
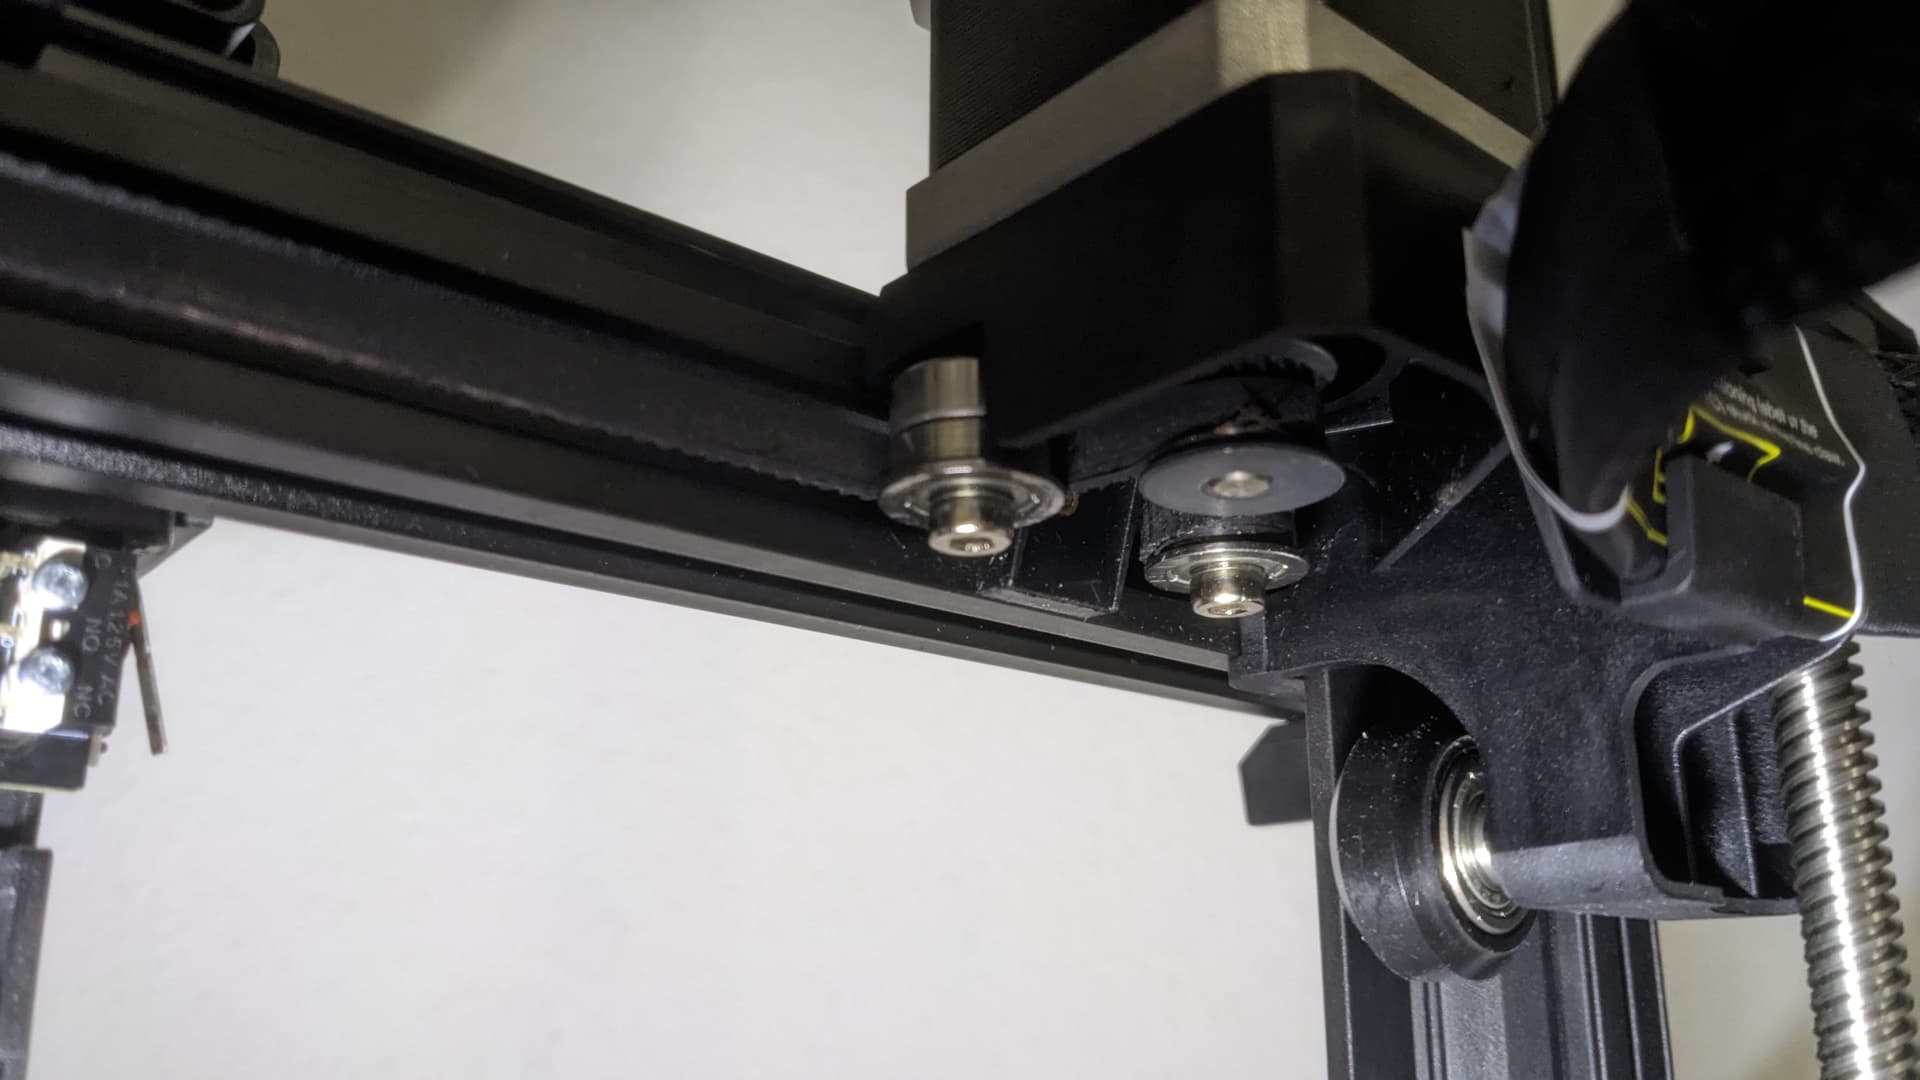
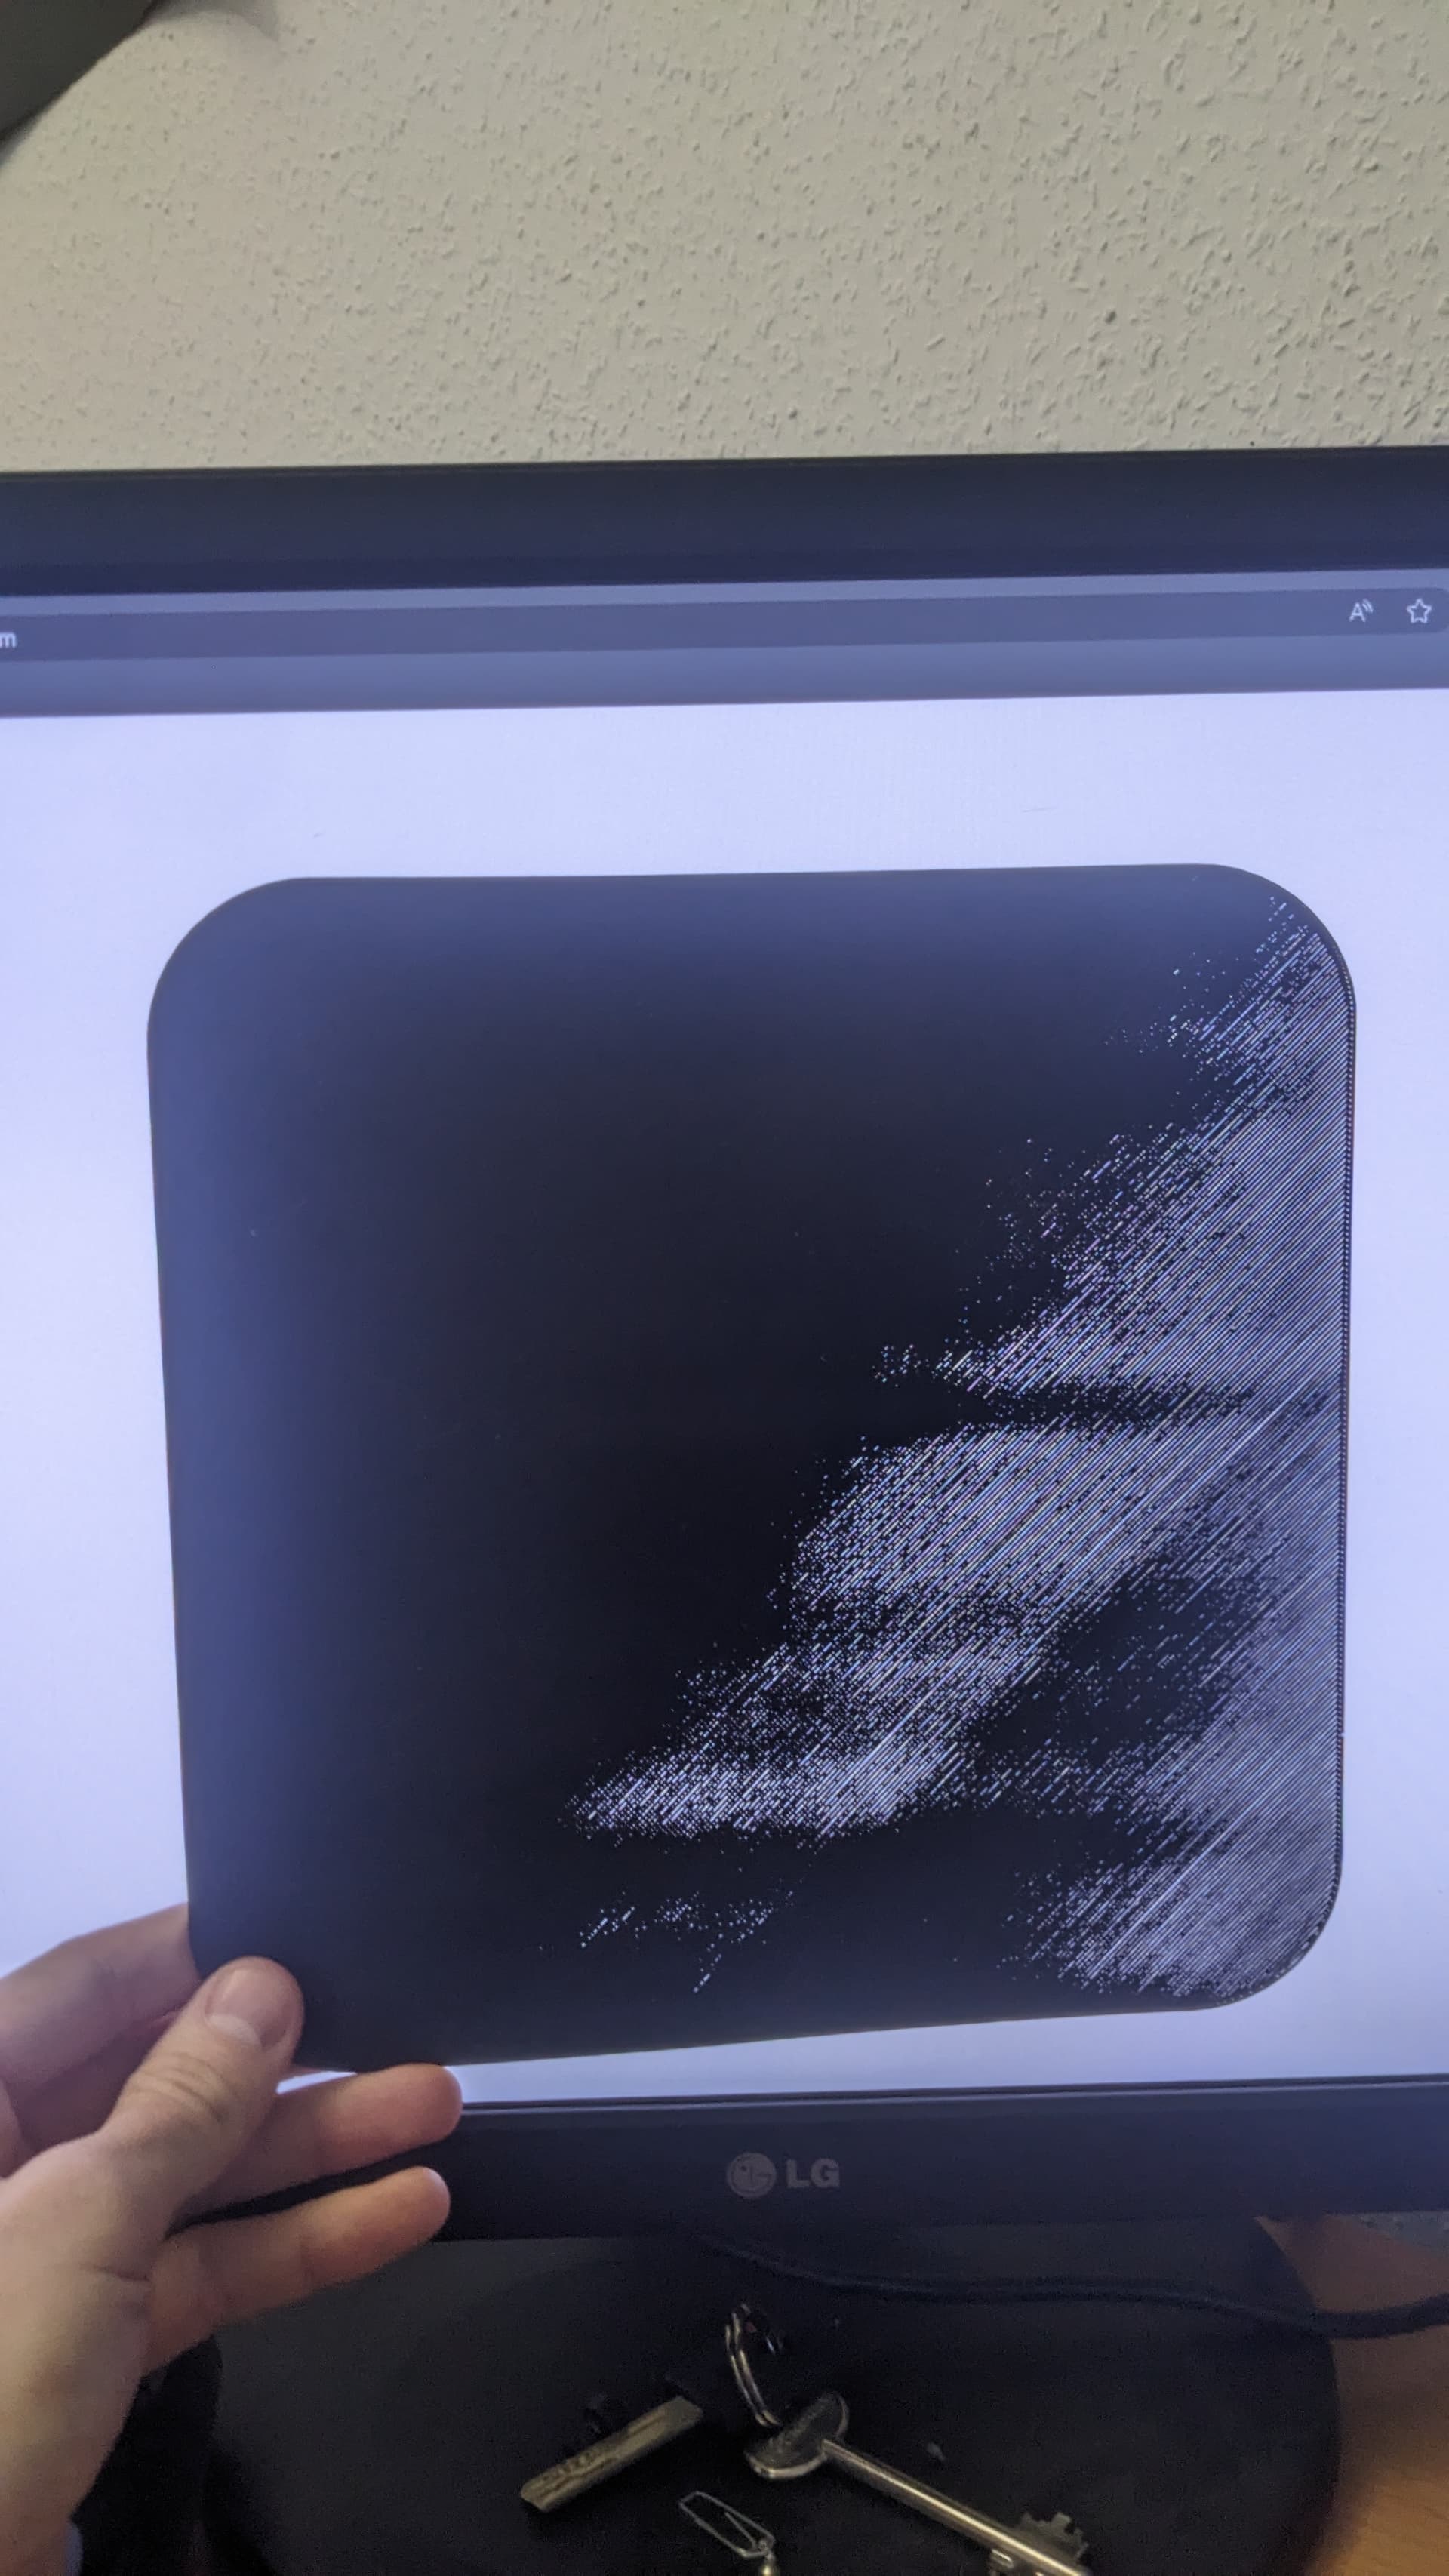
look what I found on my 2week old Ender V3 KE:
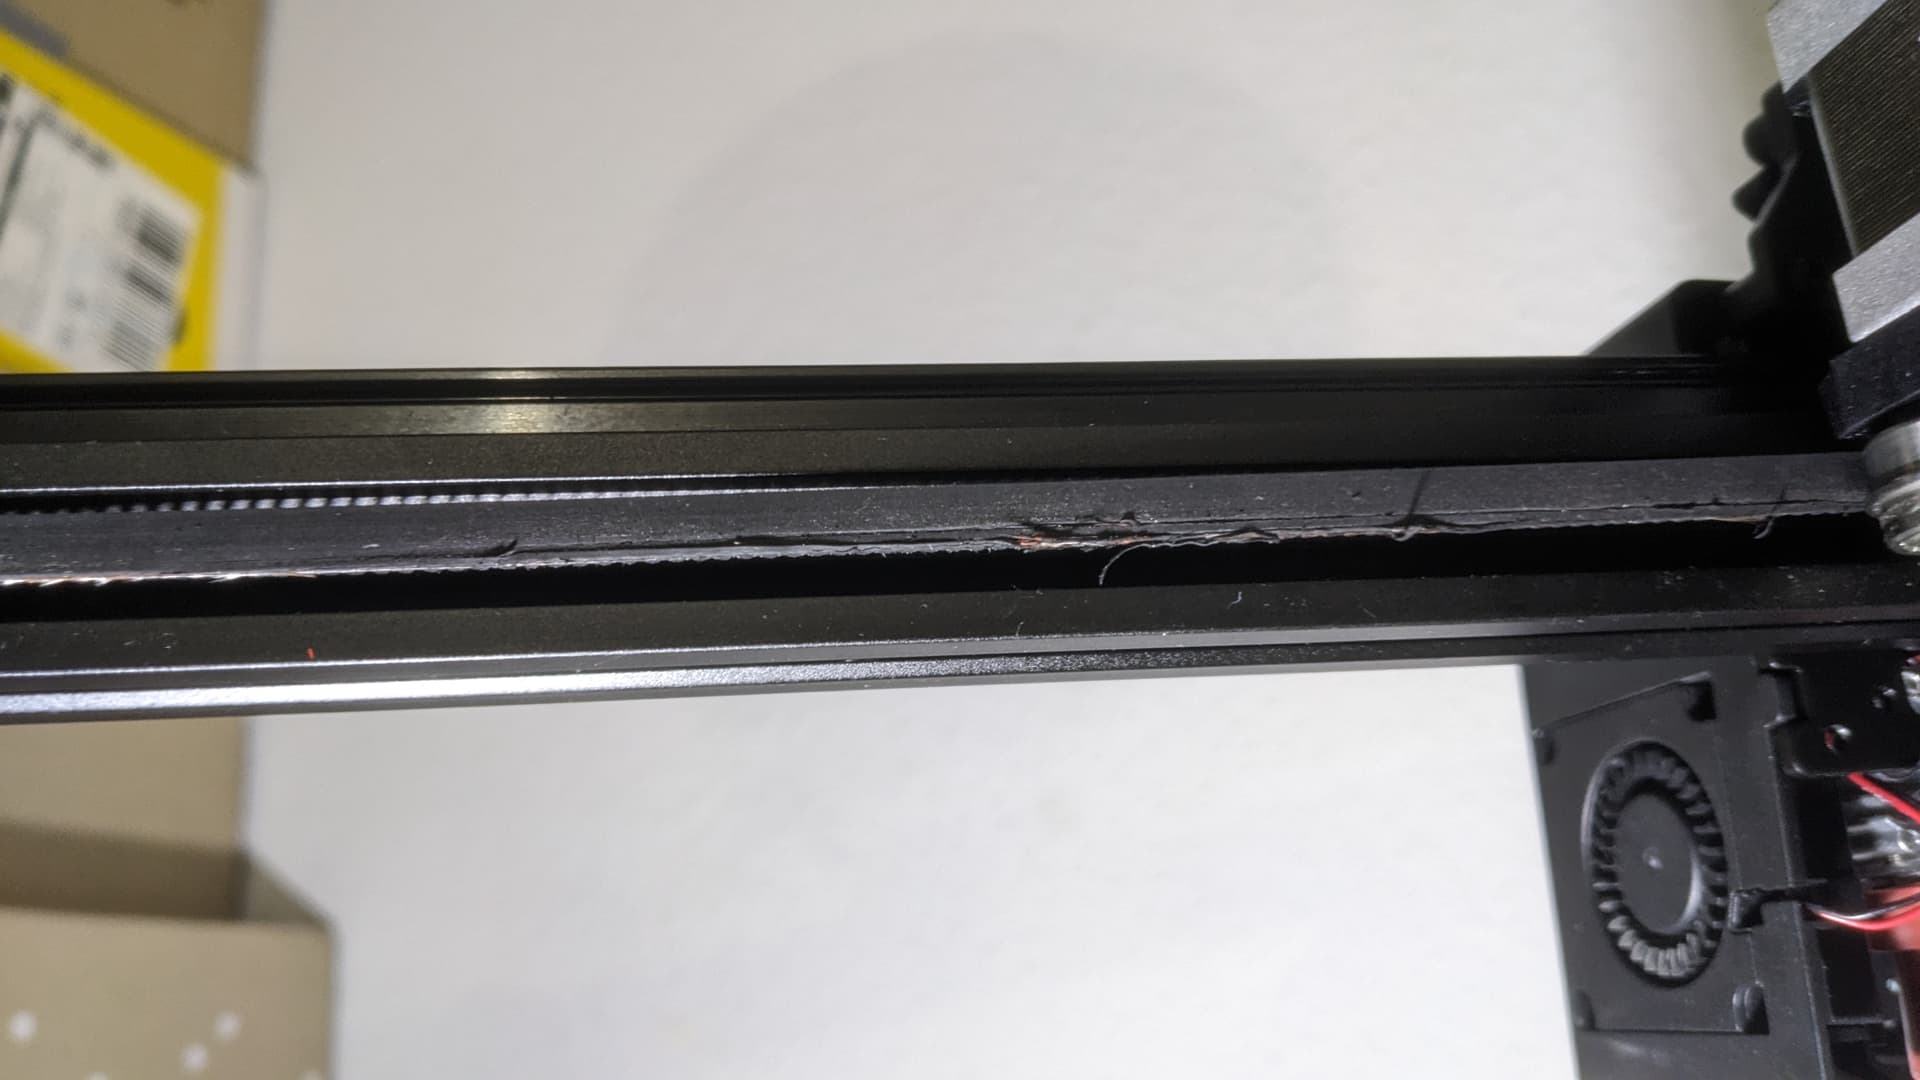
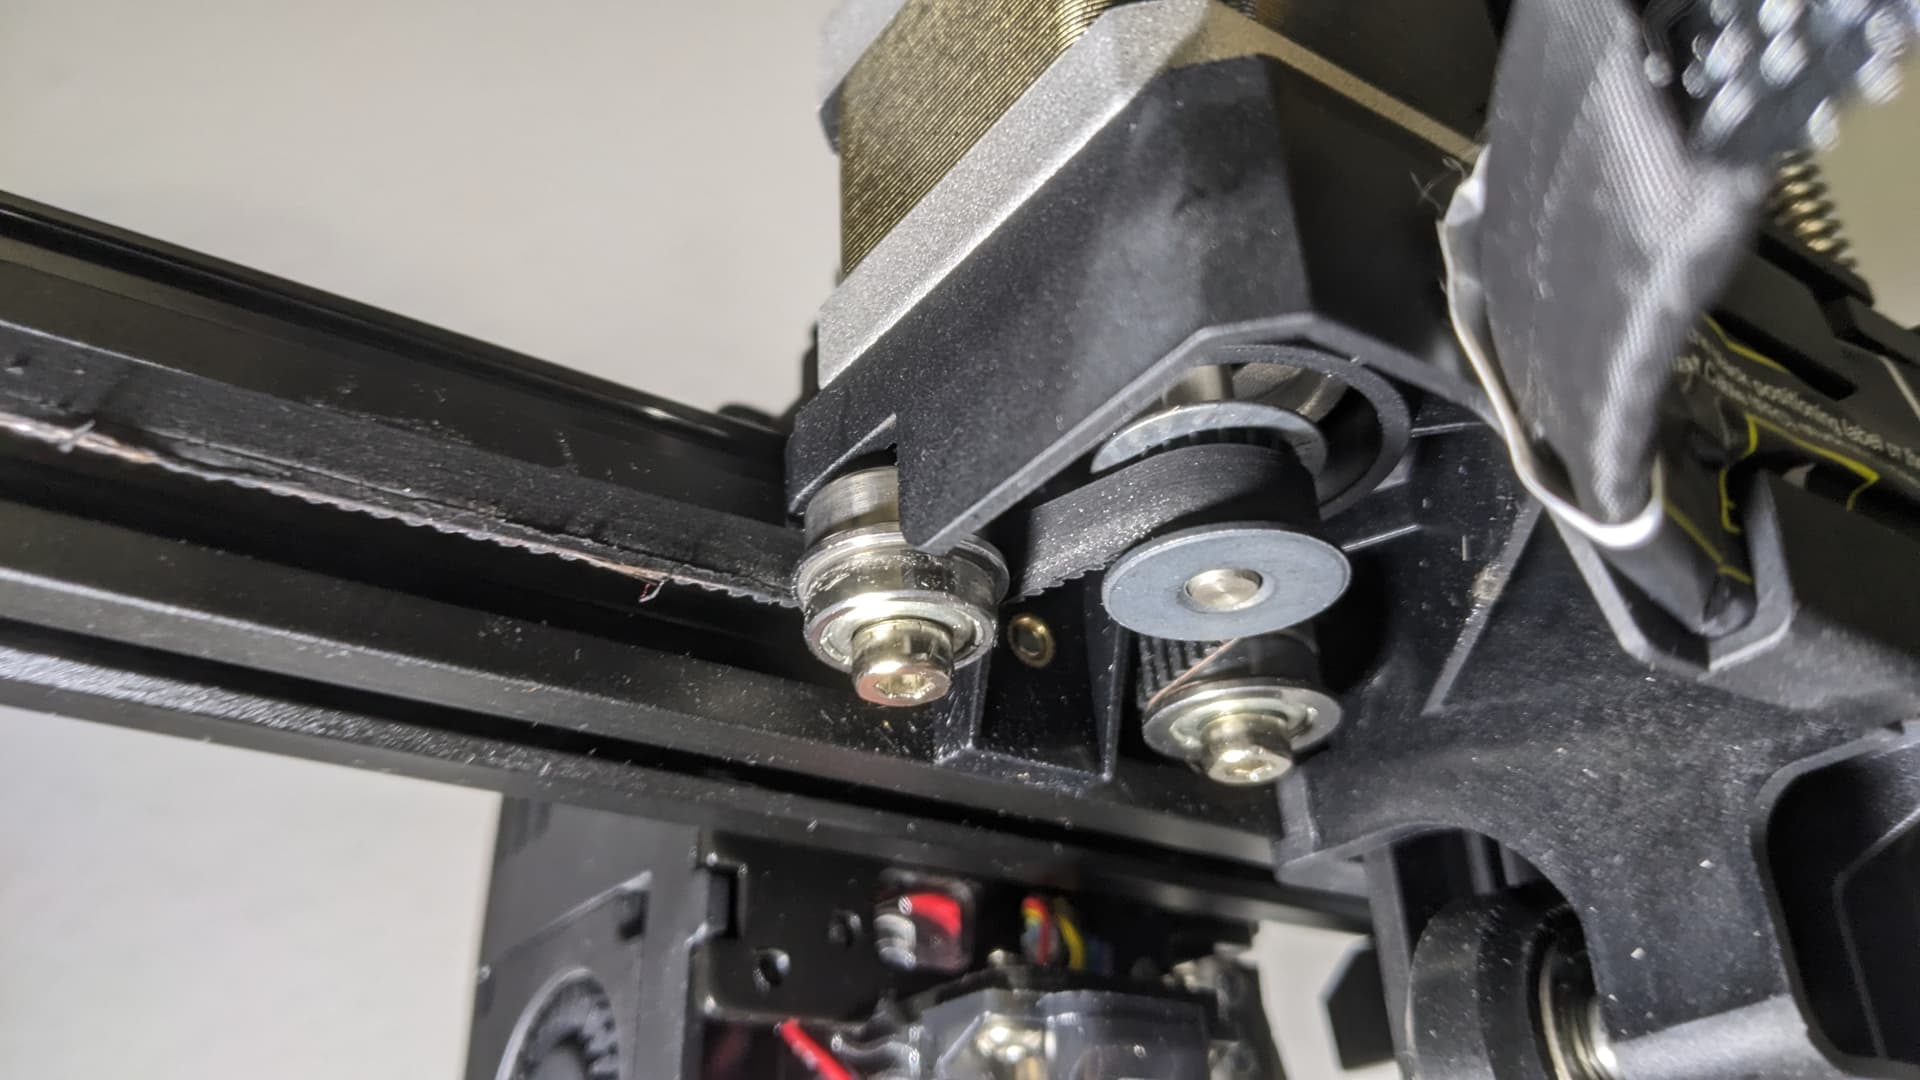
I fixed that by changing the position of this roller and it fixed the issue with bed leveling.
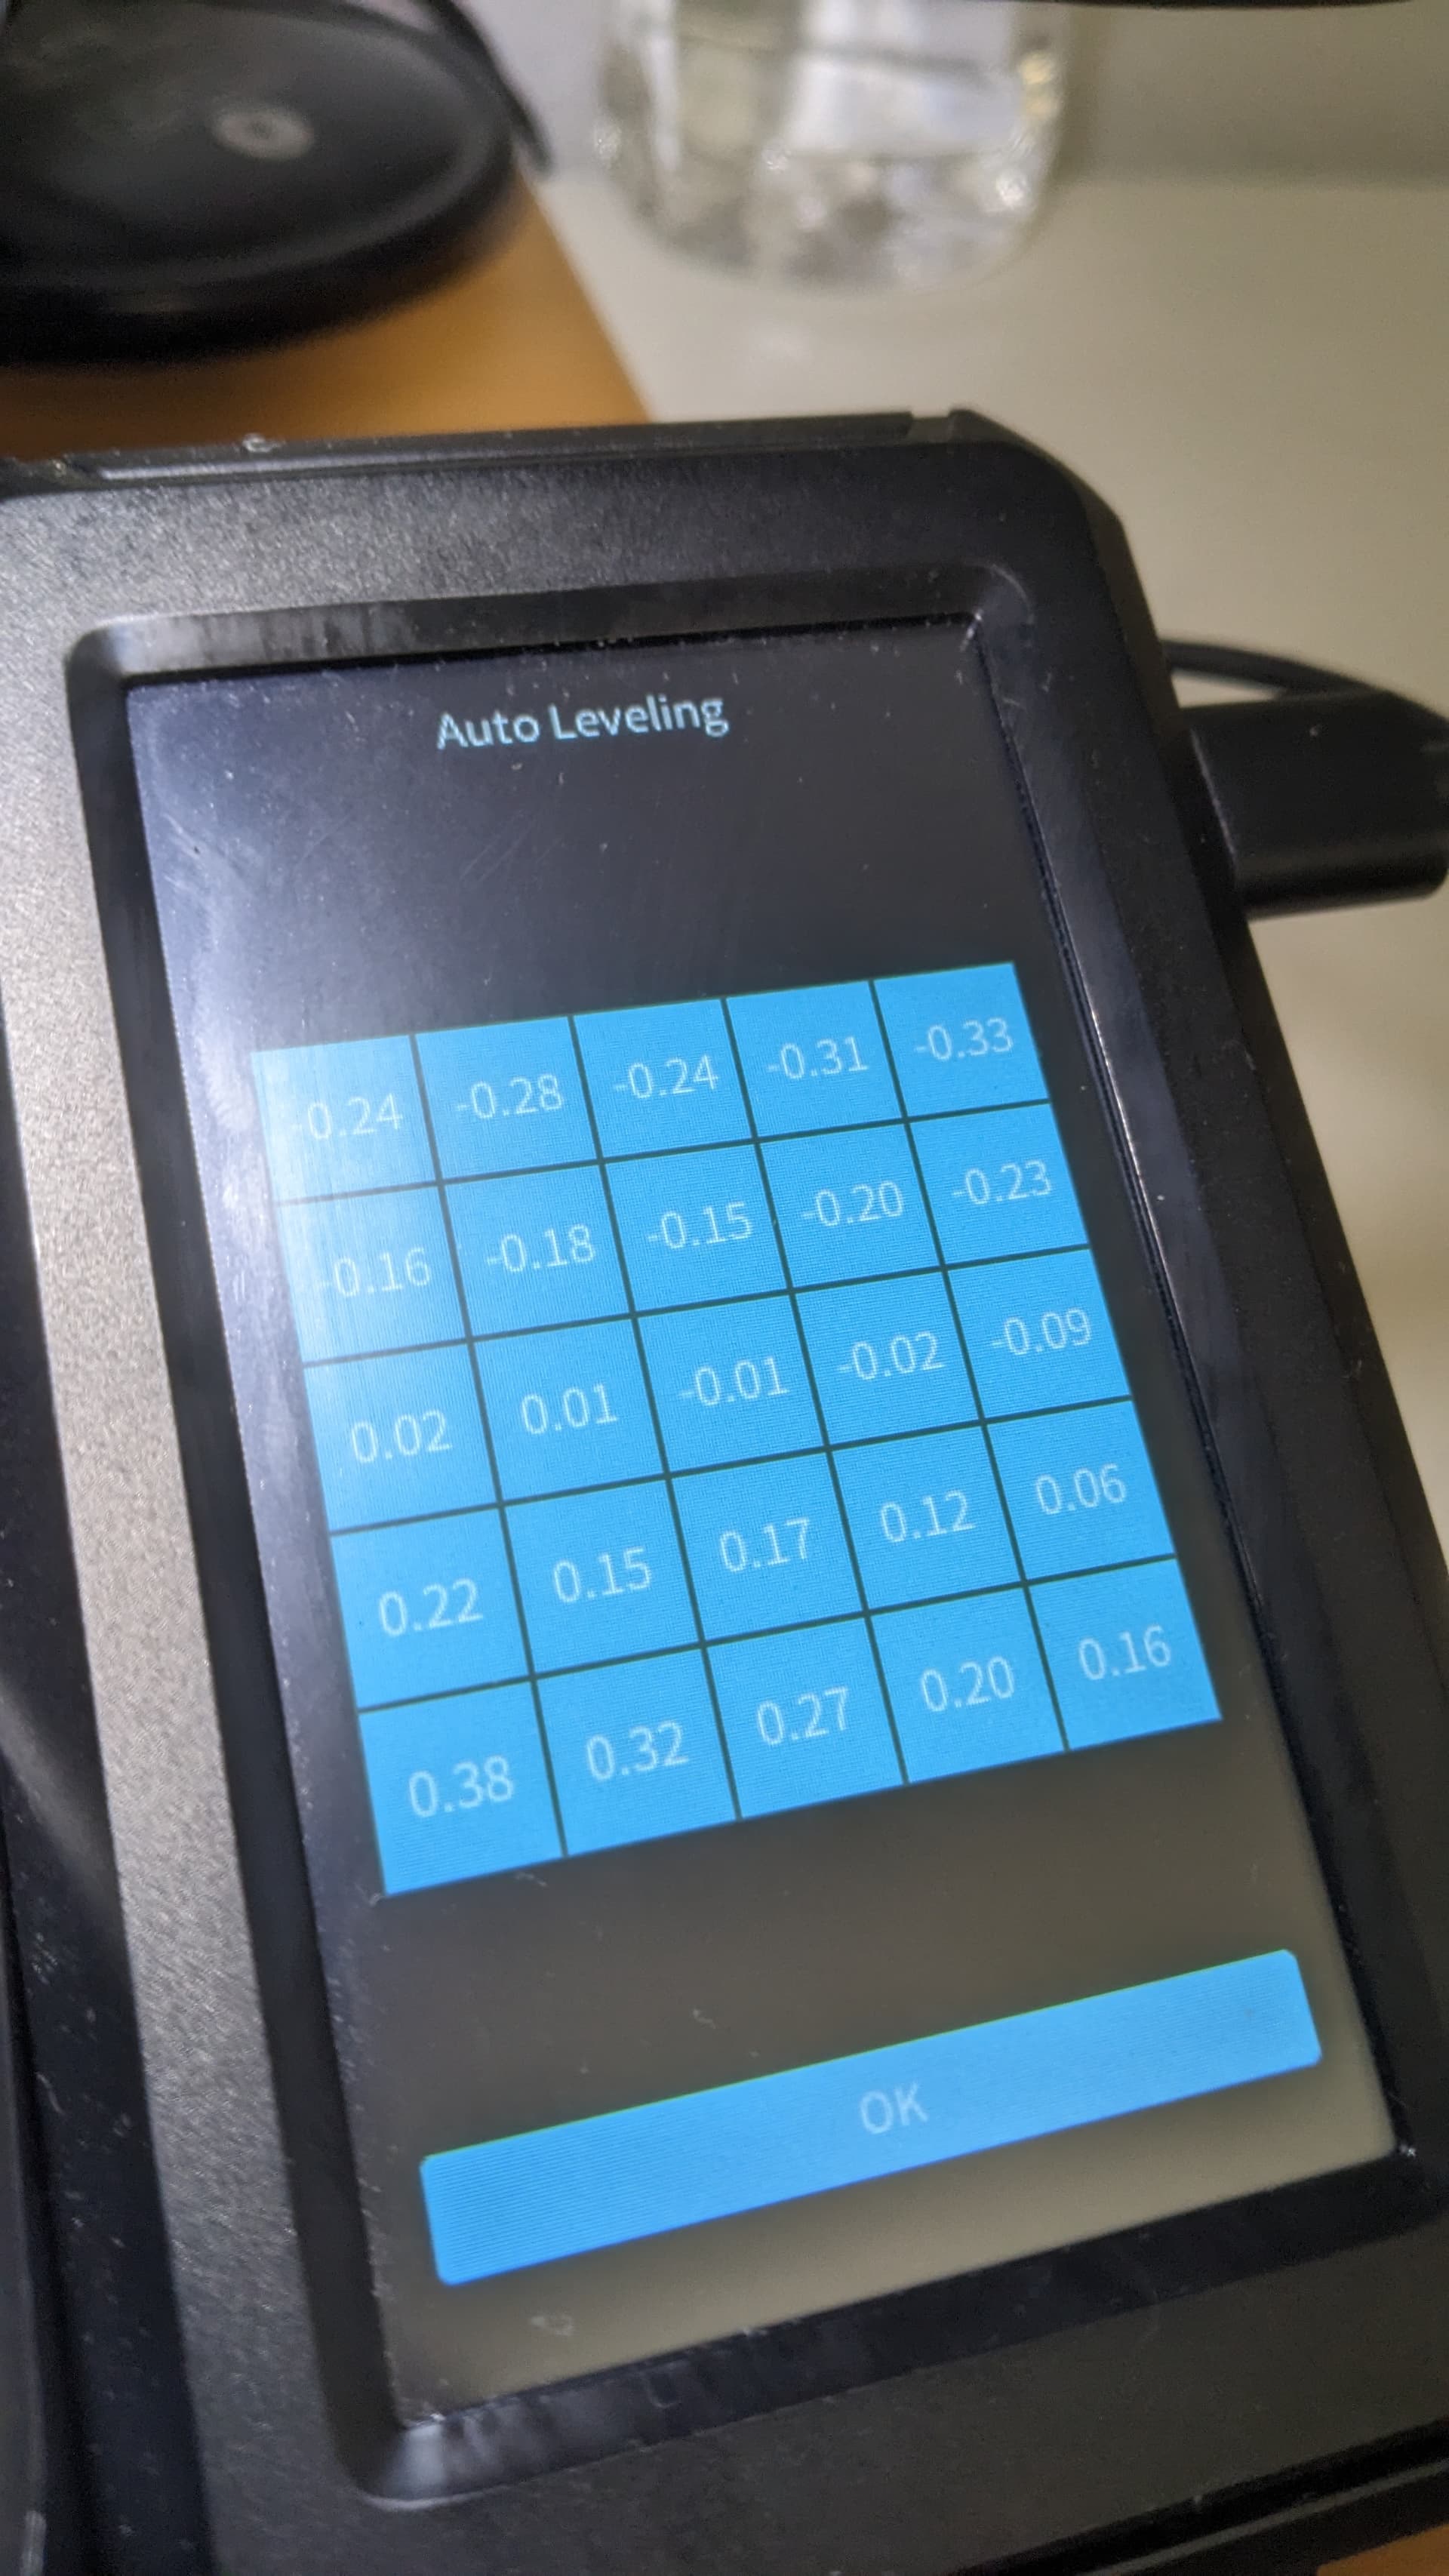
now it looks more consistent. BUT first layer is still horrible! Right bottom corner is too far, left upper - to close:
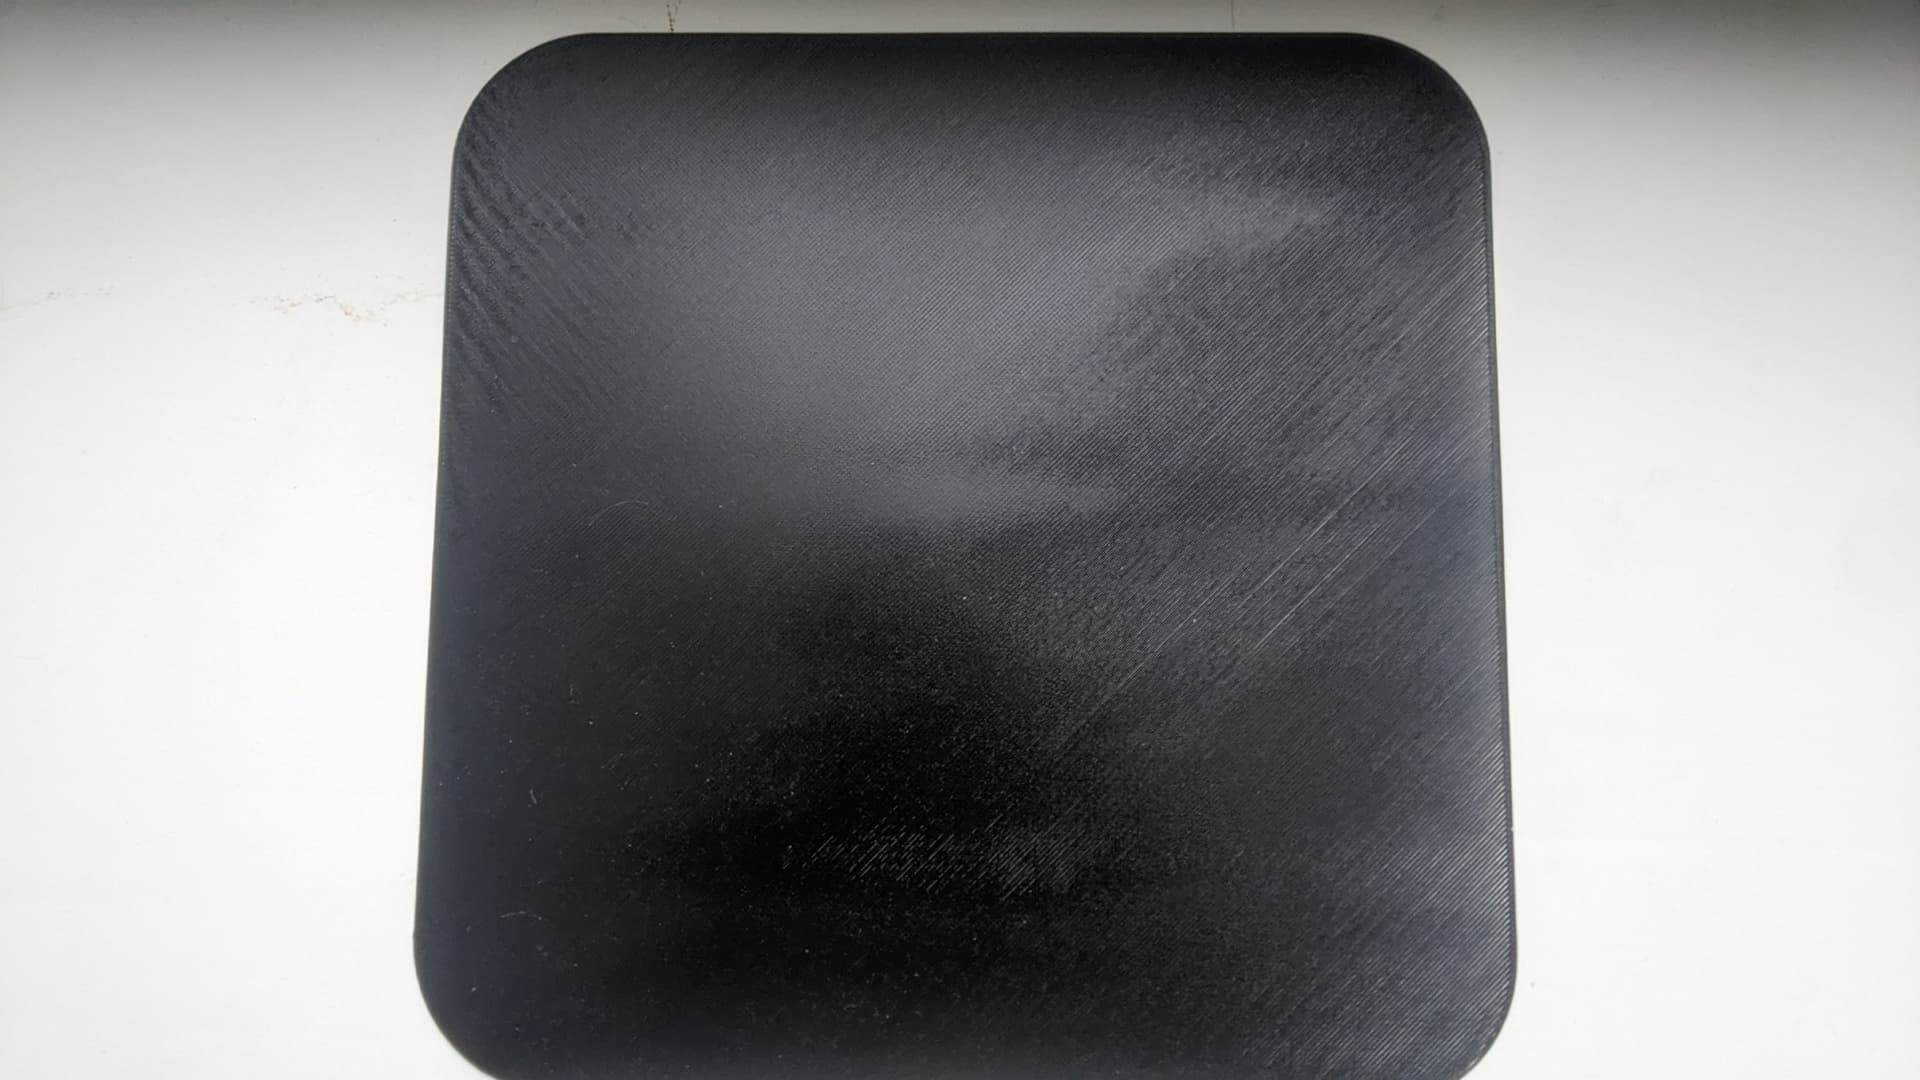
please advise:)
Just a thought: Have you tried “factory reset”? I had similar issues so I reset and started from scratch and it seemed to help my 1st layer issues.
unfortunately yes, I did that few times and nothing is changed. ![]()
Well, what I did to achieve a pretty nice first layer was adjust the Z and then ADD about -.01 additional. Just enough so that it won’t scrape the upper Y but just enough to compress the lower Y. It’s not perfect but it adheres very nice so far.
Also, did you do one of these:
Maybe it provide insight to any of the Pros on this site (certainly not me (yet)) to help you diagnose the issue.
Also, did you check off “Print Calibration” on the “Device” tab before printing? Might be worth a try.
I just used “print calibration” and it gave me mush/spaghetti. It completely overrode my Z adjustment. Just an FYI update.